Adding an IPv6 tunnel to a router with OpenWrt

The UK’s service providers are very much behind the times when it comes to the latest technological developments. Given the somewhat phlegmatic attitude of the British people towards new technologies, it’s no wonder that ISPs are still stuck in the Stone Age (IPv4), even though the stones (the pool of IPv4 addresses) are gone. While I am lucky to have an external IPv4 address, I can forget about a version 6 address (thumbs down for Virgin Media).
Luckily, there is a solution, and it’s free!
Optimised for OpenWrt 25.12 using
apkinsteadopkg
This is an IPv6 tunnel using a 6-over-4 Tunnel solution.
If we have a router with OpenWrt, adding IPv6 support is not difficult and I will describe here how to do it.
In my case, I’m adding an IPv6 tunnel as a curiosity, because I won’t be able to use it on a daily basis. Why? You’ll read it at the end of the post.
First, we need to add support for the IPv6-in-IPv4 protocol by installing the appropriate package from the administration panel via a web browser (System > Software) or from the terminal using the command:
apk update
apk add 6in4 luci-proto-ipv6
A small note. There is a 6in4 and 6to4 package available in the system. The names and usage are similar, but they are not the same. In this post I will use 6in4 (IPv6-over-IPv4 (RFC4213)), and not 6to4 (IPv6-over-IPv4 (6to4)).
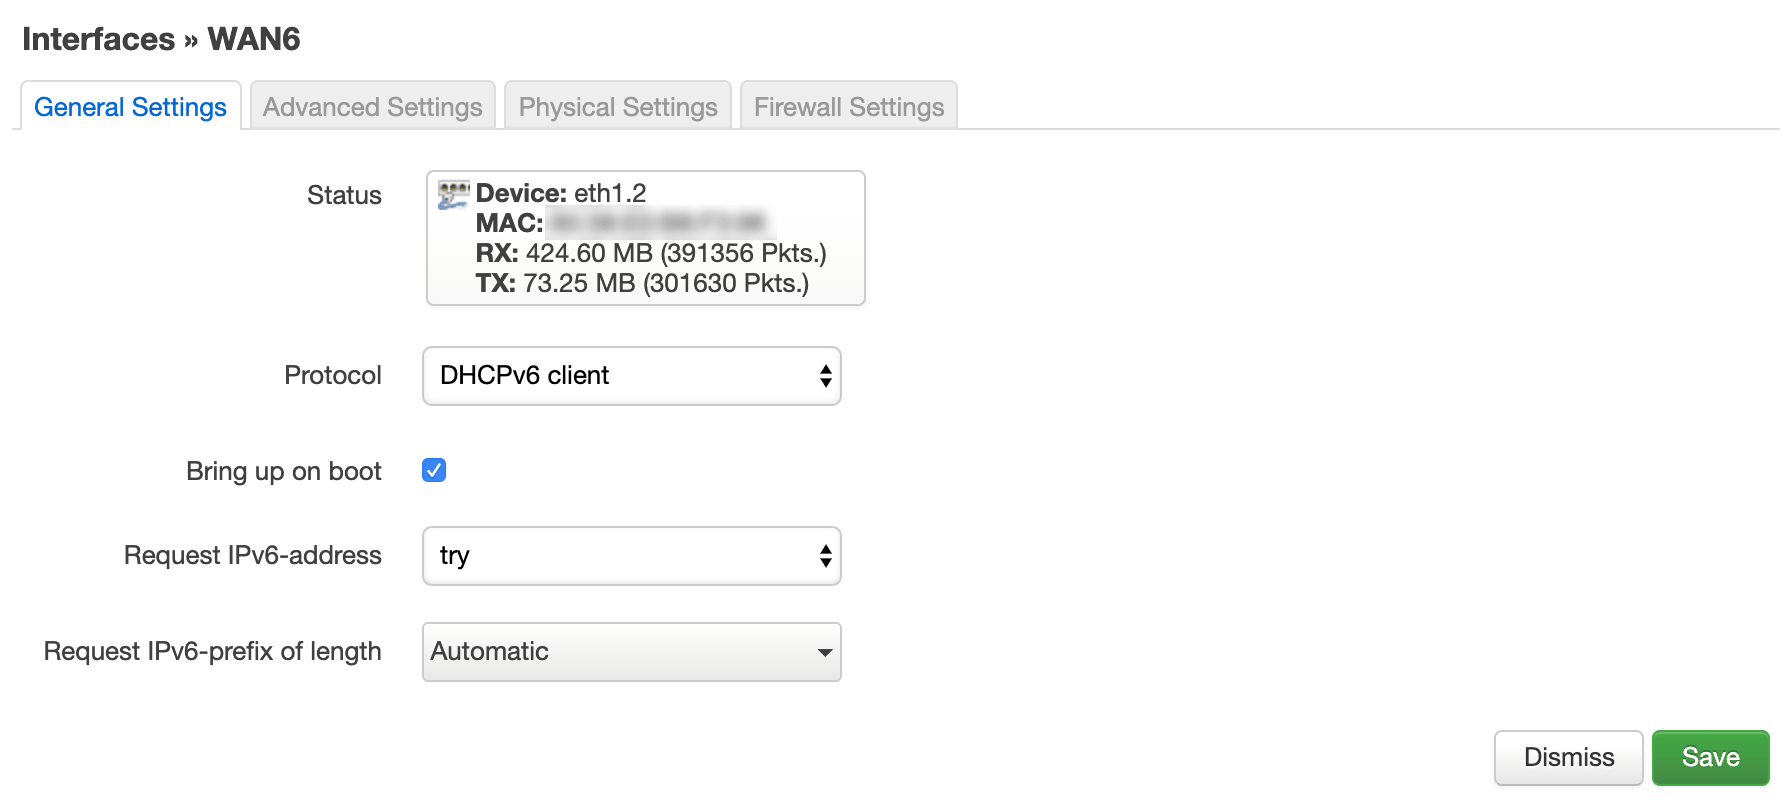
We may already have the luci-proto-ipv6 package installed if in the interfaces (Network > Interfaces) we see WAN6 already set with the default DHCPv6 client option.
If you are not sure if your ISP offers IPv6, you can check it here . In the WAN6 interface, you should have an IPv6 address assigned (just like in WAN we have IPv4). If you do not see one, then continue to set it up. However, if your ISP provides an IPv6 solution, you do not need to do anything else.
At this stage I recommend restarting our router (System > Reboot), because when we edit our WAN6 setting, we may not have the IPv6-in-IPv4 (RFC4213) option available in the protocol field (Protocol).
rebootAfter restarting the router, we go to setting our interface (Network > Interfaces).
Alternatively, from the terminal:
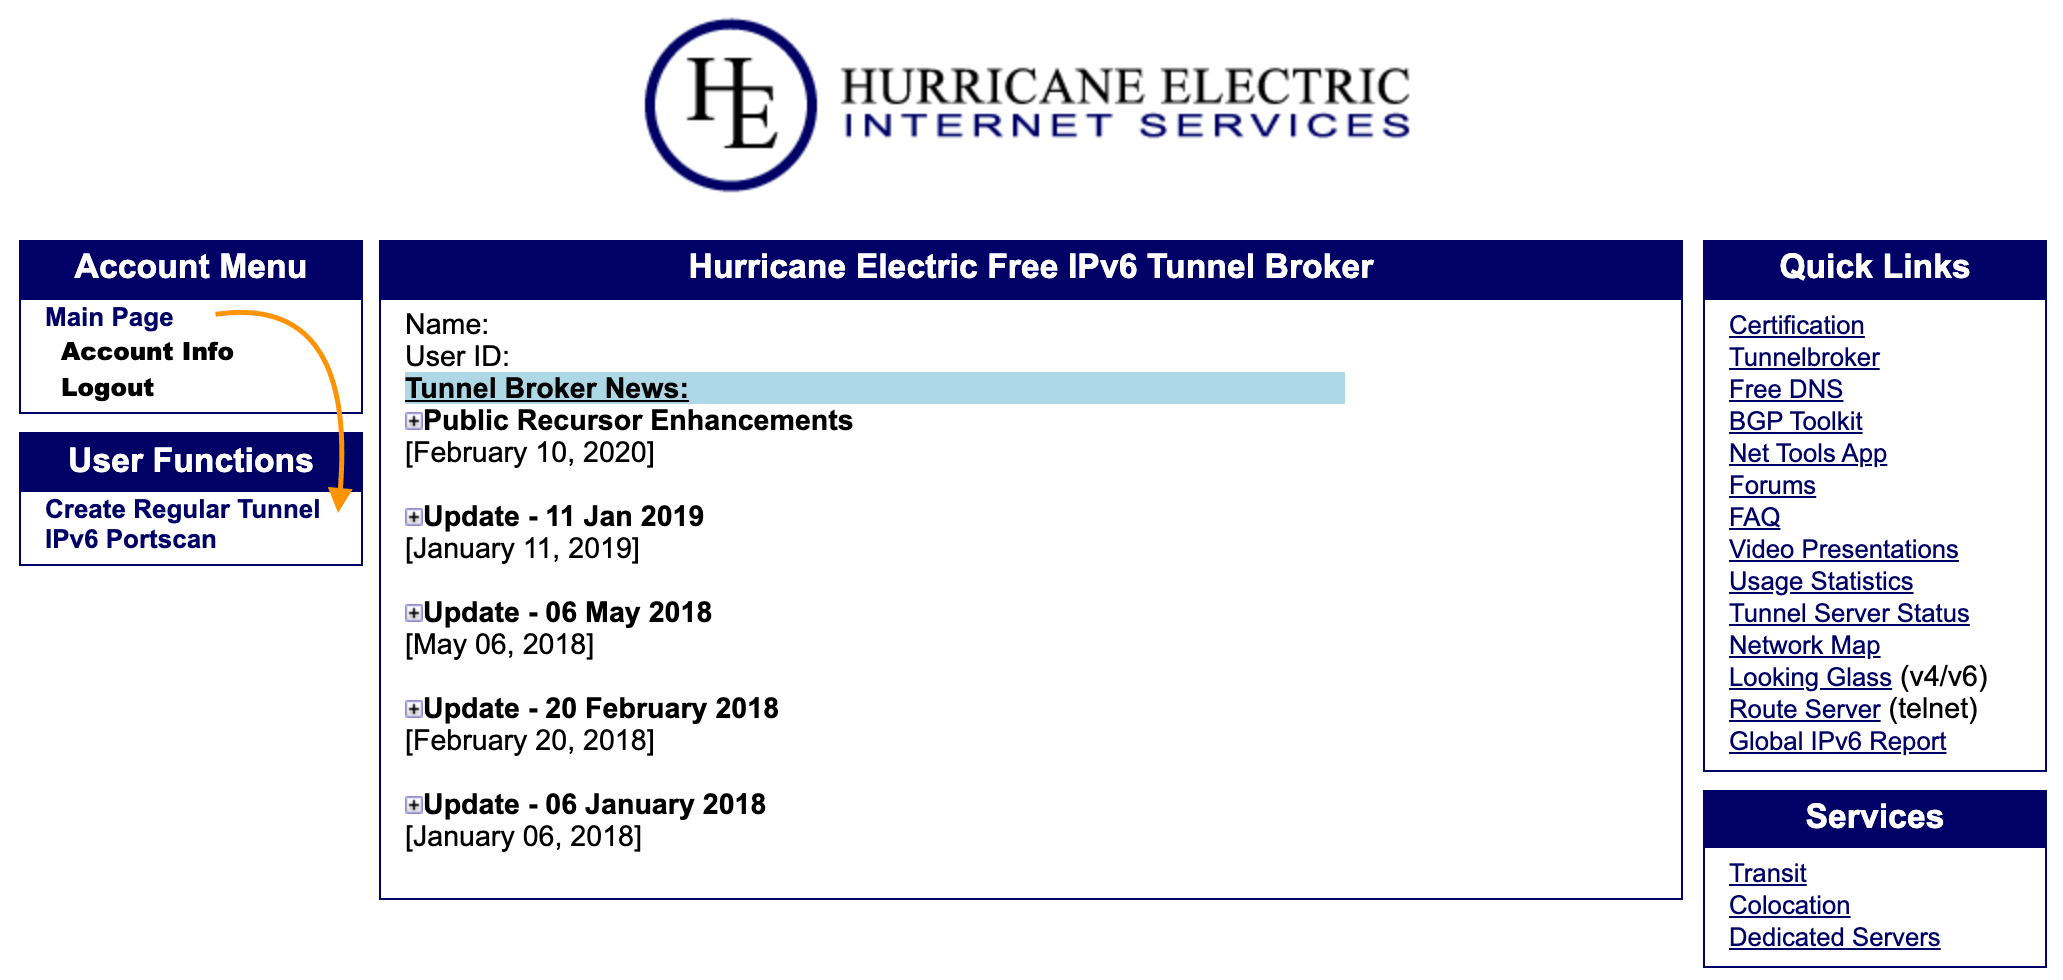
/etc/init.d/network restartBefore we start entering any data, we need to set up an account with a service provider who will offer us an IPv6 tunnel service. In this case, we choose Hurricane Electric Free IPv6 Tunnel Broker.
After creating and confirming the account, log in and on the left side (User Functions) select (Create Regular Tunnel).
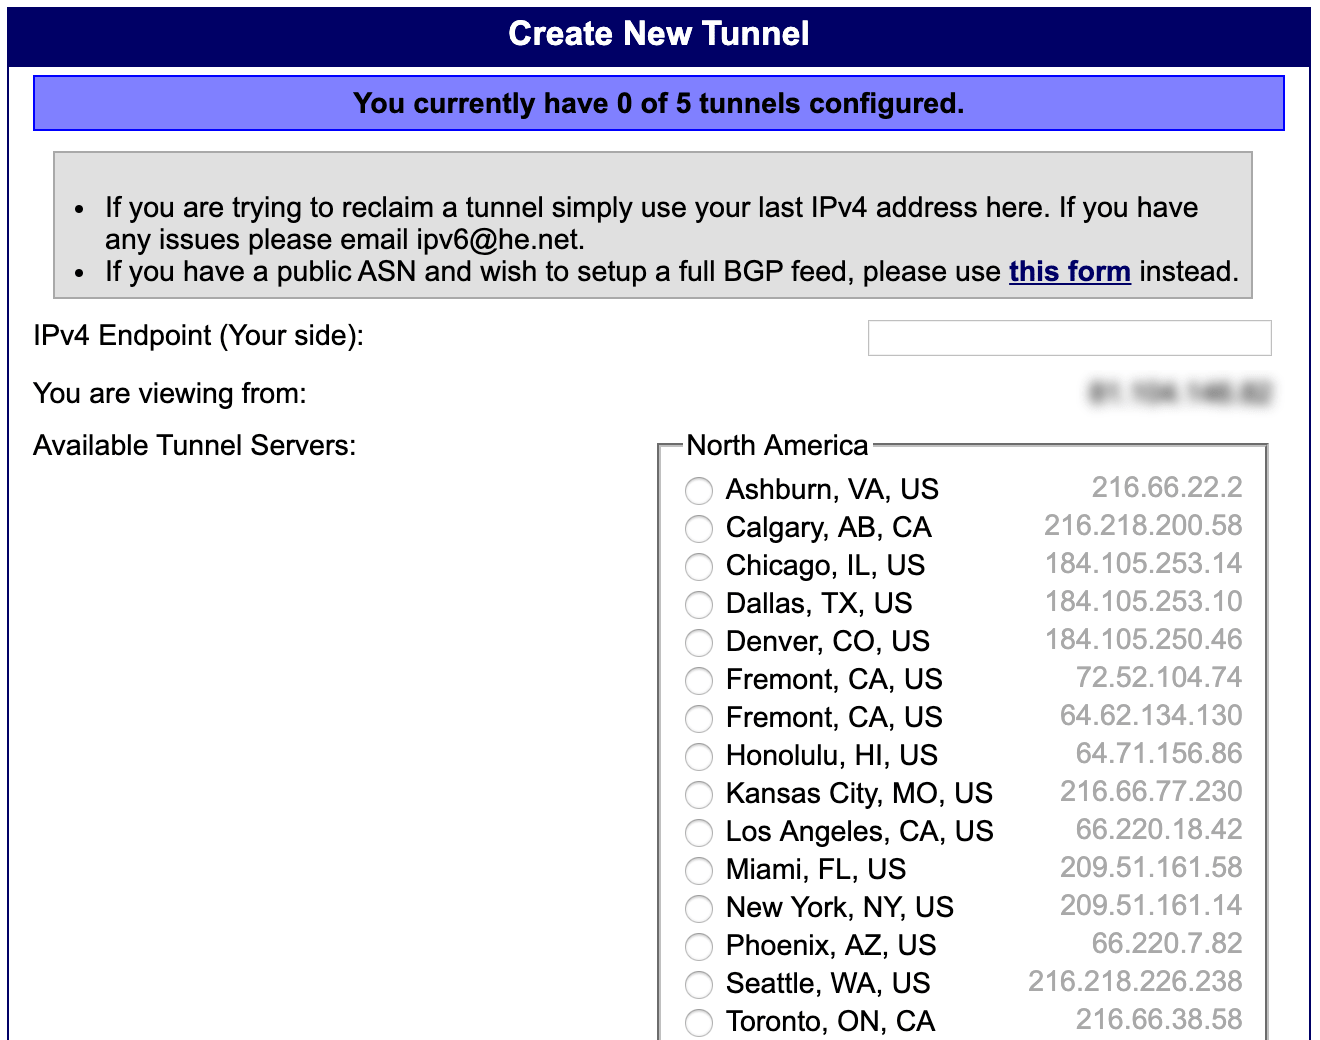
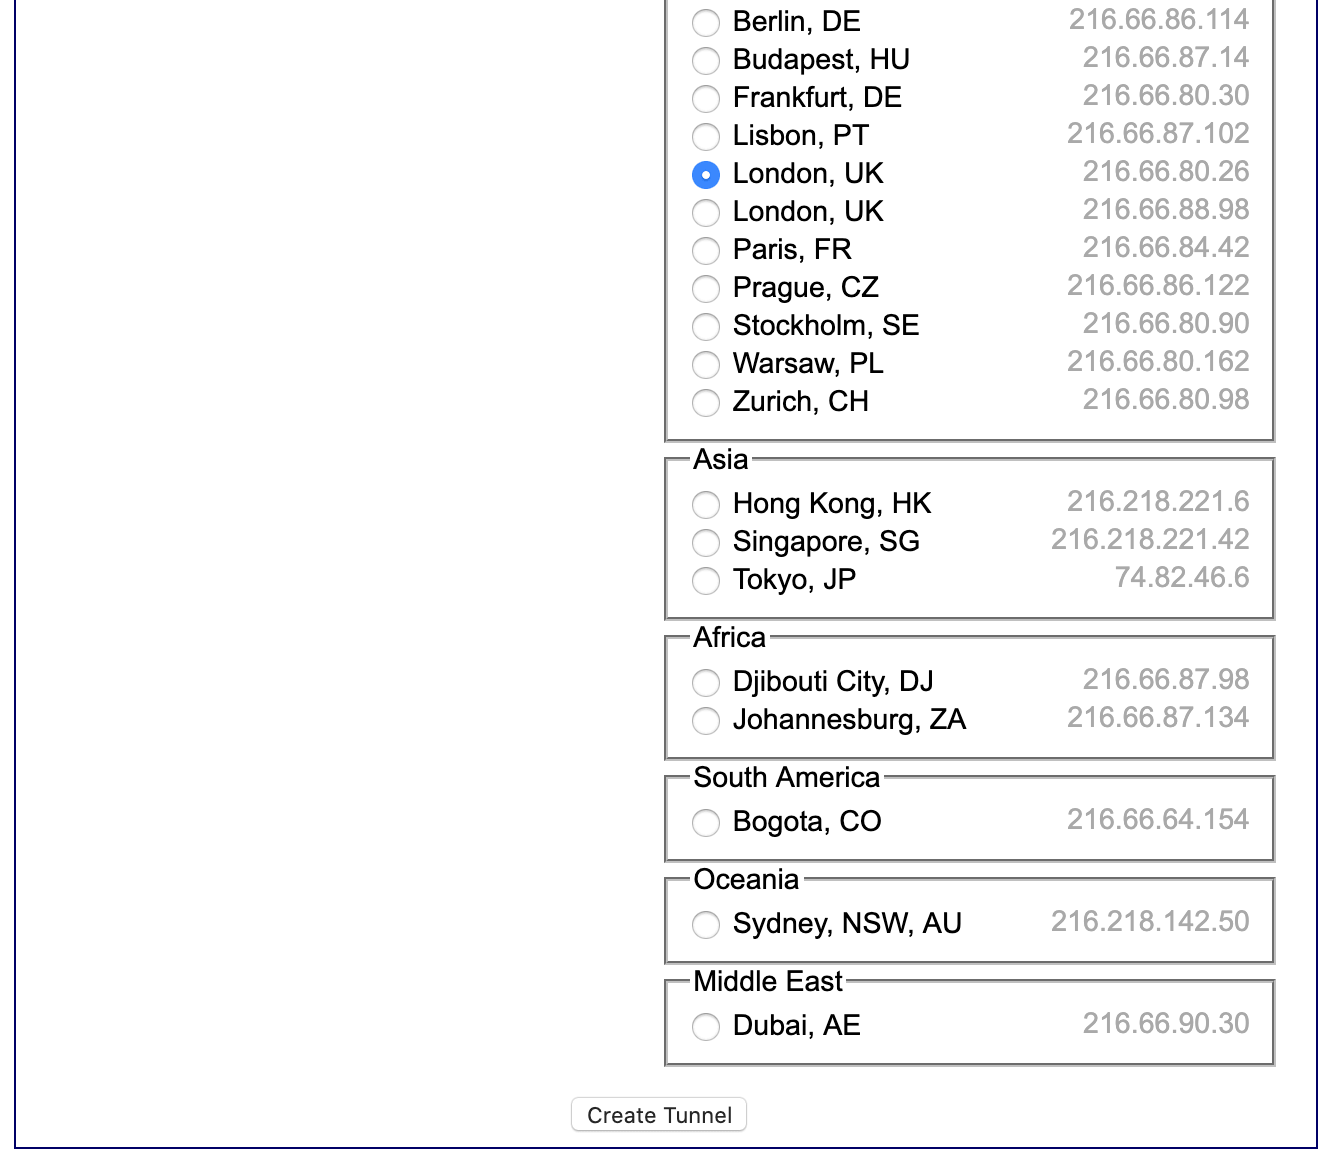
In the next step we insert the external IP address of our router (IPv4 Endpoint) and choose which server in the world we will connect to to create a tunnel (Available Tunnel Servers). In my case I chose London, but in your case you may choose different.
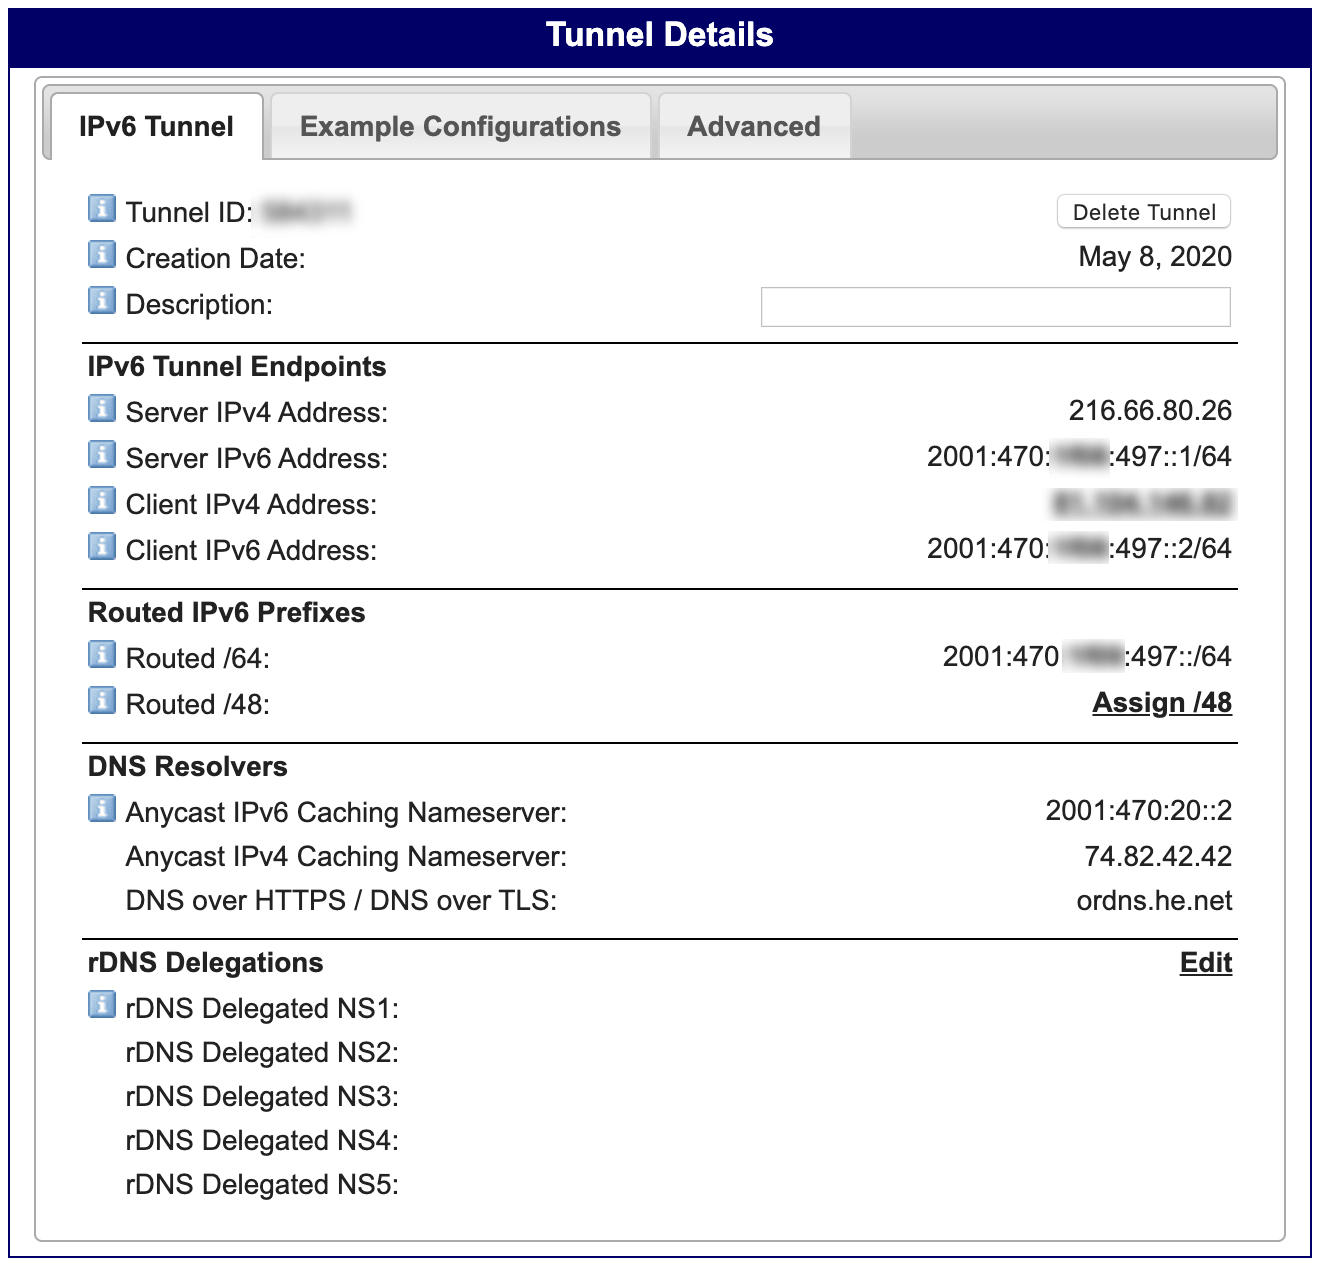
At the end we will receive the addresses that we will enter on our router side.
So going to the router (Network > Interfaces) we Edit our WAN6 interface.
From the default protocol option we select IPv6-in-IPv4 (RFC4213) and confirm everything with the Switch protocol button.
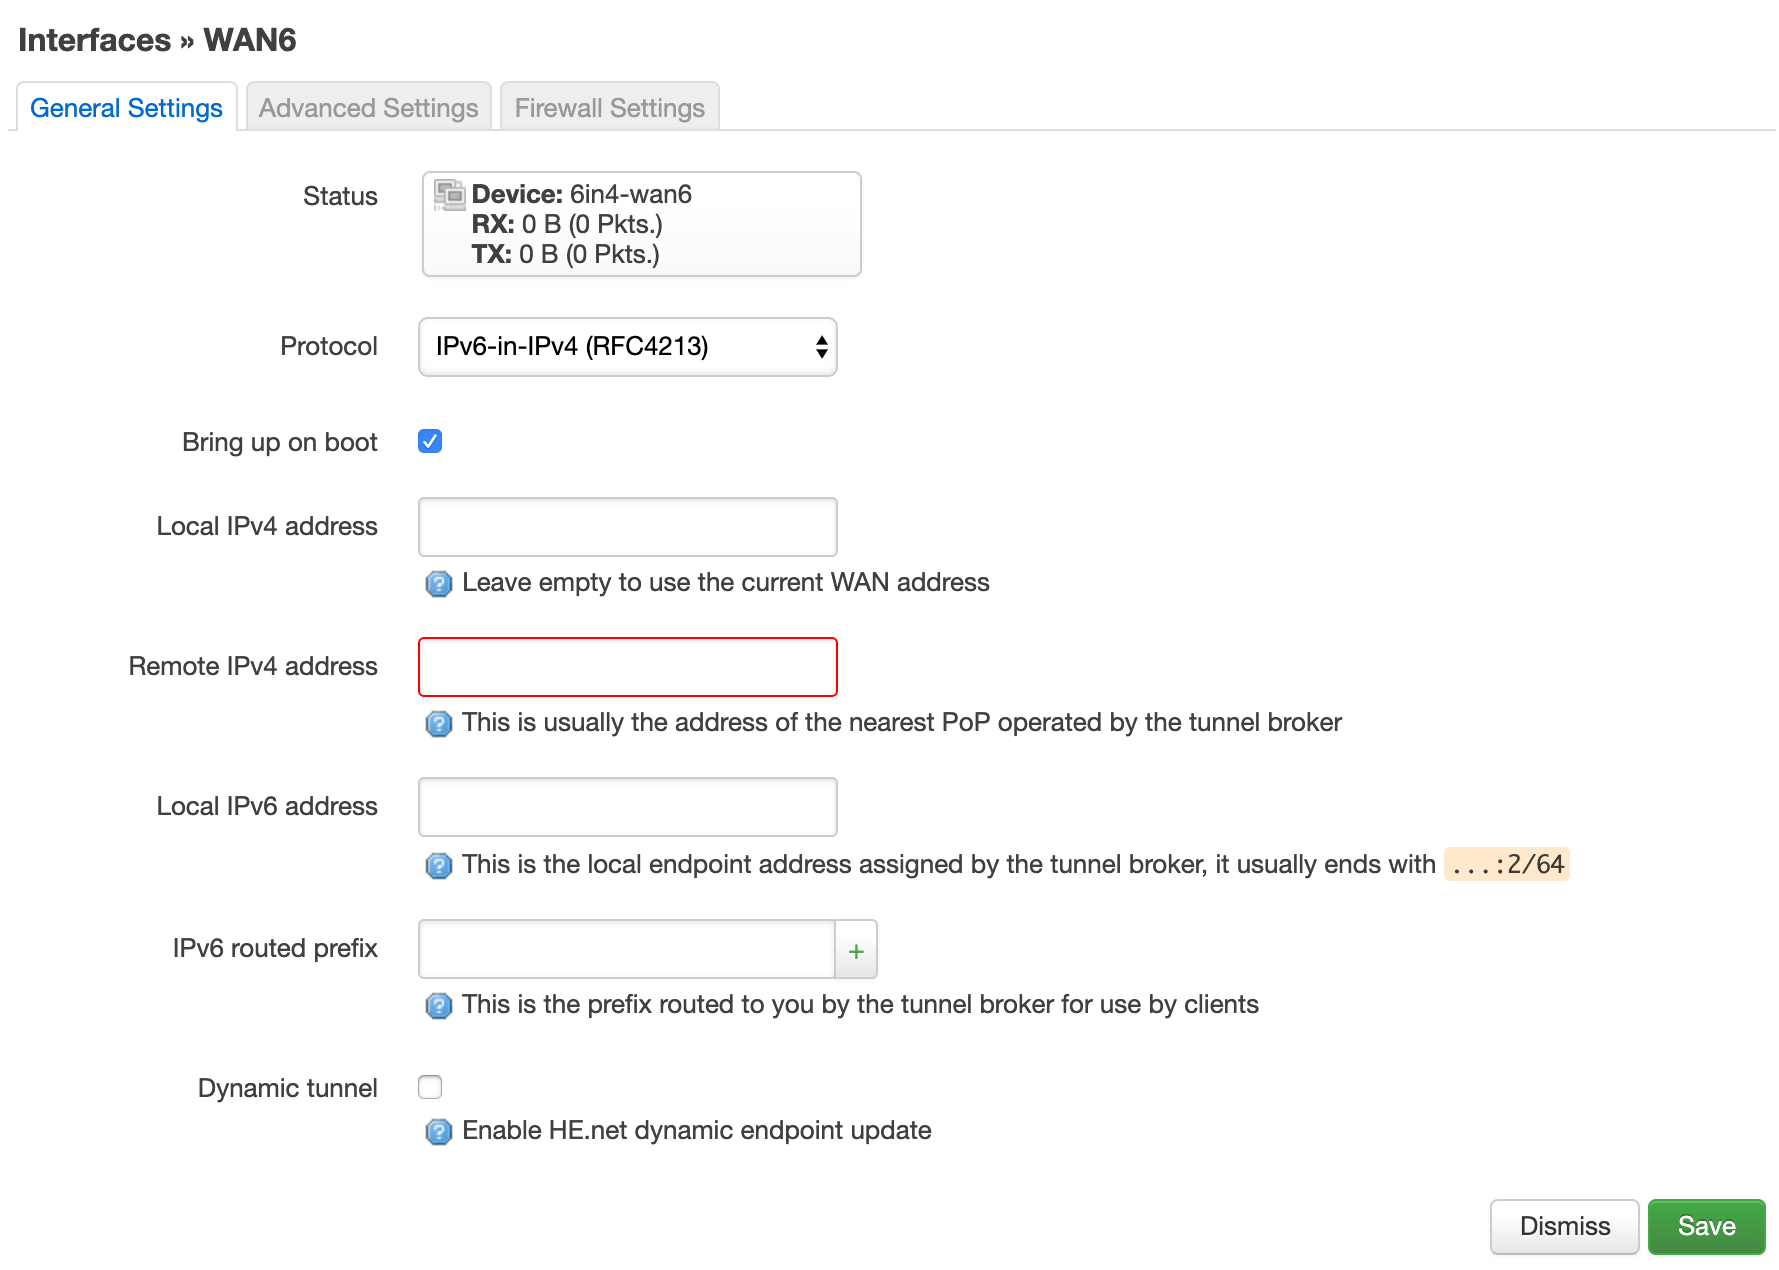
In the next step, in the General Settings tab, we leave the Local IPv4 address empty, as it will be automatically read from the WAN connection.
In the field Remote IPv4 address enter the address from the HE page, section IPv6 Tunnel Endpoints > Server IPv4 Address.
In the field Local IPv6 address enter the address from the HE page, section IPv6 Tunnel Endpoints > Client IPv6 Address. This is an address ending usually with ::2/64 as highlighted in the configuration form.
In the IPv6 routed prefix field we have the choice of entering from the Routed IPv6 Prefixes section. We can choose Routed /64 or Routed /48.
/64 will use a single IPv6 network, while /48 will use a larger pool of addresses on the IPv6 network. As a rule of thumb, /64 is recommended for the end client (home user), while /48 is recommended for the extended business client.
In short, in a /64 address pool, the router has one subnet in IPv6, and within that subnet, IPv6 addresses are allocated. This is similar to a standard LAN, where the router is 192.168.1.1 and users have .1.2, .1.3, and so on. In the case of /48, there can be more address pools and subnets. As with IPv4, you can have user 192.168.1.12 on one subnet and user 192.168.2.12 on a second subnet.
Depending on the sophistication of your configuration and the number of users, you should decide what is best for you. Personally, I recommend leaving /64.
So we copy the value from Routed /64 to IPv6 routed prefix and click the (+) button.
If our external IP address changes, then it is also recommended to add an automatic refresh of the IP address (endpoint) (we can skip this step in the case of a static IP address).
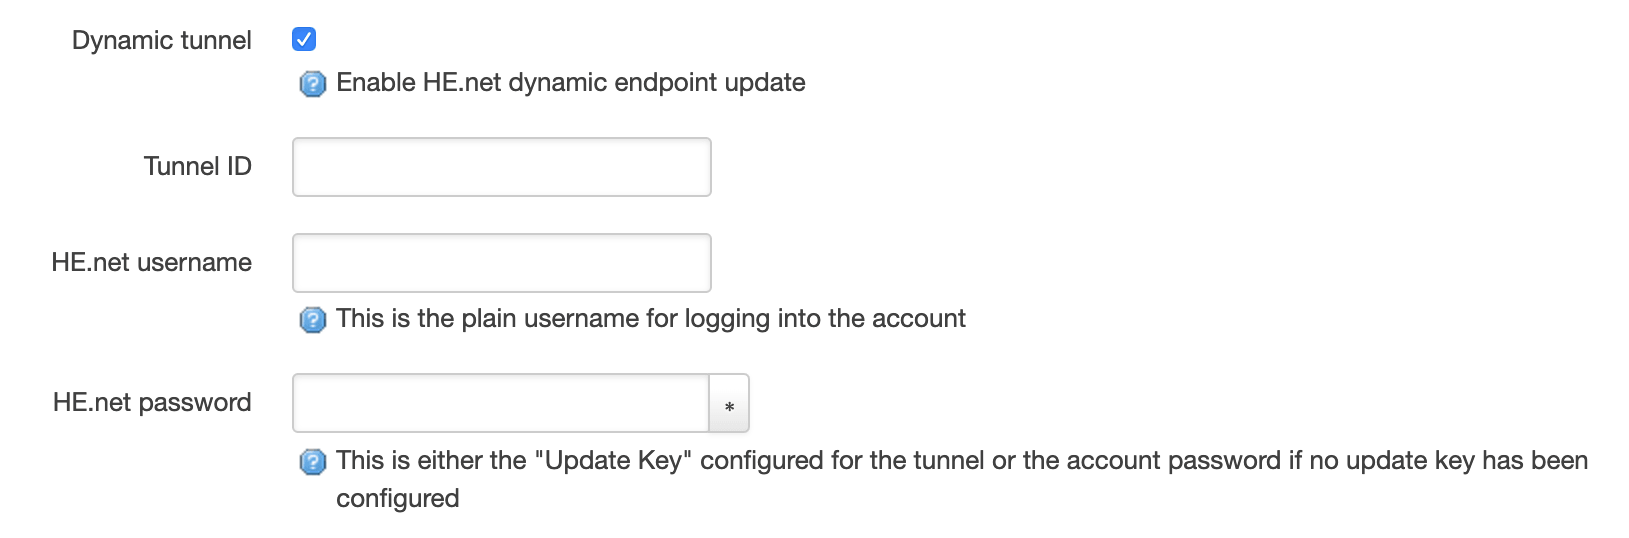
Let’s select Dynamic tunnel and fill in the following fields.
In Tunnel ID we enter the value from the HE page. This is the first value in the tunnel details (Tunnel Details) that we received after its creation.
In HE.net username we enter our username which we use to log in to the tunnelbroker.net website.
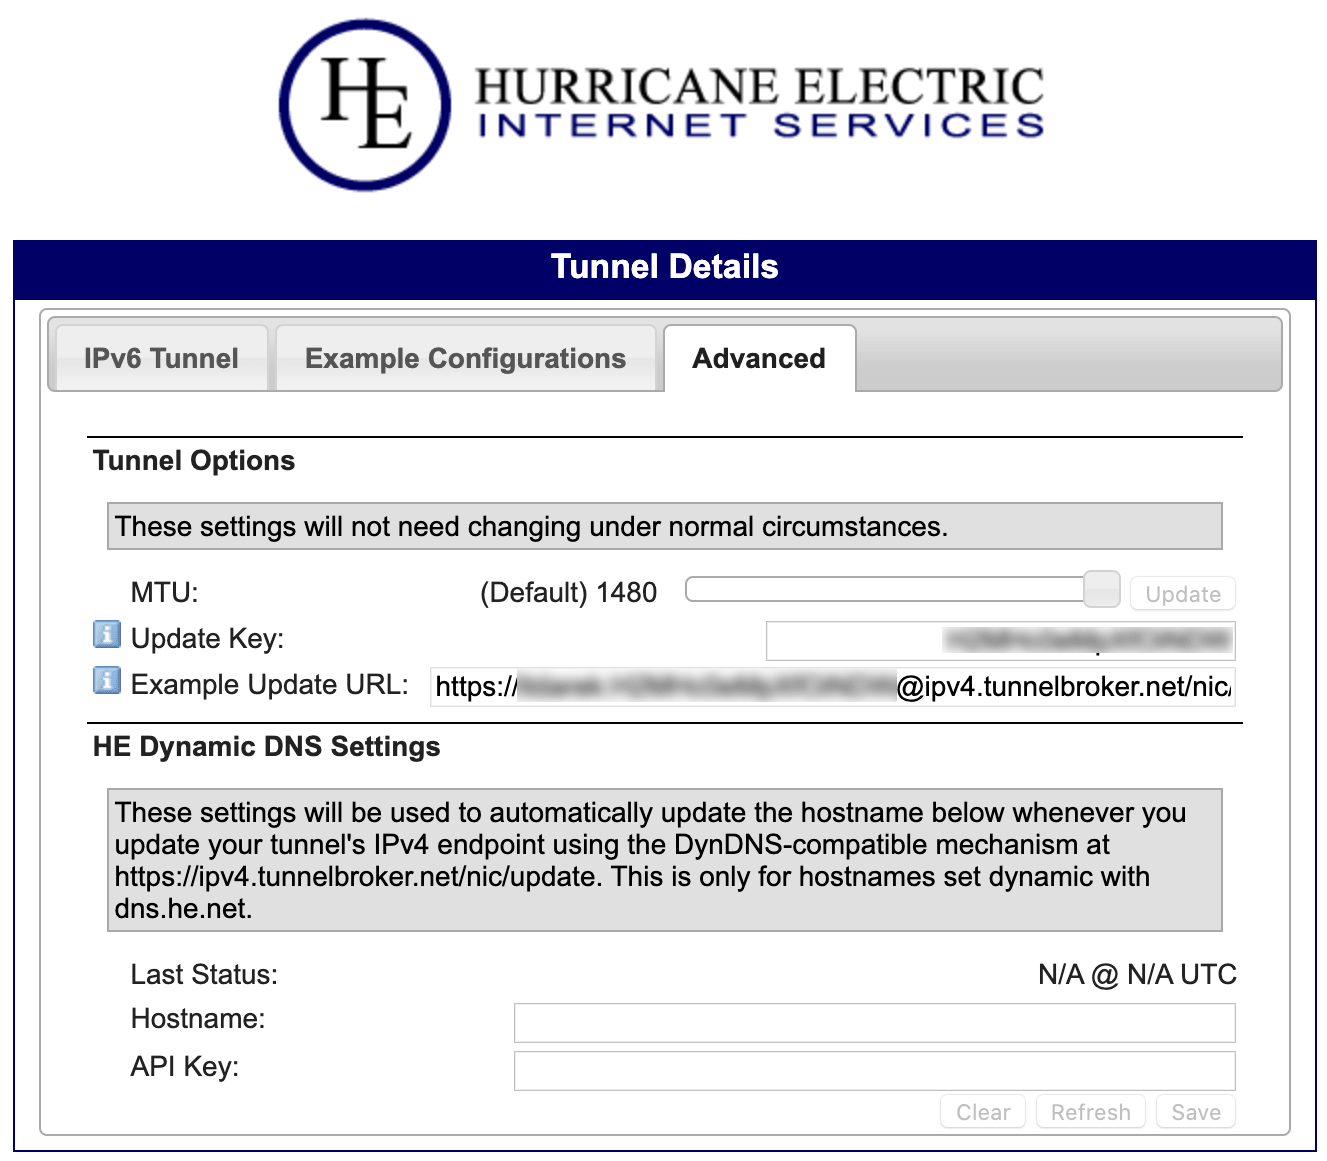
In HE.net password we need to enter the generated key, which is used to update the IP address. Therefore, we go to the HE page and in the Advanced tab of our tunnel, we copy the value from the Update Key field and paste it on the router side.
The penultimate step is to save our configuration (Save) and confirm by Save & Apply on the next screen.
Theoretically everything should work now, but in practice this is not always the case.
Even though we added network configuration, after saving and applying changes, only the network configuration is refreshed, not necessarily the Firewall.
Therefore, we need to go to the terminal and execute one command:
/etc/init.d/firewall restartOr restart your router and you’re good to go.
On the router side, in the Advanced Settings tab of our WAN6 interface, to optimize speed we can change the default settings for Use MTU on tunnel interface to 1480 (from 1280).
We set the MTU according to the MTU of our network connection reduced by 20. If our Internet connection uses MTU 1500, then we set it to 1480. We can check our MTU for individual interfaces with the ifconfig command from the terminal.
Check
If we did everything correctly, our router should gain an IPv6 connection.
To check this, from the terminal level we perform ping (or ping6).
ping ipv6.google.comFrom a computer on your home network, go to https://ipv6test.google.com or https://ipv6.google.com
Both ping and web pages should be accessible.
The final step is to go to https://test-ipv6.com to confirm that everything is working.
We should get a score of 10/10.
If we have also set Secure DNS on our router according to my description, with IPv6 support, then when we go to https://one.one.one.one/help we will see in Connectivity to Resolver IP Addresses the response from our DNS by IP address in the form IPv6 .6:4700:4700::1111 and.6:4700:4700::1001).

If you’ve set up your VPN server on your router using WireGuard as described in my post and added a domain to your router IP address, also as described in my post, then it’s worth adding an AAAA record pointing to your IPv6 address (the one with ::2). This way, in theory you can connect to the VPN via both IPv4 and IPv6.
Now that’s really everything.
Thanks to this procedure, we have added IPv6 support on the side of our router, even though our service provider screwed up and only supports IPv4.
The negative side of this solution is that ISPs can do everything to prevent IPv6 tunnels from being used in their network. This is the case with Virgin Media in the UK, for example, which, although it allows you to set up a tunnel, its efficiency is at 10%. With a 100/10Mbps connection, we achieve speeds of max. 6-10/3-6Mbps.
The same tunnel installed on another service provider’s connection (CityFibre 100/100) works at its full speed.
You can read more here.
Regards.
Credits


Comments & Reactions