Adding a USB printer to a router with OpenWrt

Recently I decided to add a USB connected printer to my OpenWrt router.
While I normally use a wireless solution with built-in AirPrint (so I can print directly from my iPhone/iPad), sharing a USB printer on a network involves purchasing a print server.
Unfortunately, currently available print servers lack support for, for example, AirPrint, i.e. the ability to print wirelessly from Apple devices such as iPhone or iPad.
If I find one that has AirPrint, it is either very expensive or the manufacturer has discontinued its further development, which is a pity.
So I decided to use my OpenWrt router. Since it has two USB ports, one of which, USB 2.0, which I happen to have free, is perfect for connecting a printer.
In fact, I cared most about AirPrint, and you can read about what came out of it below.
Optimised for OpenWrt 25.12 using
apkinsteadopkg
Introductory Word
First, the hardware I’ll be using in the example below:
- Router: Linksys WRT3200ACM with OpenWrt software
- Printer: Samsung CLP-325 on USB
My main goal will be to share a printer on the network, with the ability to print from a macOS computer. I will also include printing from a Windows computer.
In a typical solution (Raspbian + Raspberry Pi + USB printer) I would use the CUPS package and that’s it. Unfortunately, in the current version of OpenWrt software, the CUPS package is not available due to router limitations (memory and computing power). CUPS itself has high requirements in this regard, so official sources recommend a different approach.
Of course, if you want, you can compile your own CUPS package from source. It can be done and will even work. However, the problem will arise when you want to update the software on your router. Although according to my description you will be able to restore the settings and installed packages easily, in the case of CUPS, you will have to recompile it, and believe me, it is not a quick solution.
Print Server - installation
The p910nd print server is available as a ready-made package for installation from a browser (System > Software) or terminal:
apk update
apk add p910nd
Additionally, it is worth installing an application that adds the ability to manage the server from our LuCI administration panel.
apk add luci-app-p910ndThe last package we need is USB printer support.
apk add kmod-usb-printerFinding a printer
Before we start configuring our print server, we need to check if our printer is detected by the system.
After connecting the USB cable (with the printer turned on) and executing the dmsg command in the terminal, we should see something like this:
usb 1-1: new high-speed USB device number 4 using orion-ehci
usblp 1-1:1.0: usblp0: USB Bidirectional printer dev 4 if 0 alt 0 proto 2 vid 0x04E8 pid 0x329F
And using the lsusb command we check if our device is recognized correctly. In the case of my printer I got:
Bus 001 Device 004: ID 04e8:329f Samsung Electronics Co., Ltd CLP-325 Color Laser PrinterSo everything is on the right track.
We check if the printer is recognized correctly:
ls /dev/usb/lp*After that we can move on.
Print Server - configuration
From the browser go to Services > p910nd - Print server.
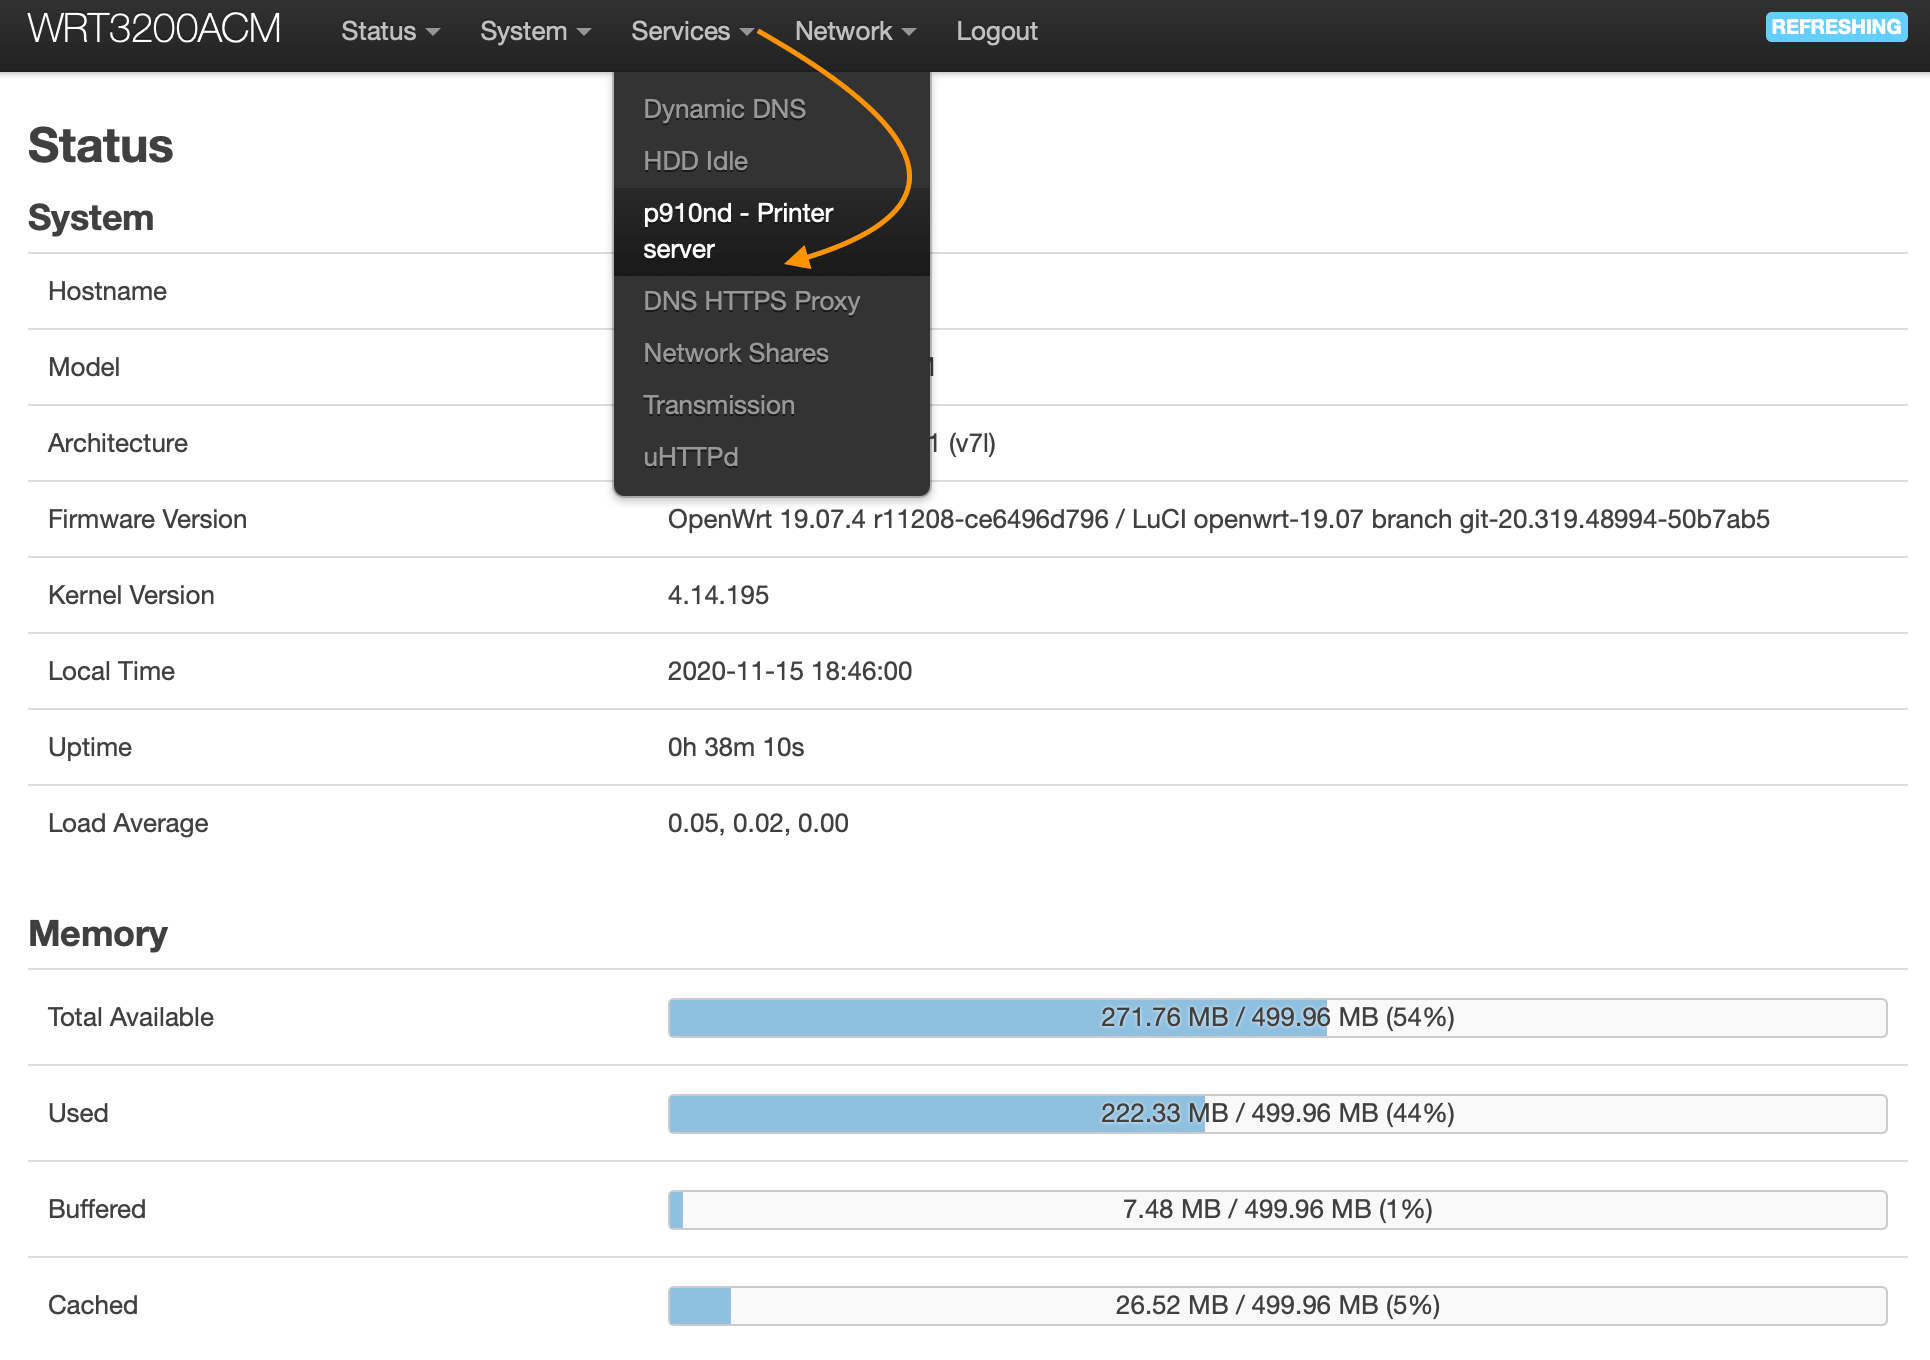
Setup is actually very simple.
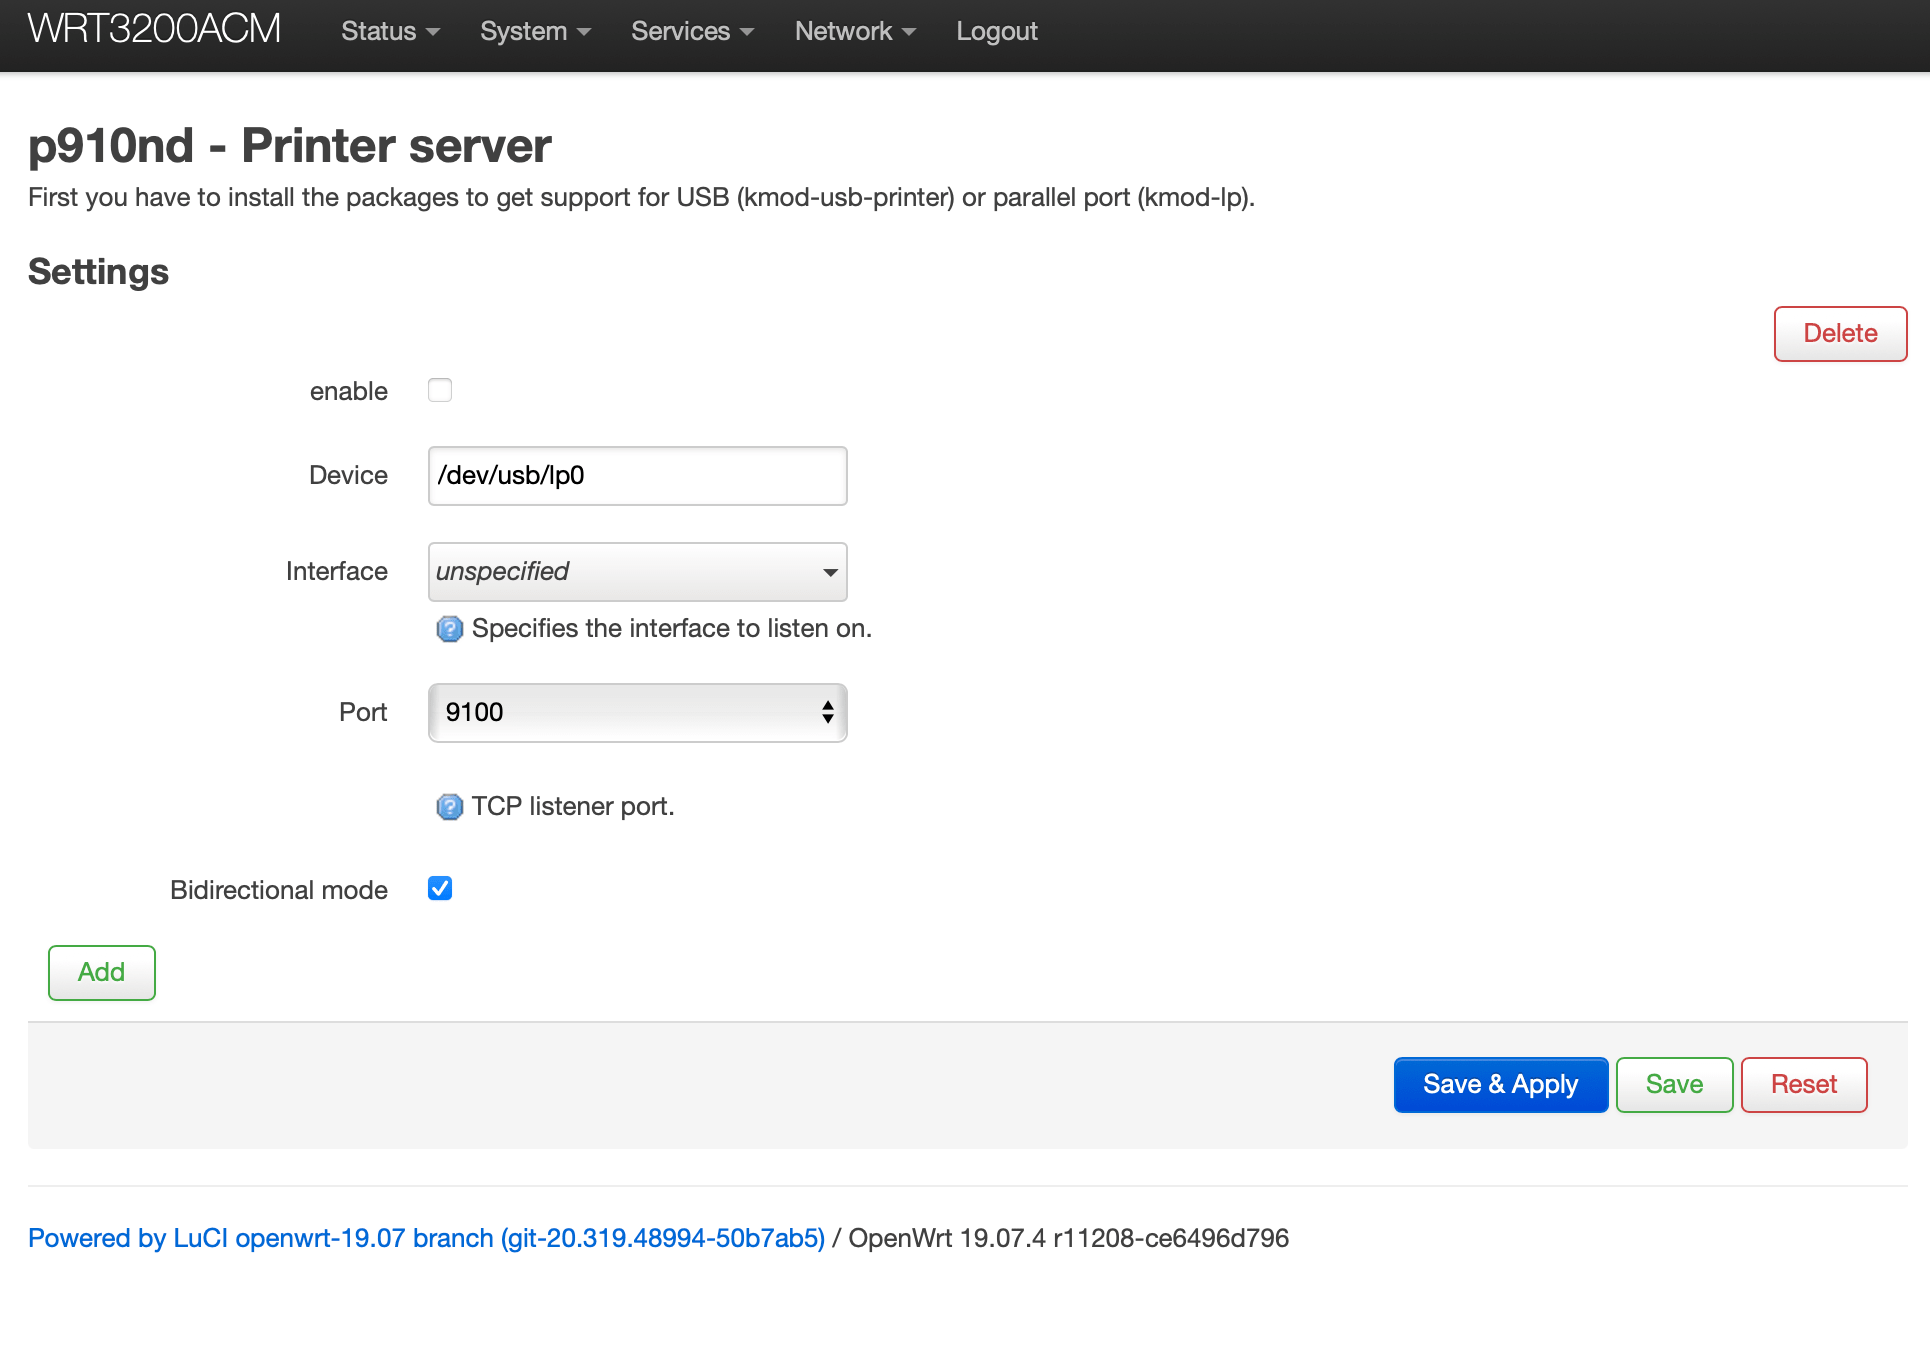
First, we select the enabled option to turn on our server.
In the next step we need to specify our device (Device). By default /dev/usb/lp0. If we only have one printer, then we don’t really need to change anything here.
In the Interface option we select LAN, which means our print server will listen for print requests from the local network.
Then Port which is set to 9100 by default.
We leave the Bidirectional mode checkbox unchanged (in the case of some inkjet printers we will have to disable this option).
Then click Save & Apply.
IMPORTANT After all this fun, it is worth restarting our router or restarting the p910nd server from the terminal to avoid problems.
/etc/init.d/p910nd restartPersonally, I didn’t do it on my first attempt and I was wondering why it wasn’t working 😂.
Installing the printer on a macOS computer
In the example below I used macOS Big Sur 11.0.1 (but it also works in macOS Sonoma)
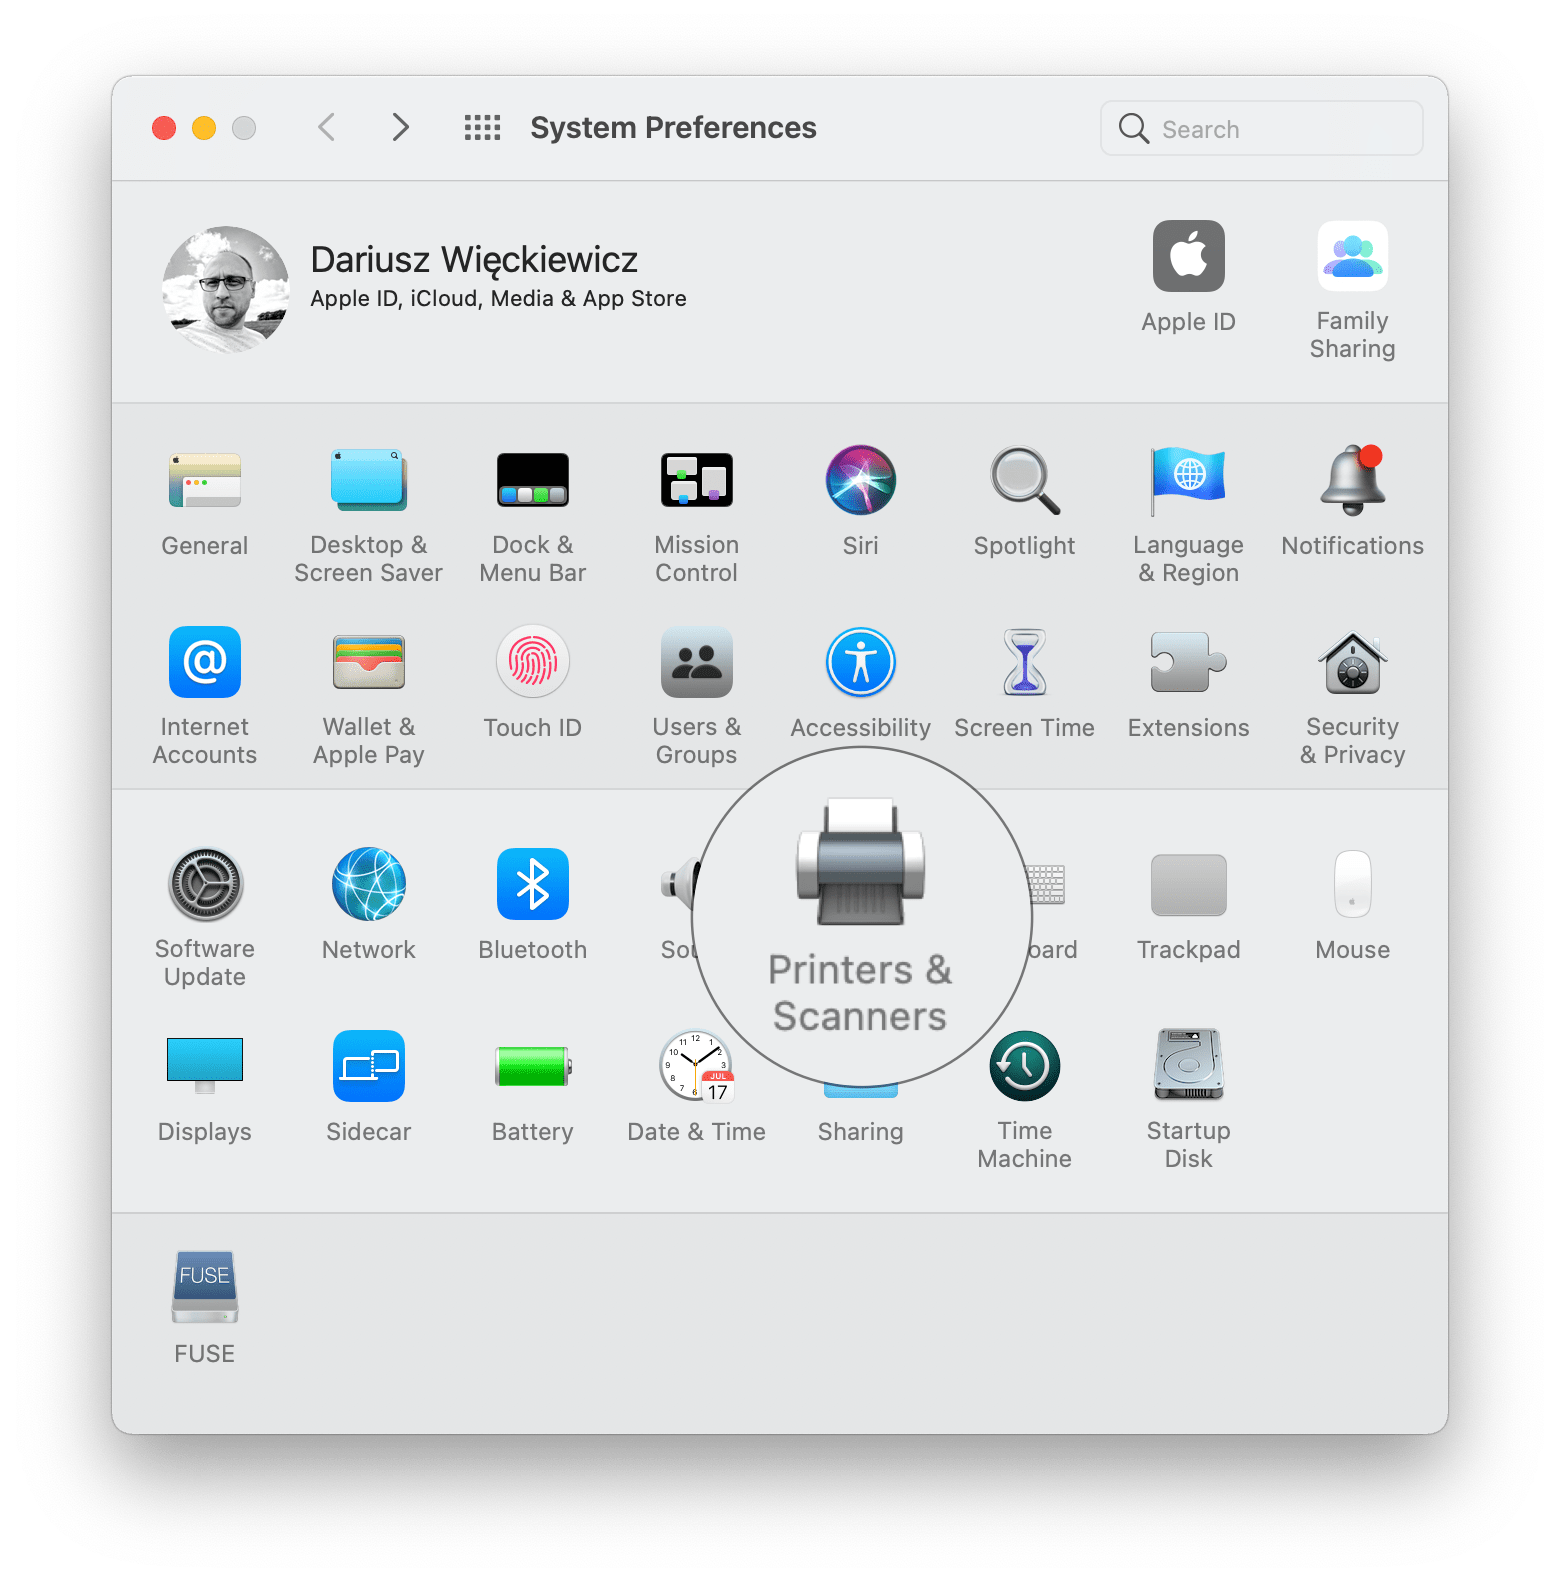
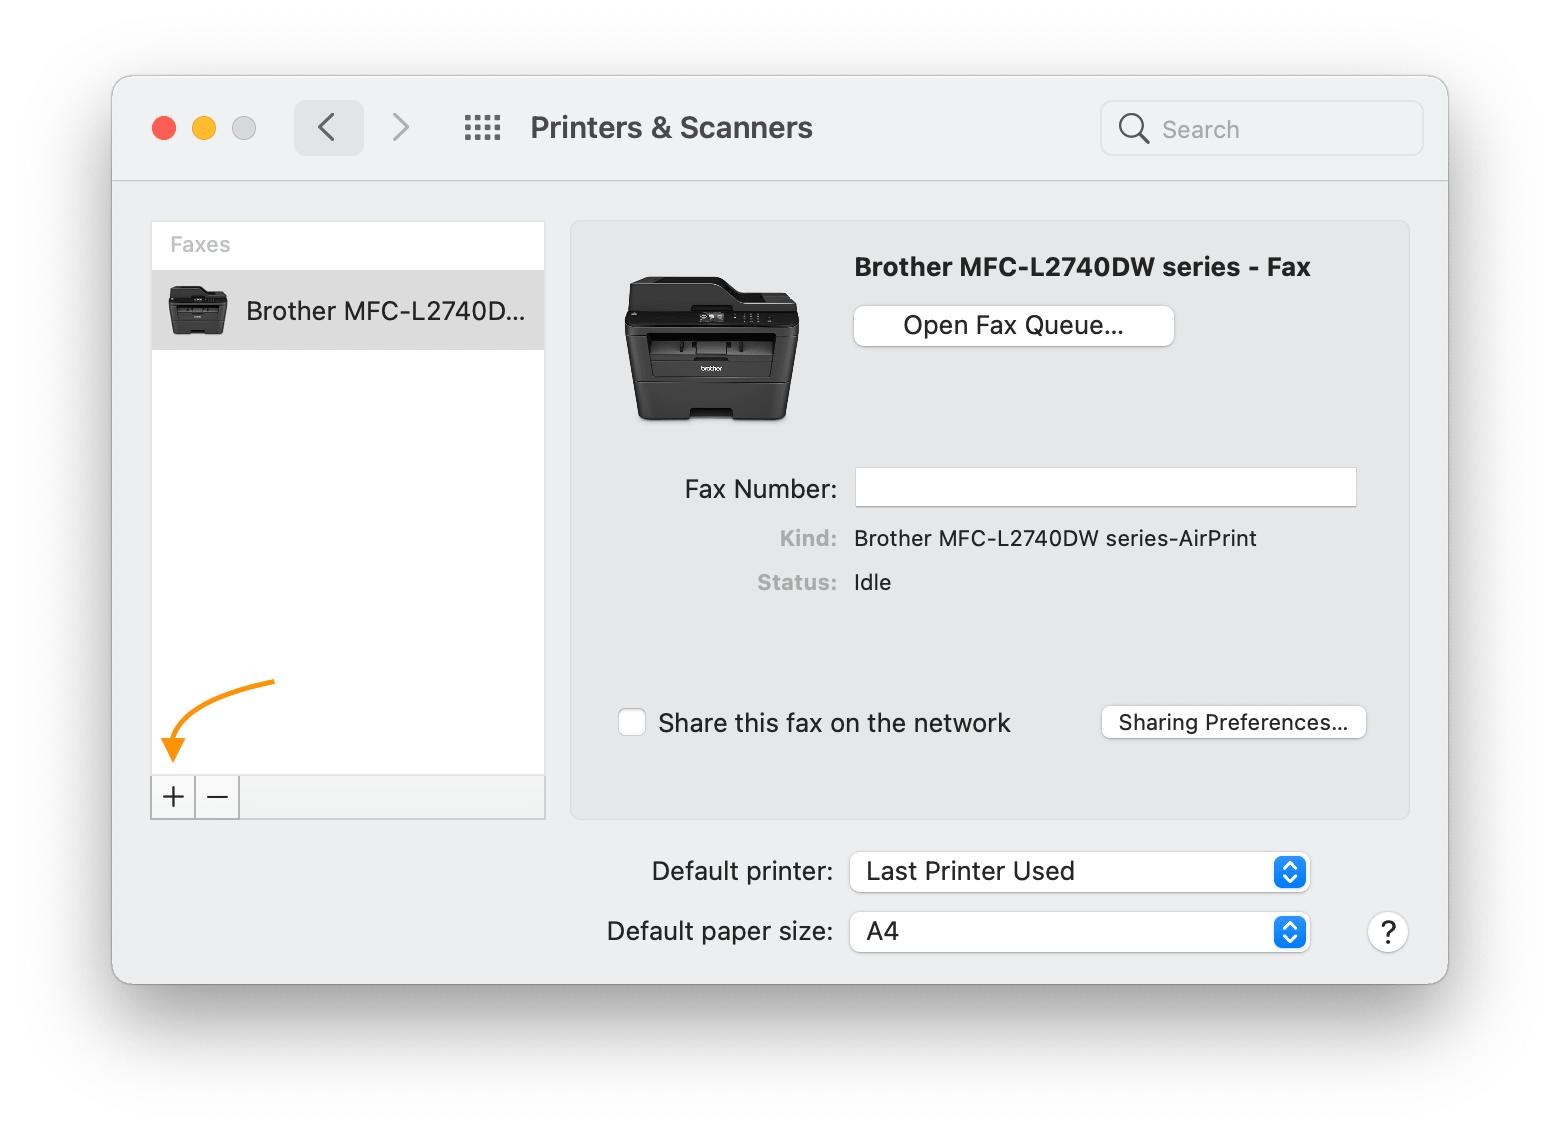
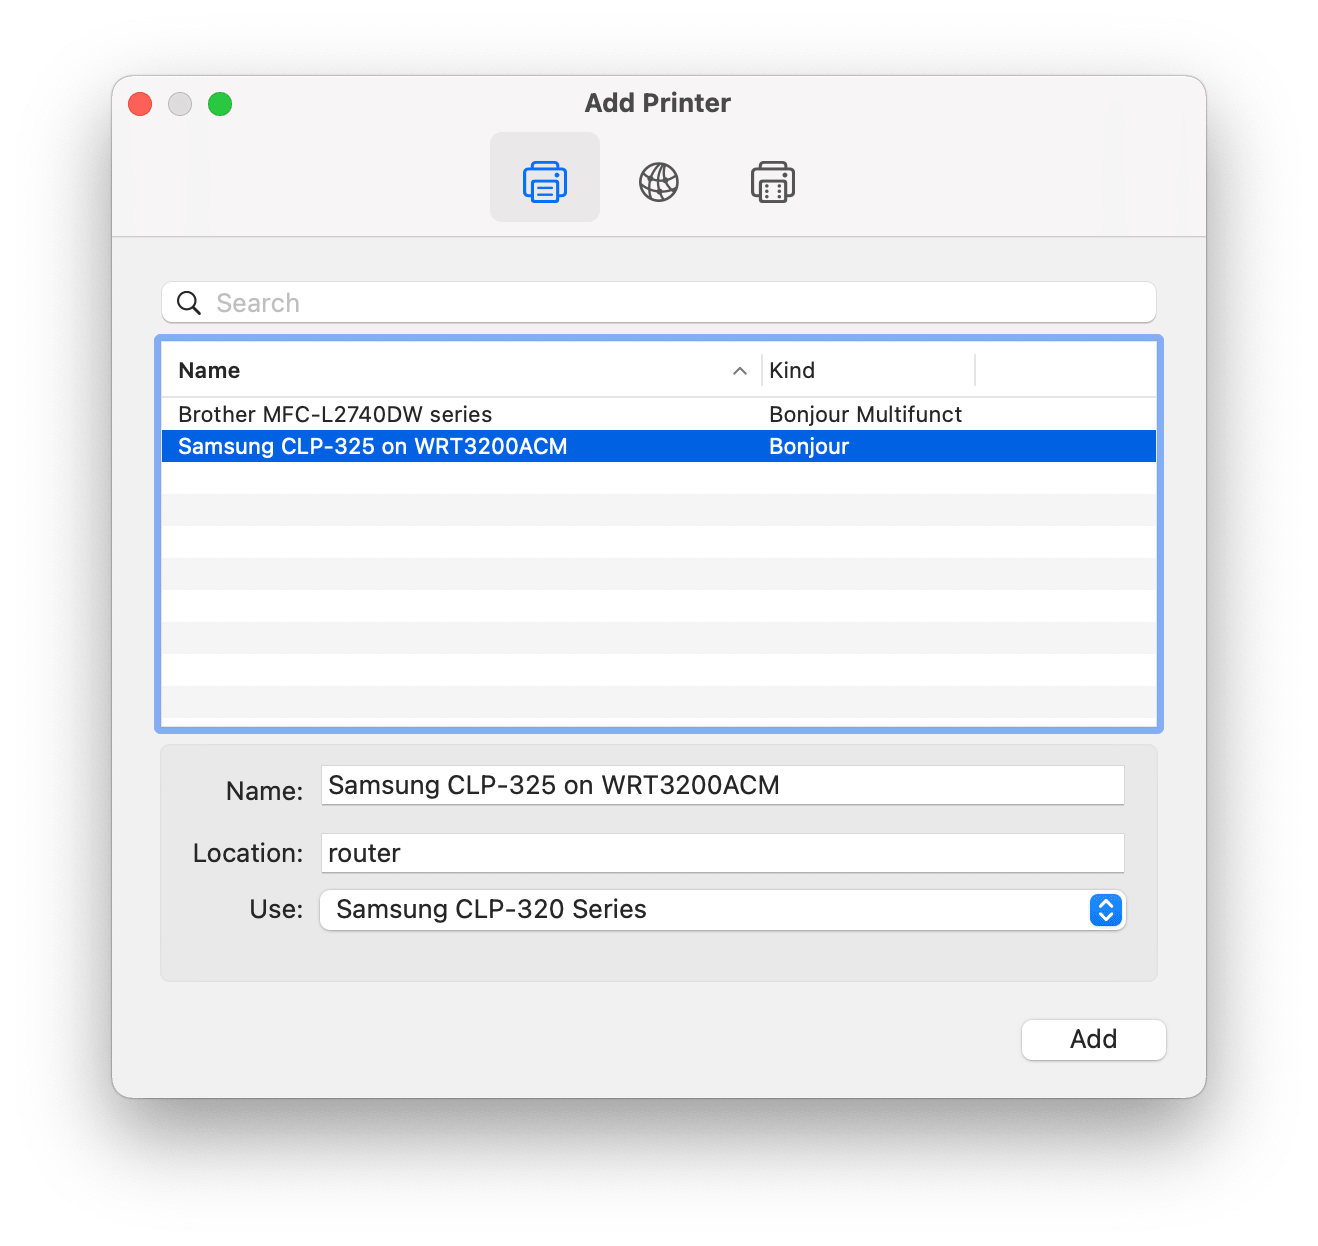
We go to system settings (Settings) and the Printers and Scanners section (Printers & Scanners).
Using the + (plus) button we add our printer.
In the Add Printer window, select the middle icon and enter the IP address of our router in the address field.

In the Protocol field, select HP JetDirect - Socket.
Then we go to the Use field, where we need to select what method our computer used to process printed documents.
We choose Select software… and from the list we choose our printer. If we previously connected the printer to our computer with a USB cable and were able to print to it, it is very likely that the software will be available.
Of course, in the Name field, which I skipped, we enter the name of our printer that we want to see in the system.
Then press the Add button and try to print something.
When adding a printer, we may get a message that the system is unable to verify the printer on our network. We don’t need to worry about that too much, so we click the Continue button.
Installing a printer on a Windows computer
In the example below I used Windows 10 (20H2) but it also works in Windows 11.
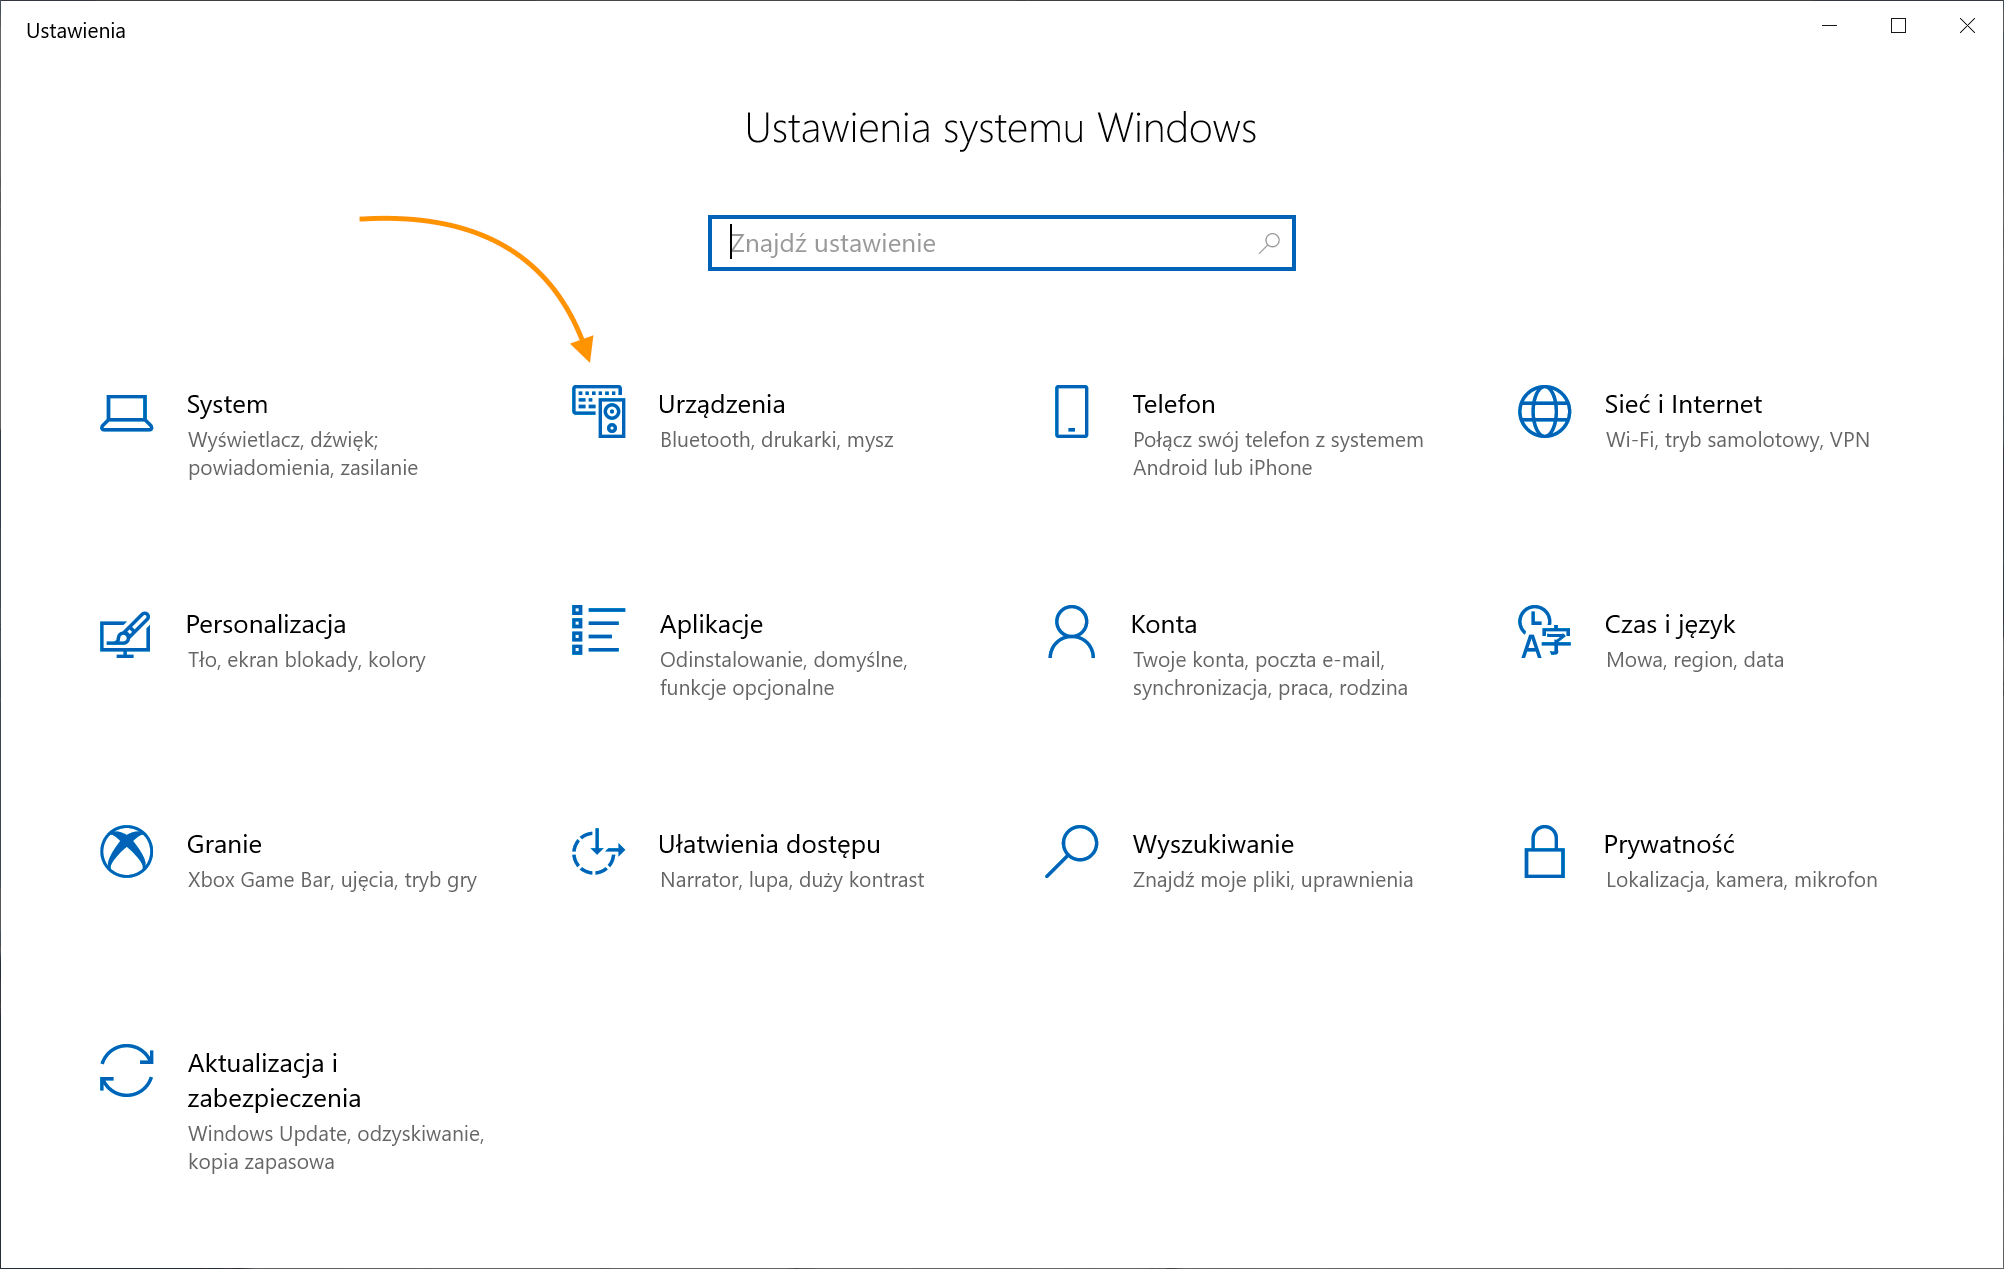
To install the printer in Windows, from the Start menu go to Settings and then to the Devices section.
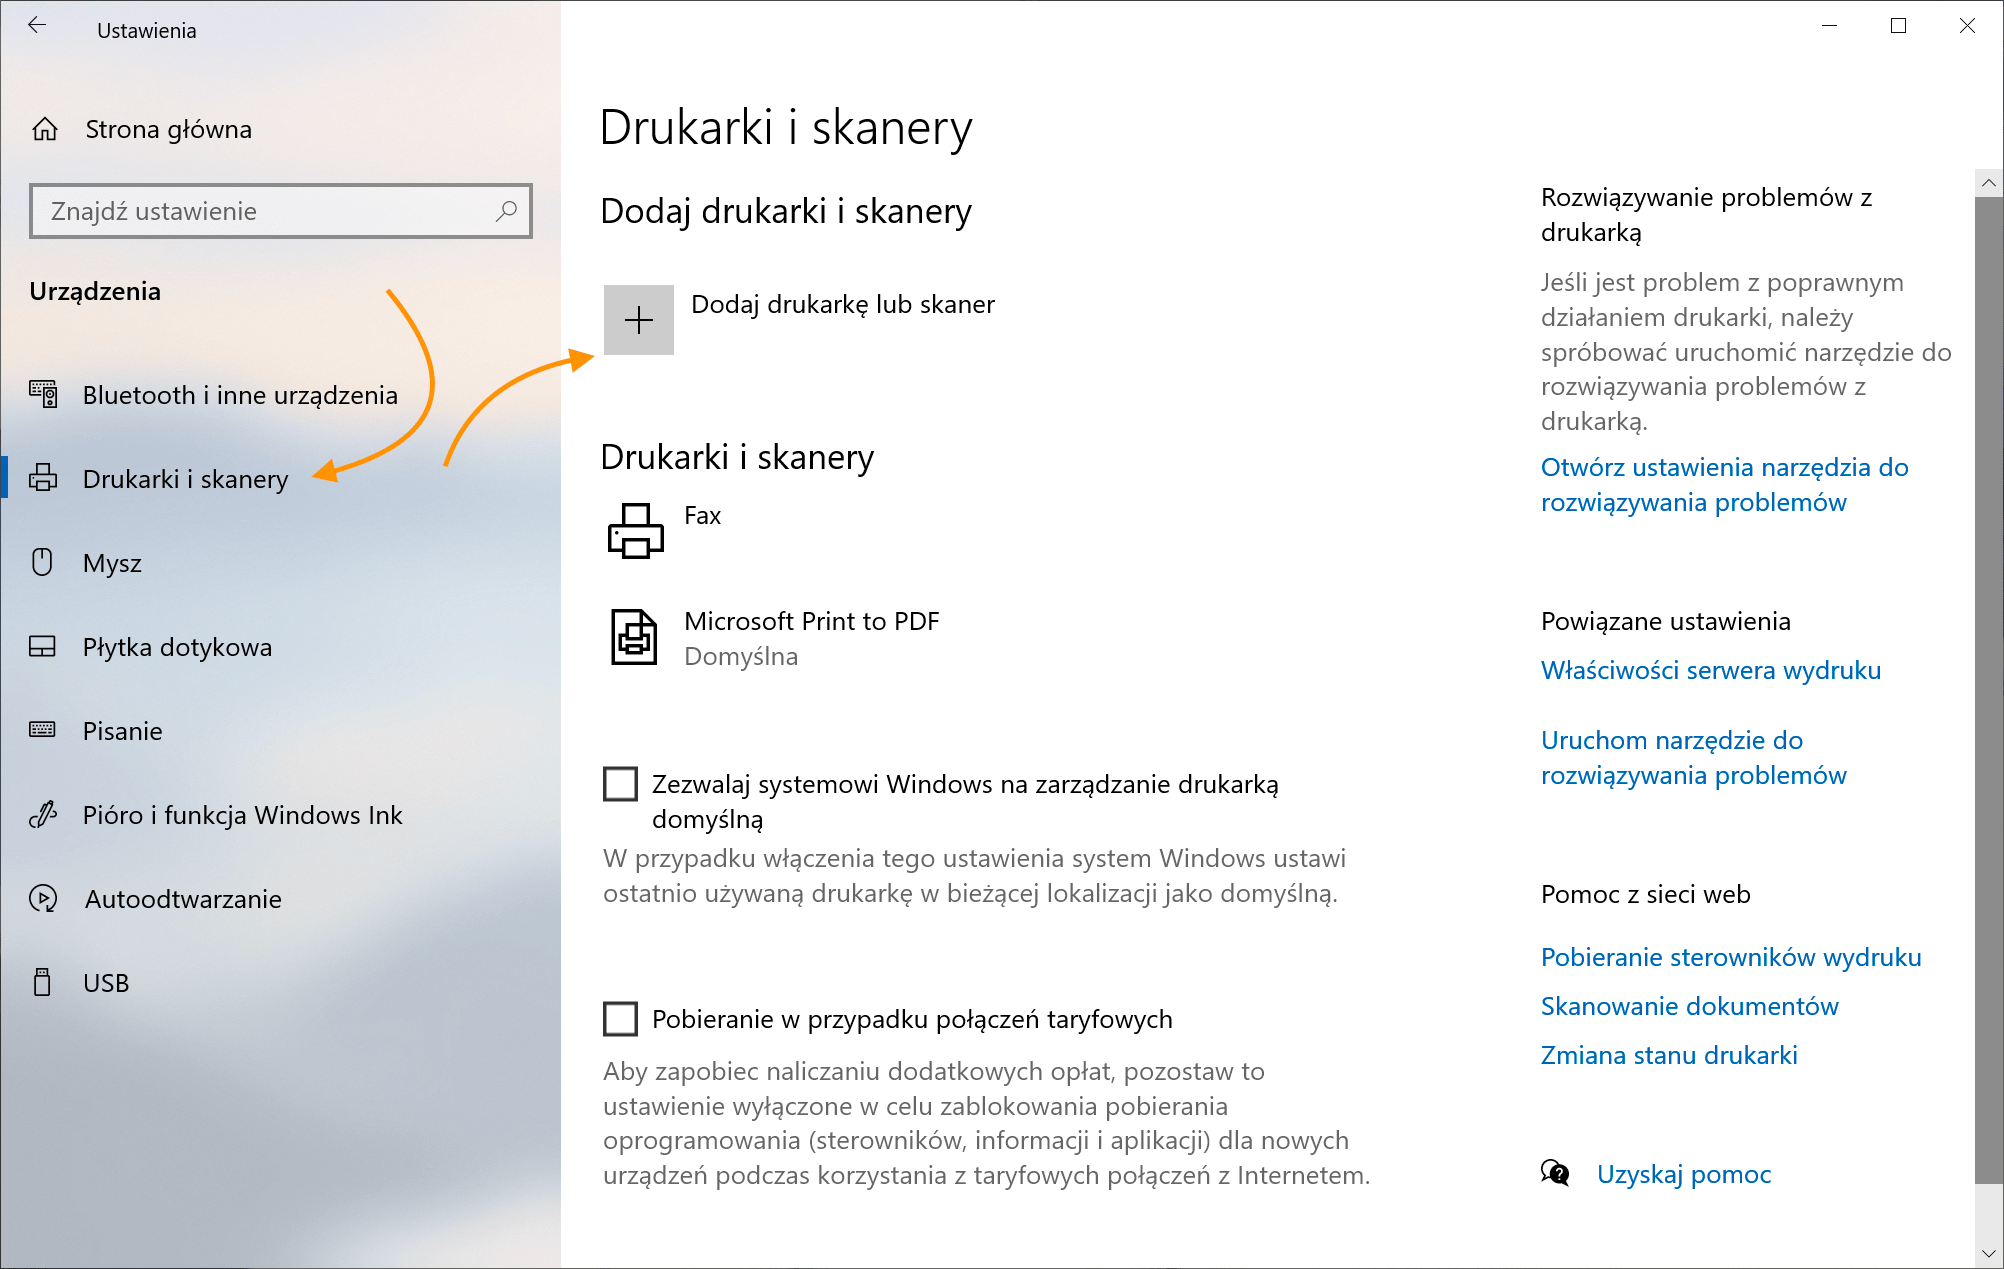
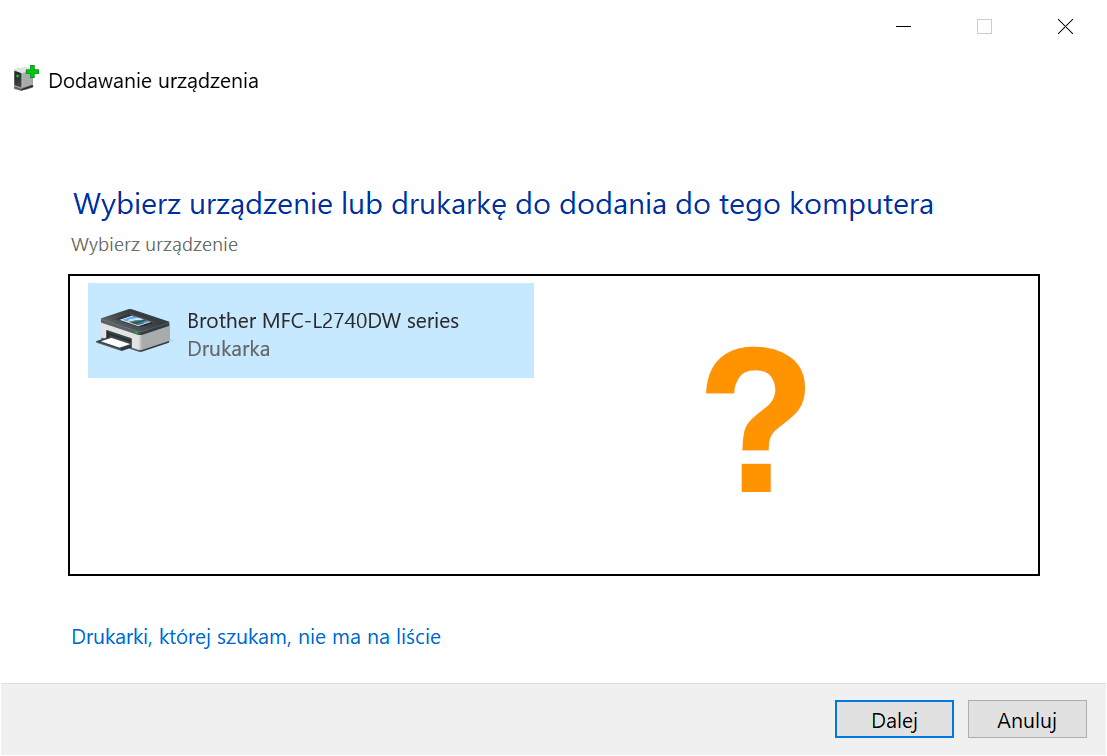
On the left side of the window, select Printers and scanners and then click the Add printer or scanner button.
Of course, at this stage our printer will not be found automatically, so we need to click on the option The printer that I am looking for is not listed.

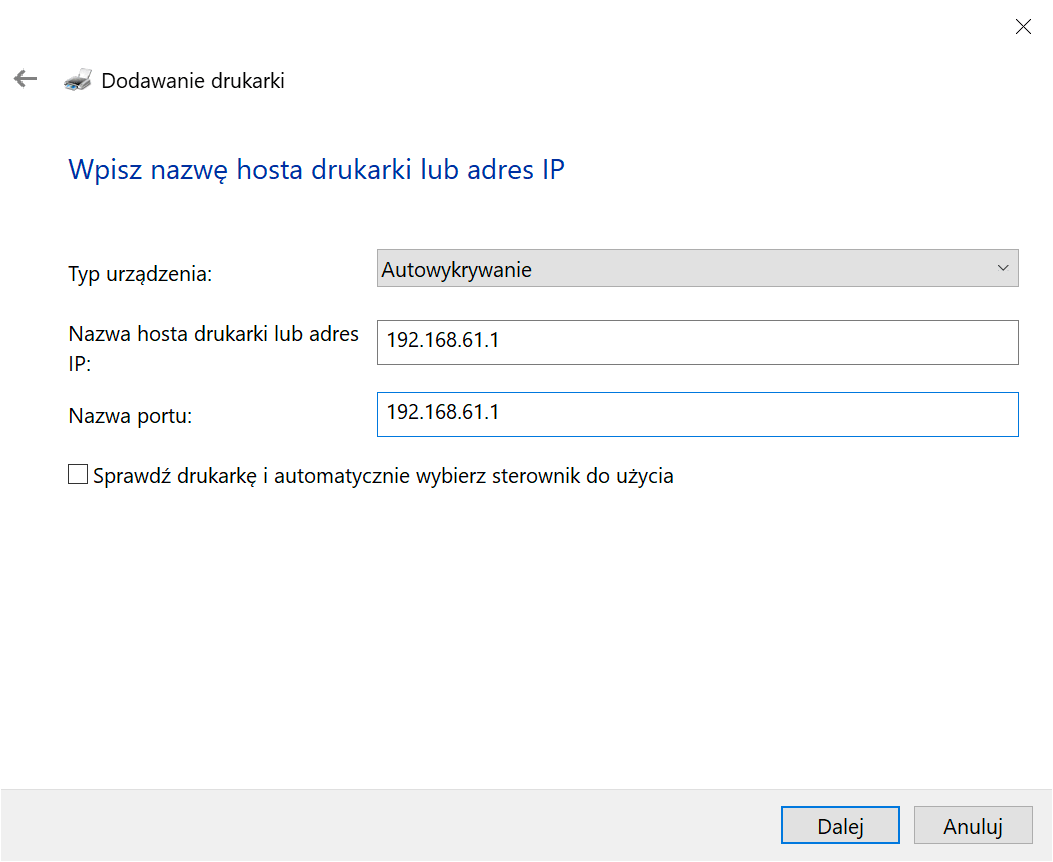
In the next window, select Add a printer using a TCP/IP address or hostname and click Next.

In the address field we enter the IP of our router.
We uncheck the Check printer and automatically select drivers to use box, because our router does not inform what printer is currently connected. We select the Next button.
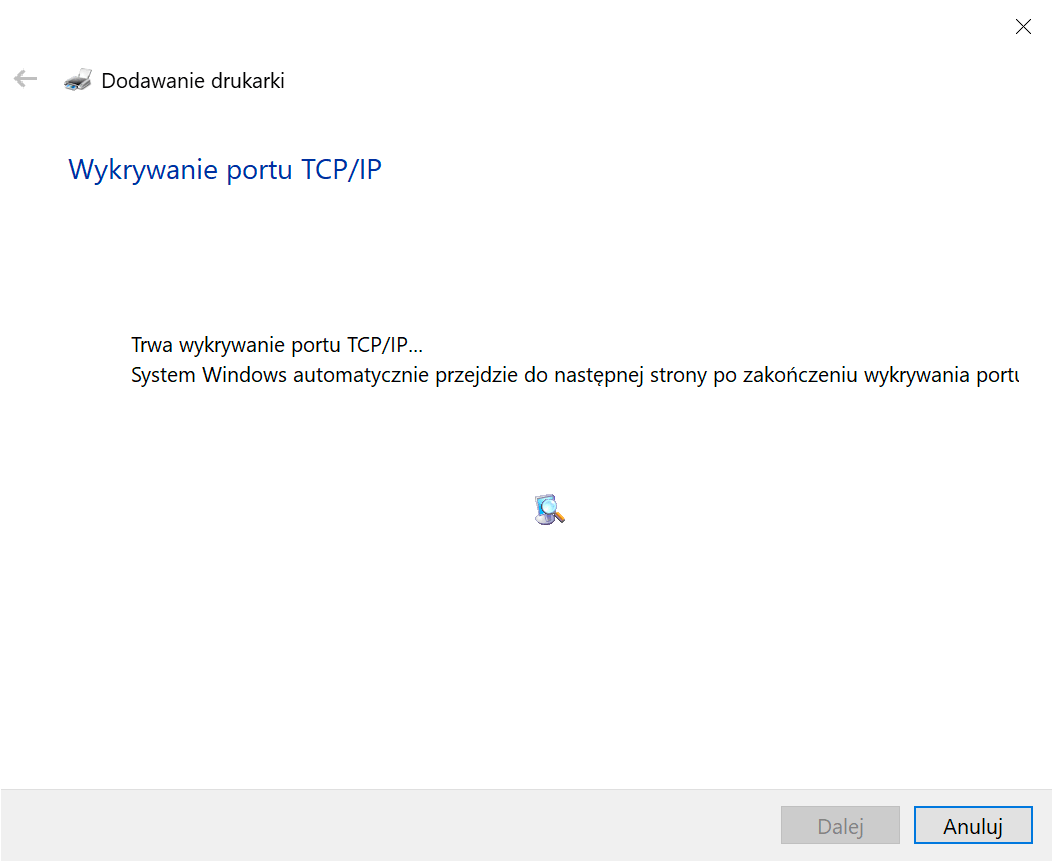
After a while, the system will start detecting the TCP/IP port.
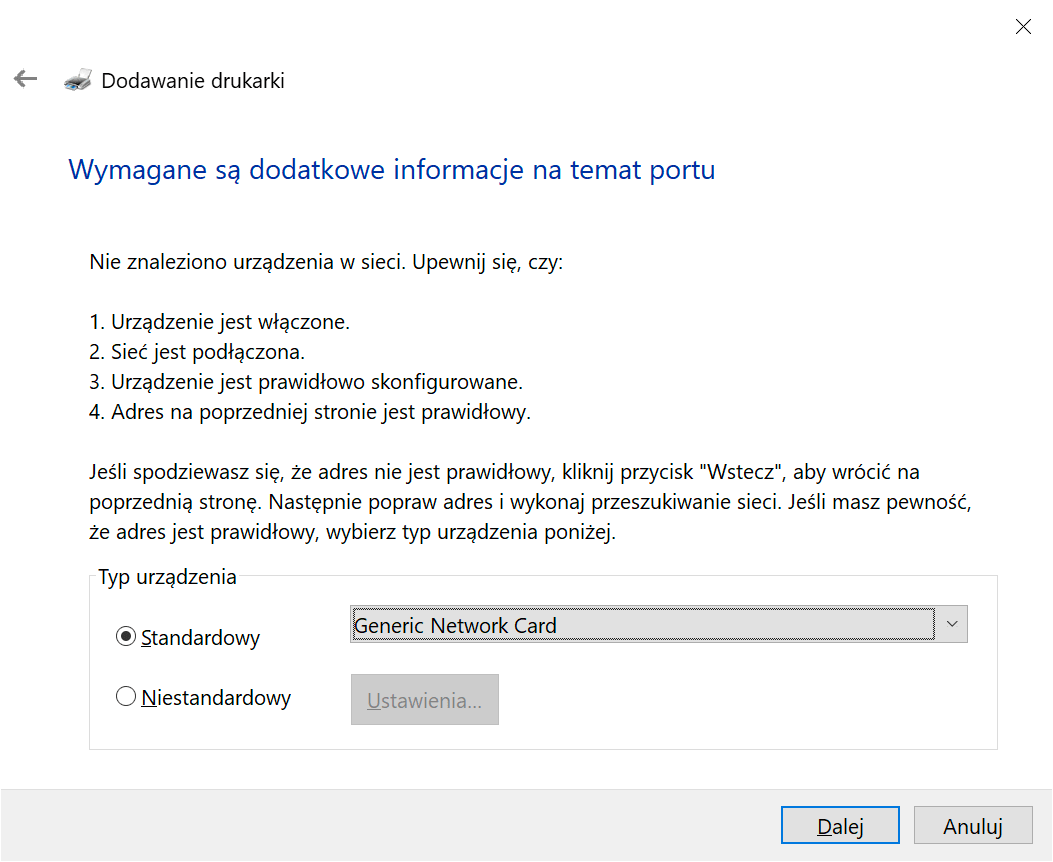
Once this is completed, on the next step we leave the default settings selected (Generic Network Card) and click Next.
Now we need to select the drivers for our device.
Similar to the previous step, if we previously connected our printer via USB cable to the computer and were able to print without any problems, everything should be in the system.
After selecting what we are looking for, click Next.
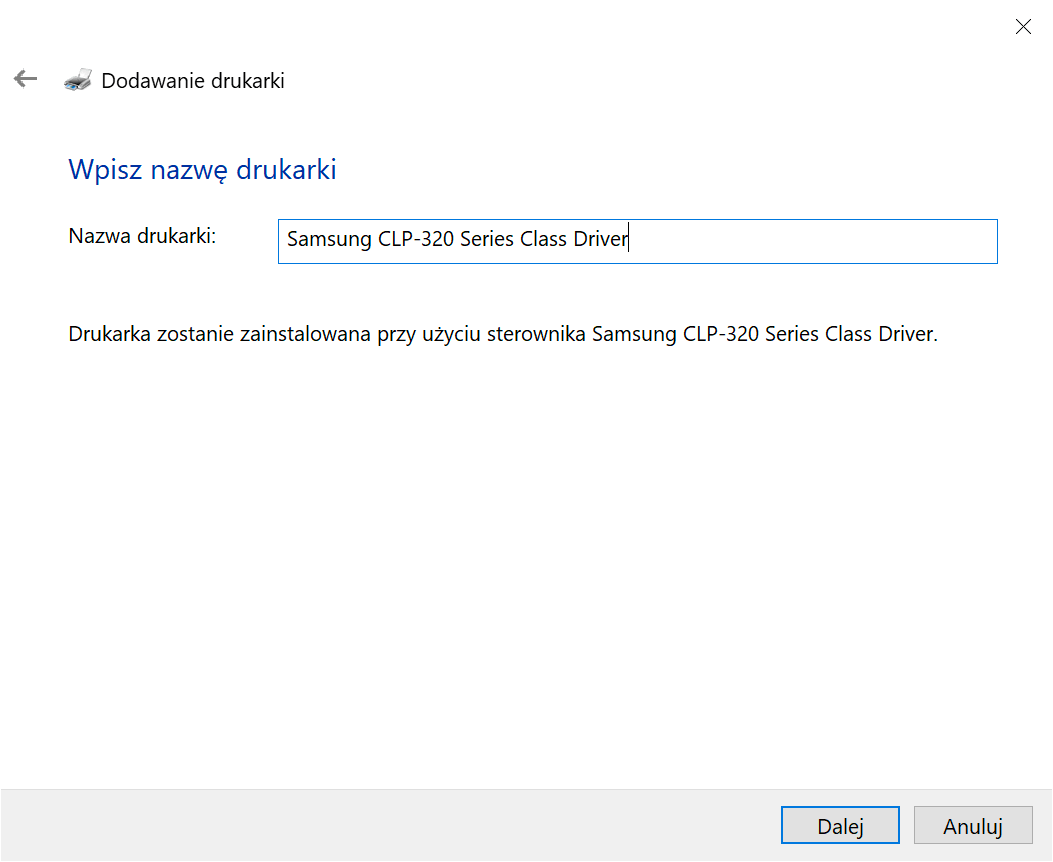
In the next step we can specify the name of our printer or leave the default selected by the system. Click Next.
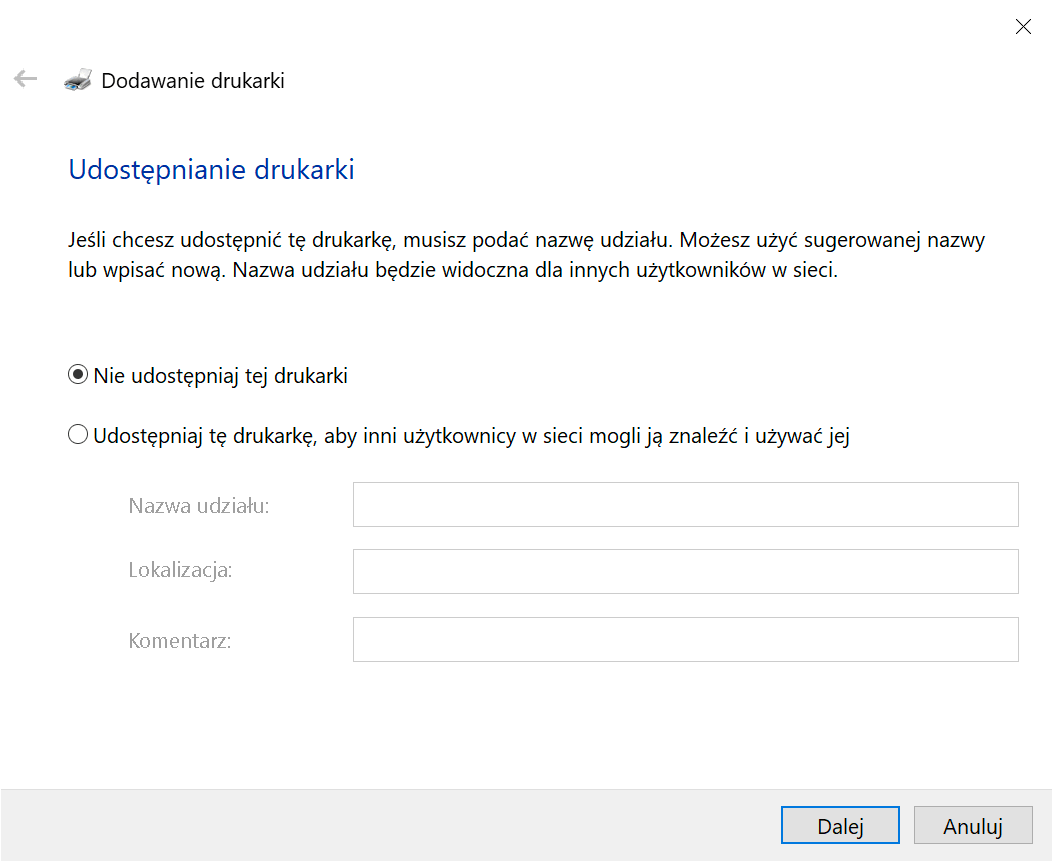
When asked if we want to share the printer on the network, we select Do not share this printer as it is already on the network.
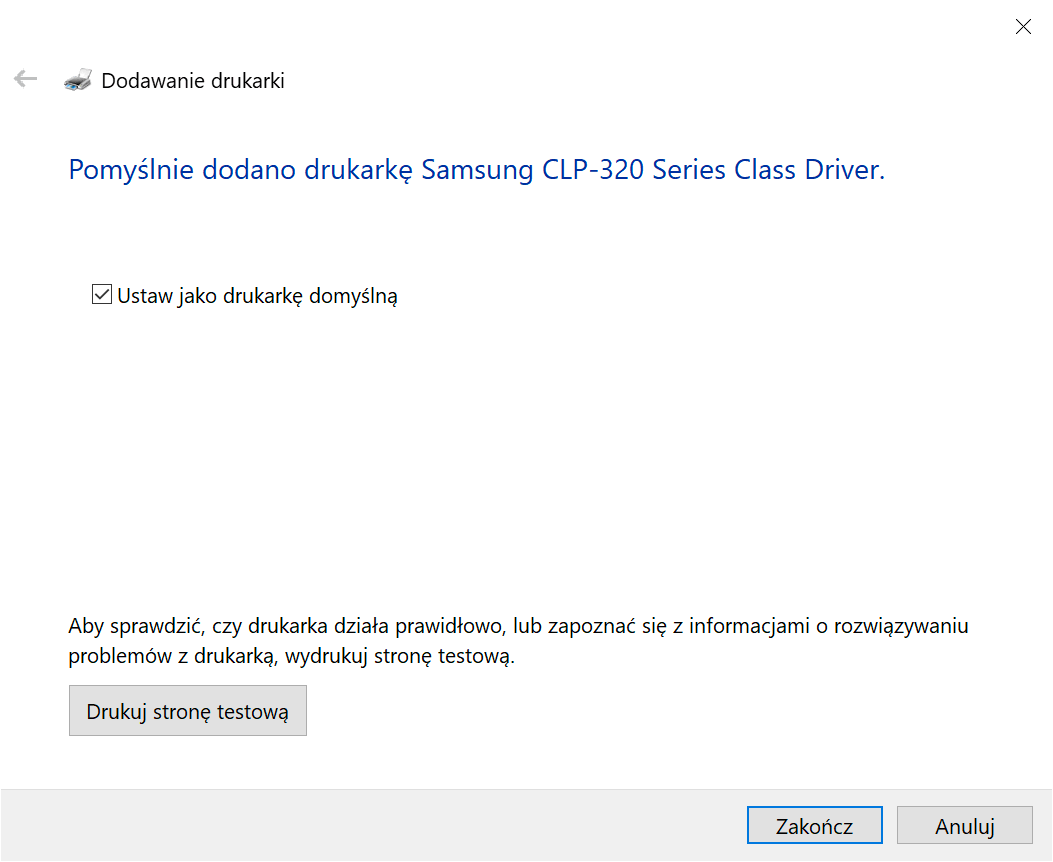
In the last step, we will have the option to print a test page. If we did everything correctly, the printer should start printing.
But what about AirPrint?
And while I didn’t want to go the route of CUPS, which would have added AirPrint in an easy way, I had to think about what to do next.
Reading deeper, I found out a bit that AirPrint uses the IPP protocol. The p910nd server works on the AppSocket principle with support for the LPD/LPR protocol.
Additionally, AirPrint requires mDNS support (Bonjour/Avahi) for the printer to be discovered by Apple devices.
The avahi package is available from the packages level in OpenWrt.
But first things first.
First, I made sure that the printer was detected automatically on the network.
Automatic printer discovery on the network
For this purpose we use entries in the avahi service.
If we do not have avahi in our system, we will install it as follows:
apk update
apk add avahi-nodbus-daemon
According to original entry we create a new file from the terminal nano /etc/avahi/services/printer.service and paste the following content.
<?xml version="1.0" standalone='no'?><!--*-nxml-*-->
<!DOCTYPE service-group SYSTEM "avahi-service.dtd">

<service-group>
  <name replace-wildcards="yes">Samsung CLP-325 on %h</name>
  <service>
    <type>_pdl-datastream._tcp</type>
    <port>9100</port>
    <txt-record>qtotal=1</txt-record>
    <txt-record>note=room 2</txt-record>
    <txt-record>ty=Samsung CLP-325</txt-record>
    <txt-record>product=(Samsung CLP-320 series)</txt-record>
    <txt-record>usb_MFG=Samsung</txt-record>
    <txt-record>usb_MDL=CLP-320 series</txt-record>
    <txt-record>Color=F</txt-record>
    <txt-record>Duplex=F</txt-record>
    <txt-record>Bind=F</txt-record>
    <txt-record>Collate=F</txt-record>
    <txt-record>Sort=F</txt-record>
    <txt-record>Staple=F</txt-record>
    <txt-record>Punch=F</txt-record>
    <txt-record>PaperMax=legal-A4</txt-record>
  </service>
</service-group>
Of course, we adapt the printer name to our needs.
We restart the service:
/etc/init.d/avahi-daemon restartIn the case of macOS, the value in the product= section is responsible for the name of the driver in the system, so that our printer will not only be detected automatically, but the system will also select the correct drivers.
However, as you will notice, the printer is detected correctly in macOS but not in Windows 10.
This is the nature of avahi and the lack of support from Windows 10.
In the case of Windows 10, we have to add the printer in a more manual way, as described above.
Printing from a phone (including iPhone)
Unfortunately, when using p910nd as a print server, there is no way to add AirPrint support.
I slowly started to get used to it (looking for another solution), but I decided to experiment.
Well, since my printer works on the network and is detected by macOS automatically, maybe there is hope.
HP (the current owner of Samsung’s printer section), like other manufacturers, release their own software for mobile devices (whether with Android or iOS/iPadOS) that enables printing, even when there is no possibility of using the native option built into the system, i.e. AirPrint.
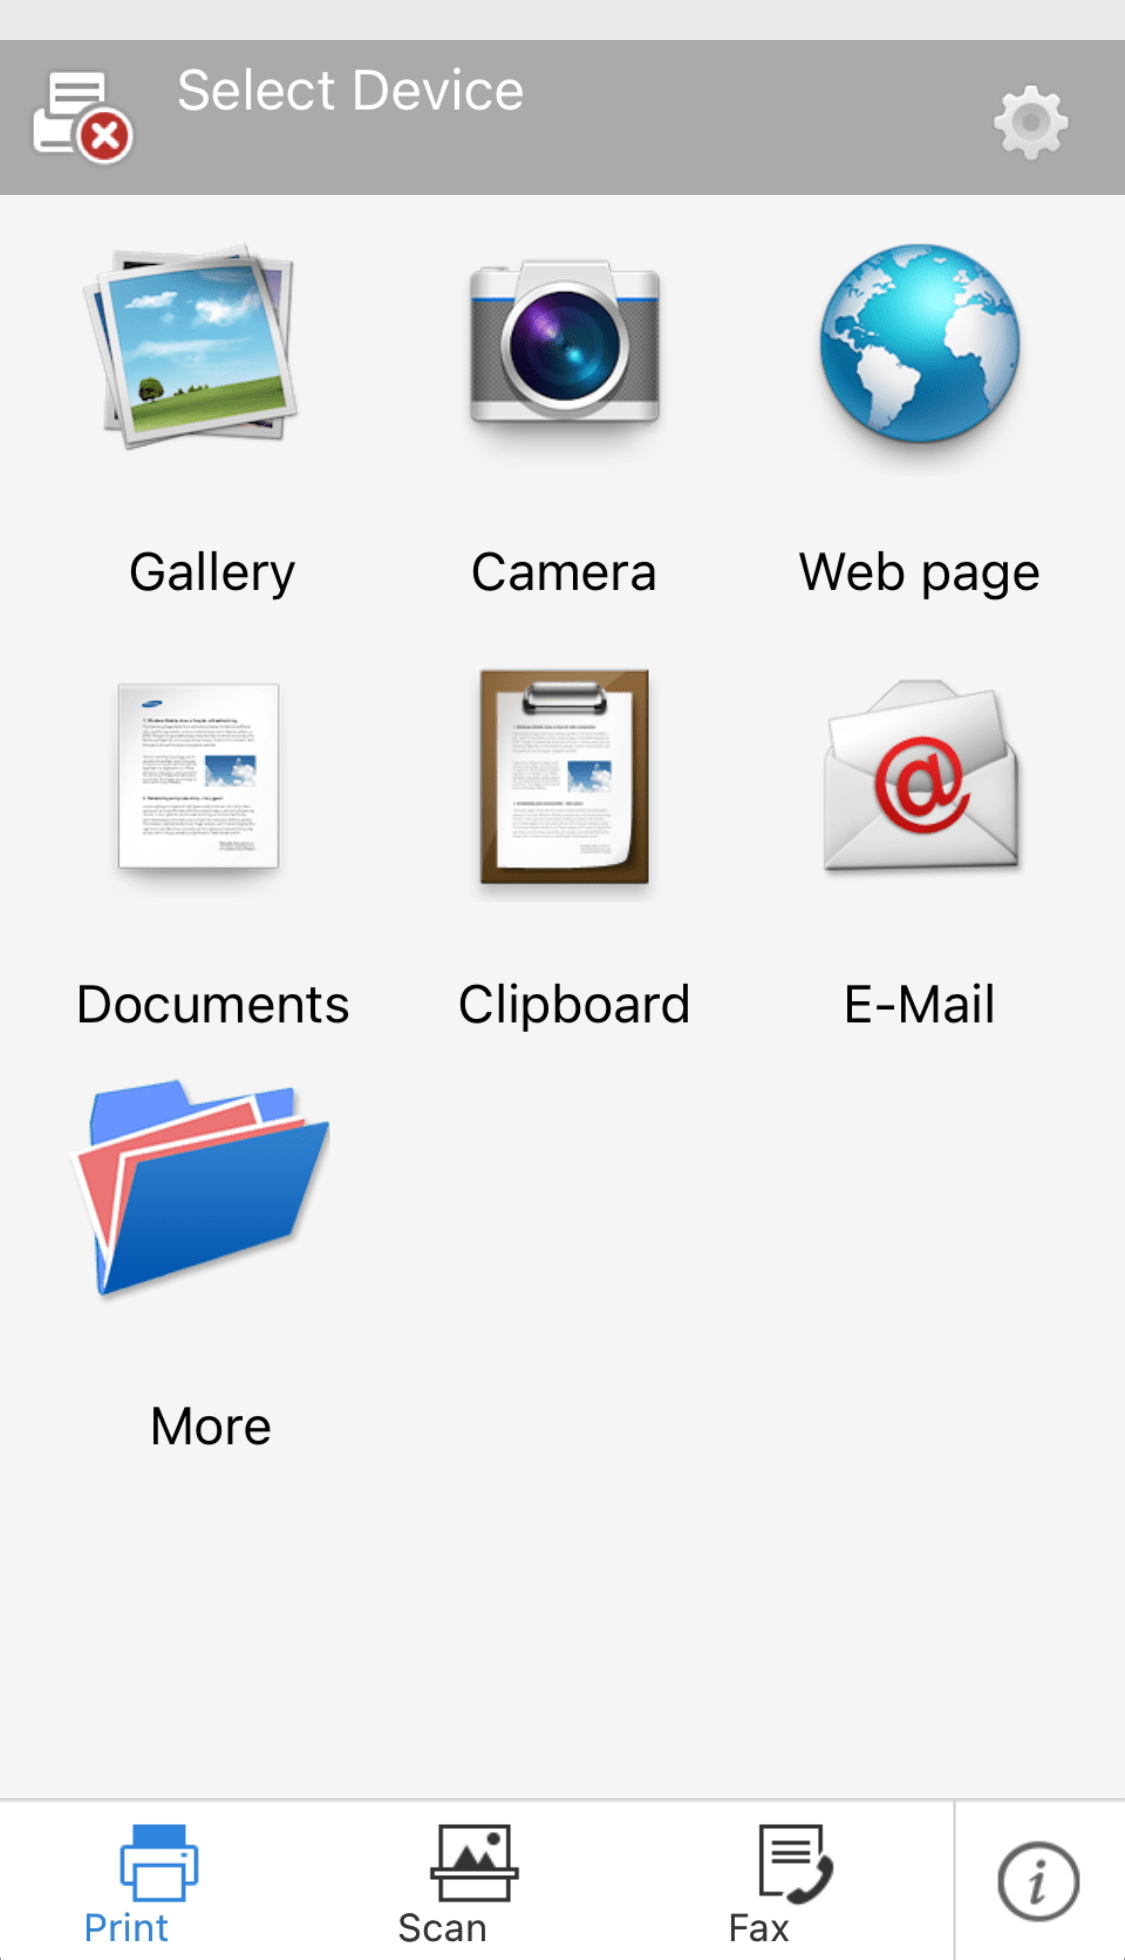
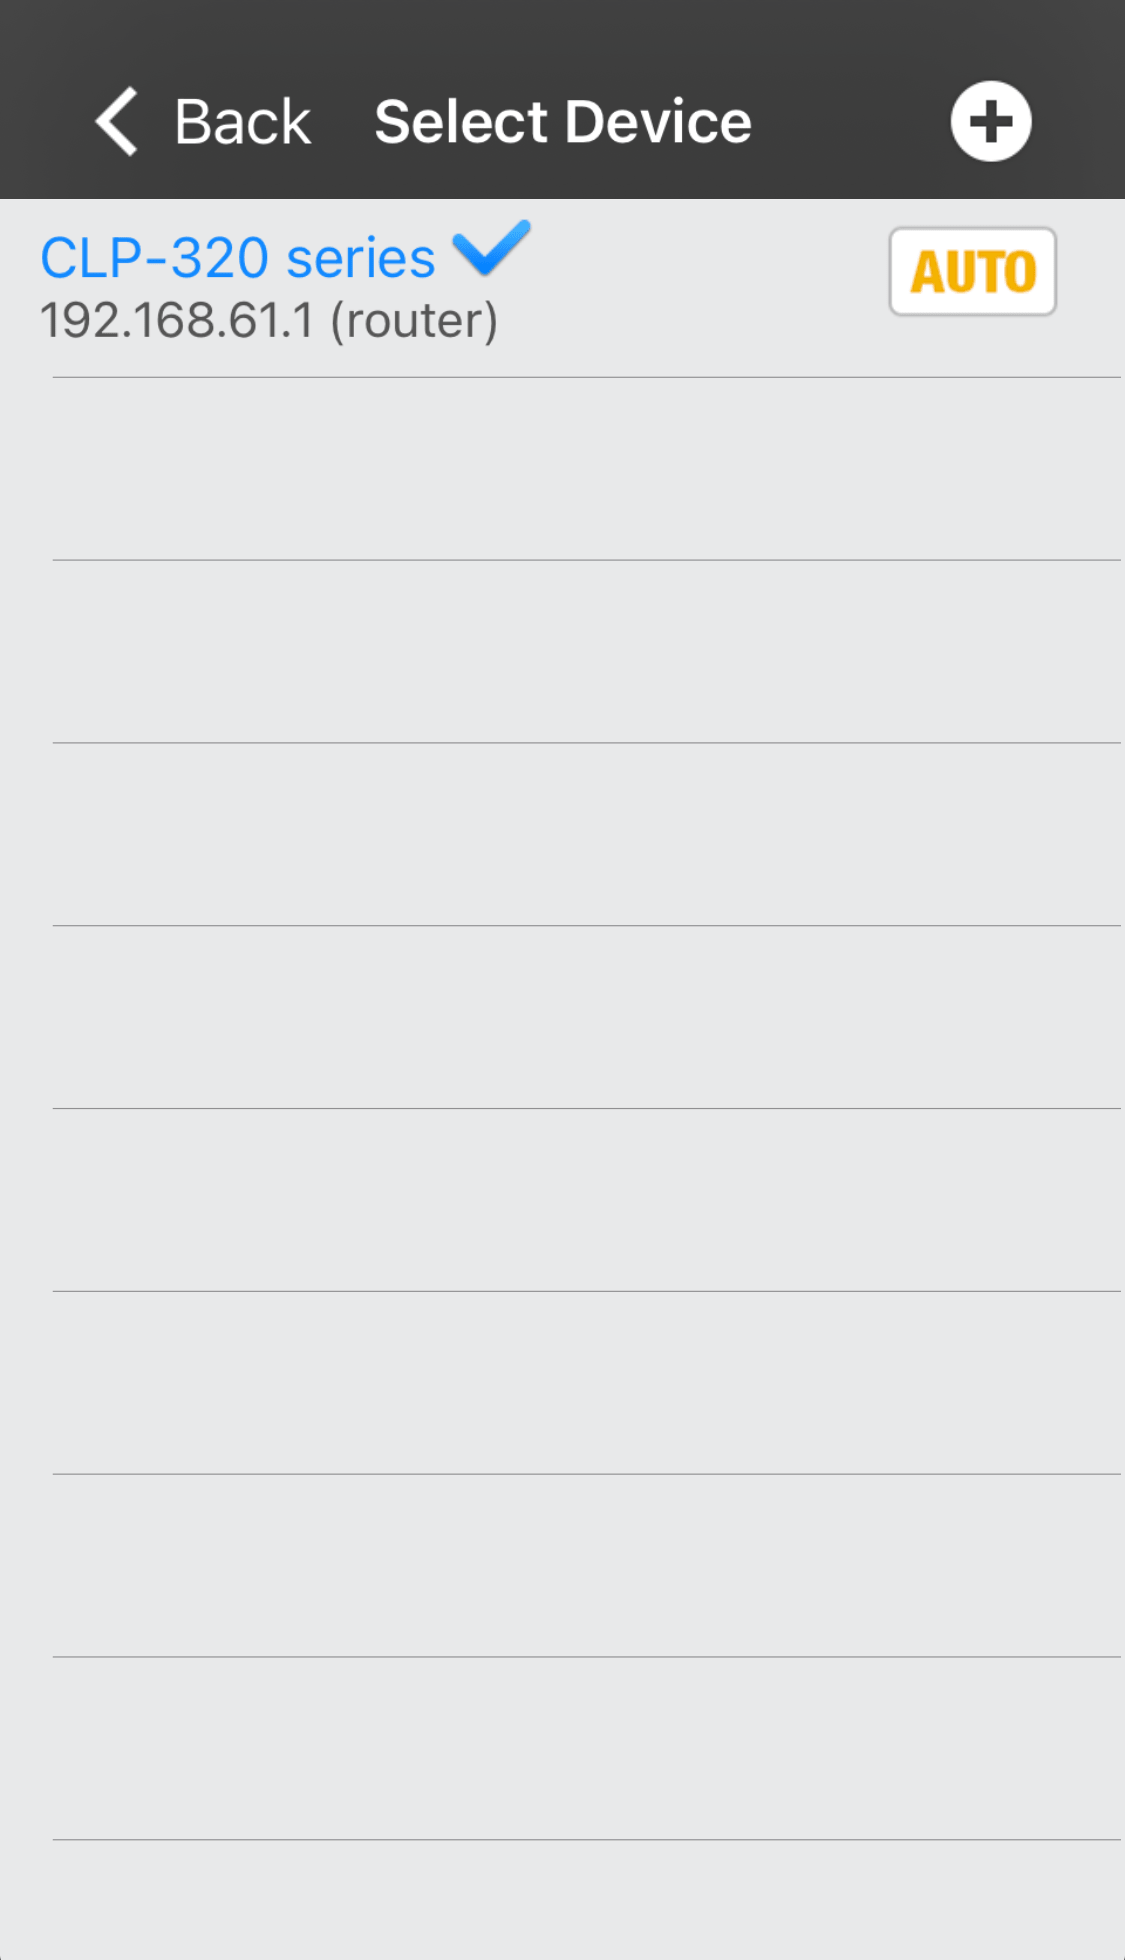
So I reached for the Mobile Print app (Android, iOS/iPadOS).
Even though I’m not a fan of this type of solution, like most users, as evidenced by the very low ratings, I have nothing else left.
After starting the application, I clicked on the Select Device text to add a device and after a moment I saw that my device was detected correctly! What’s more, after adding it to the program, it suddenly appeared as available with a green checkmark.
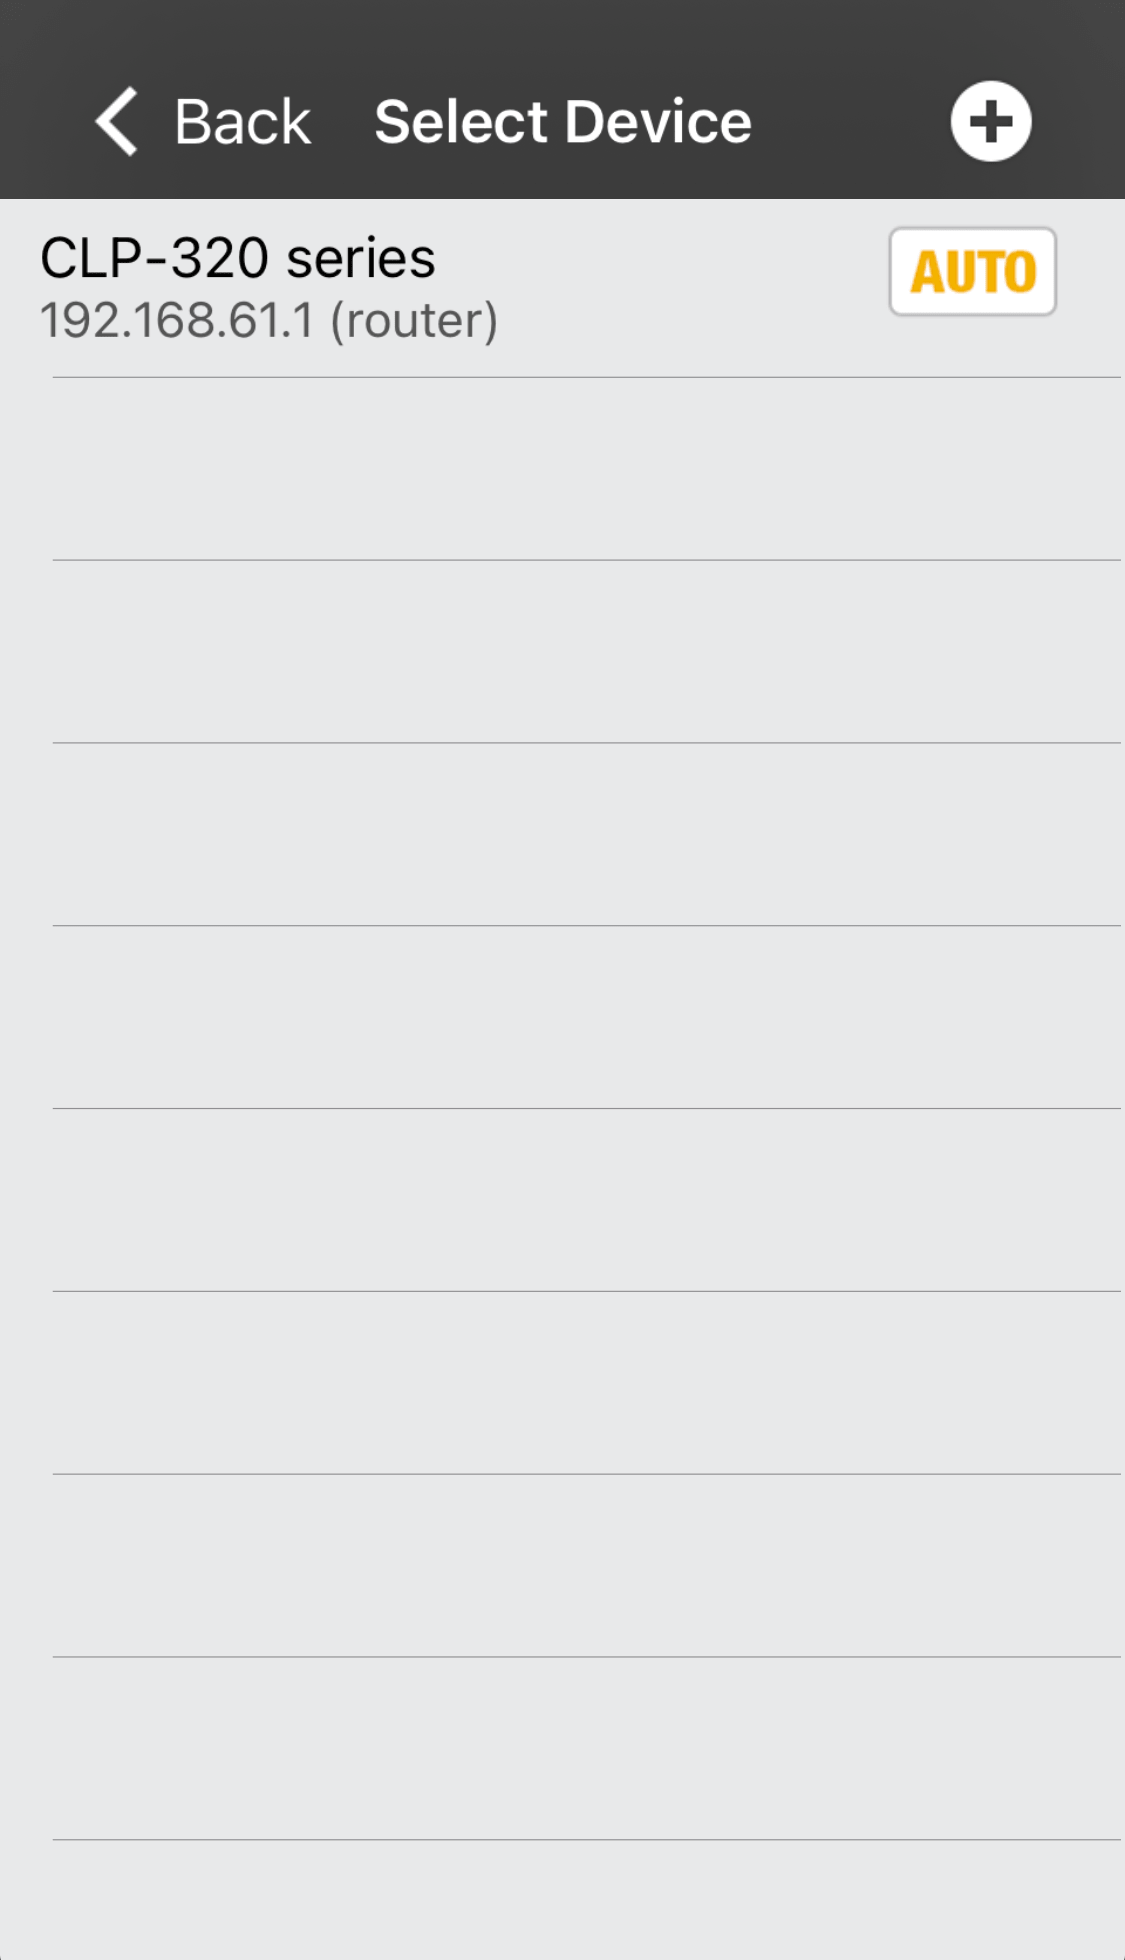
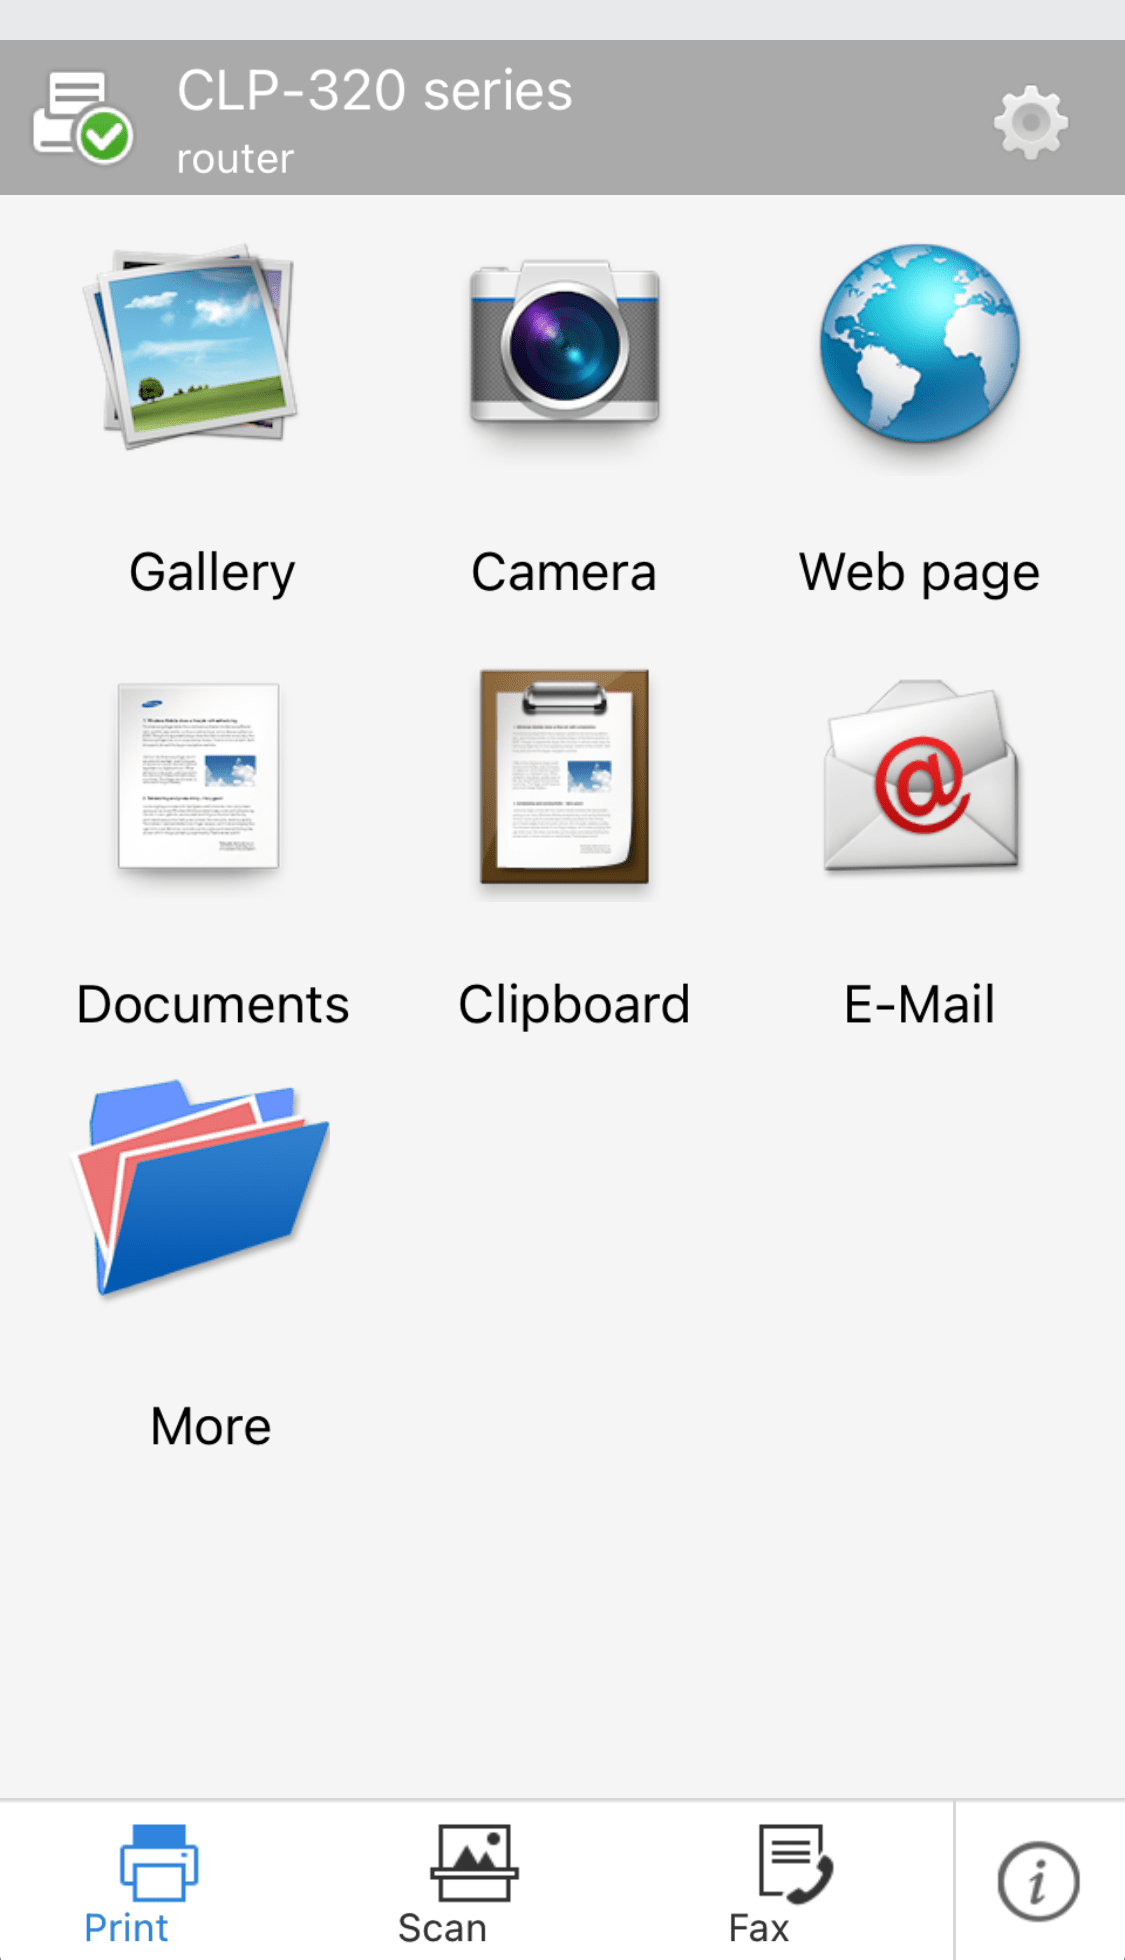
I quickly printed one photo from my gallery. Something I didn’t expect, the print appeared and it did as it should.
So it works!
Even though it was only a partial success (I still don’t have convenient AirPrint), I can print.
But what about AirPrint?
Unfortunately, using OpenWrt, at the current stage of development this is not possible. End of story.
Of course there is hope thanks to the OpenPrinting/ipp-usb project, but that may be in the future.
Using p910nd instead of CUPS has its advantages and disadvantages.
The advantage, as I mentioned earlier, is its low resource consumption, so you can install and use it without problems even on a low-performance router. The print server is fast, print preparation (spooling) is done on the client side and sent directly to the printer.
The disadvantage, however, is the lack of AirPrint support, which means that printing from phones such as iPhones can only be done thanks to an additional application, as I mentioned earlier.
So what remains?
The goal of this post, i.e. adding a USB printer to a router with OpenWrt, enabling network printing, has been achieved.
For me, however, this is not enough, so I treat the above as an experiment and I will be tempted to use Raspberry Pi again.
This time, on The Pi Hut I bought Raspberry Pi Zero W, which cost only £9.30 (~46.60zł)! I also bought a mini-HDMI cable (because I didn’t have one) - £2.40 (~12zł) and a case for £3.00 (15zł). Using some unused phone charger (1.5A), I solved the charging problem. I also used a microSD card lying around in a drawer and a microUSB to full-size USB adapter. And so, using pure Raspbian and the installed CUPS package, I can easily get my own wireless and low-power print server… with AirPrint support.
Ah.. I could have done it right away, but I preferred to see if I could use what I already have. And maybe someone will find the above solution useful.
Regards.


Comments & Reactions