Installing Windows 11 in UTM on macOS and Apple Mac M1
In a searching for Windows 11 designated to arm64 based processors, (like Apple M1 and newer) I found, on UUP Dump, a version Windows 11 arm64, which was marked as designed for Retail. I decided to try to install it in UTM on macOS and my MacBook Air with M1.

Below post has been updated using Windows 11 version 22H2. If you previously installed version 22H1 saddly there is no easy method for pdate to 22H2 due to further restrictions put my Microsoft. You can try to follow Stephen Wagner post How to force Windows 11 22H2 Feature Update, and try method described there. This however didn’t work for me and I finished in reinstalling fresh system with 22H2.
Retail channel (in theory) is classed as stable and designed for end-user. The surprise is that Microsoft is not officially advertising it and you cannot just download the ISO file that will allow you to install it on a compatible device.
This is an ARM64 build
This build is only compatible with:Surface Pro X
Raspberry Pi
Apple Mac M1
other glorified mobile phones
Heading to this page we may download a file that will allow us to generate an ISO file for Windows 11 22H2 which we will be able to use with UTM at a later stage.
Windows 11 22H2 generated from the UUP Dump website somehow is lacking Microsoft Store. The last know working version with it was Windows 11 21H2. You may consider sticking to this version if you want a full user experience with all apps like on a typical Windows computer.
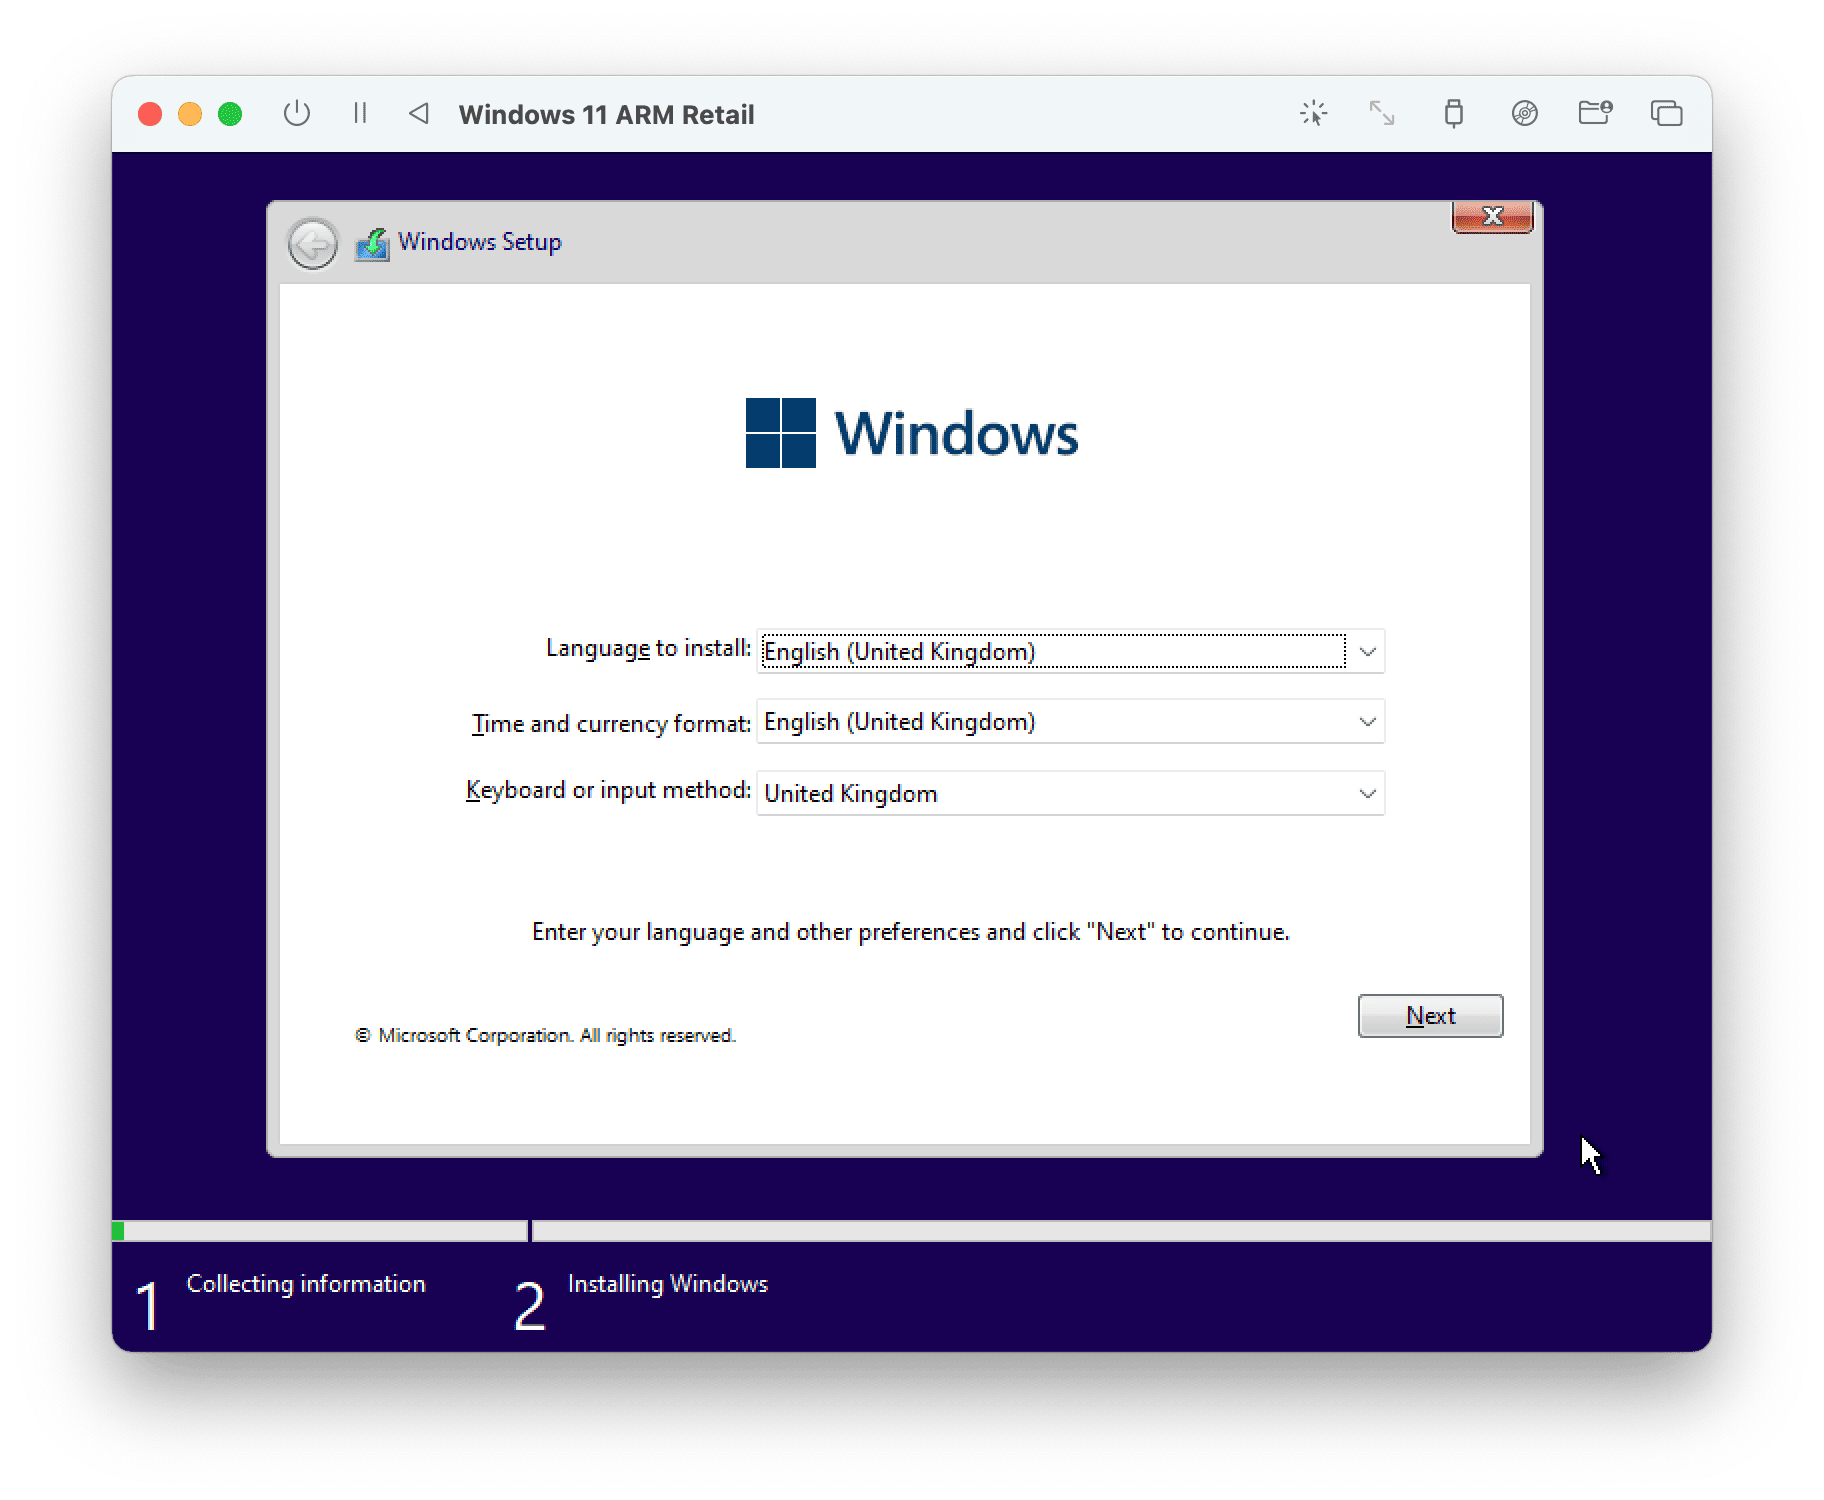
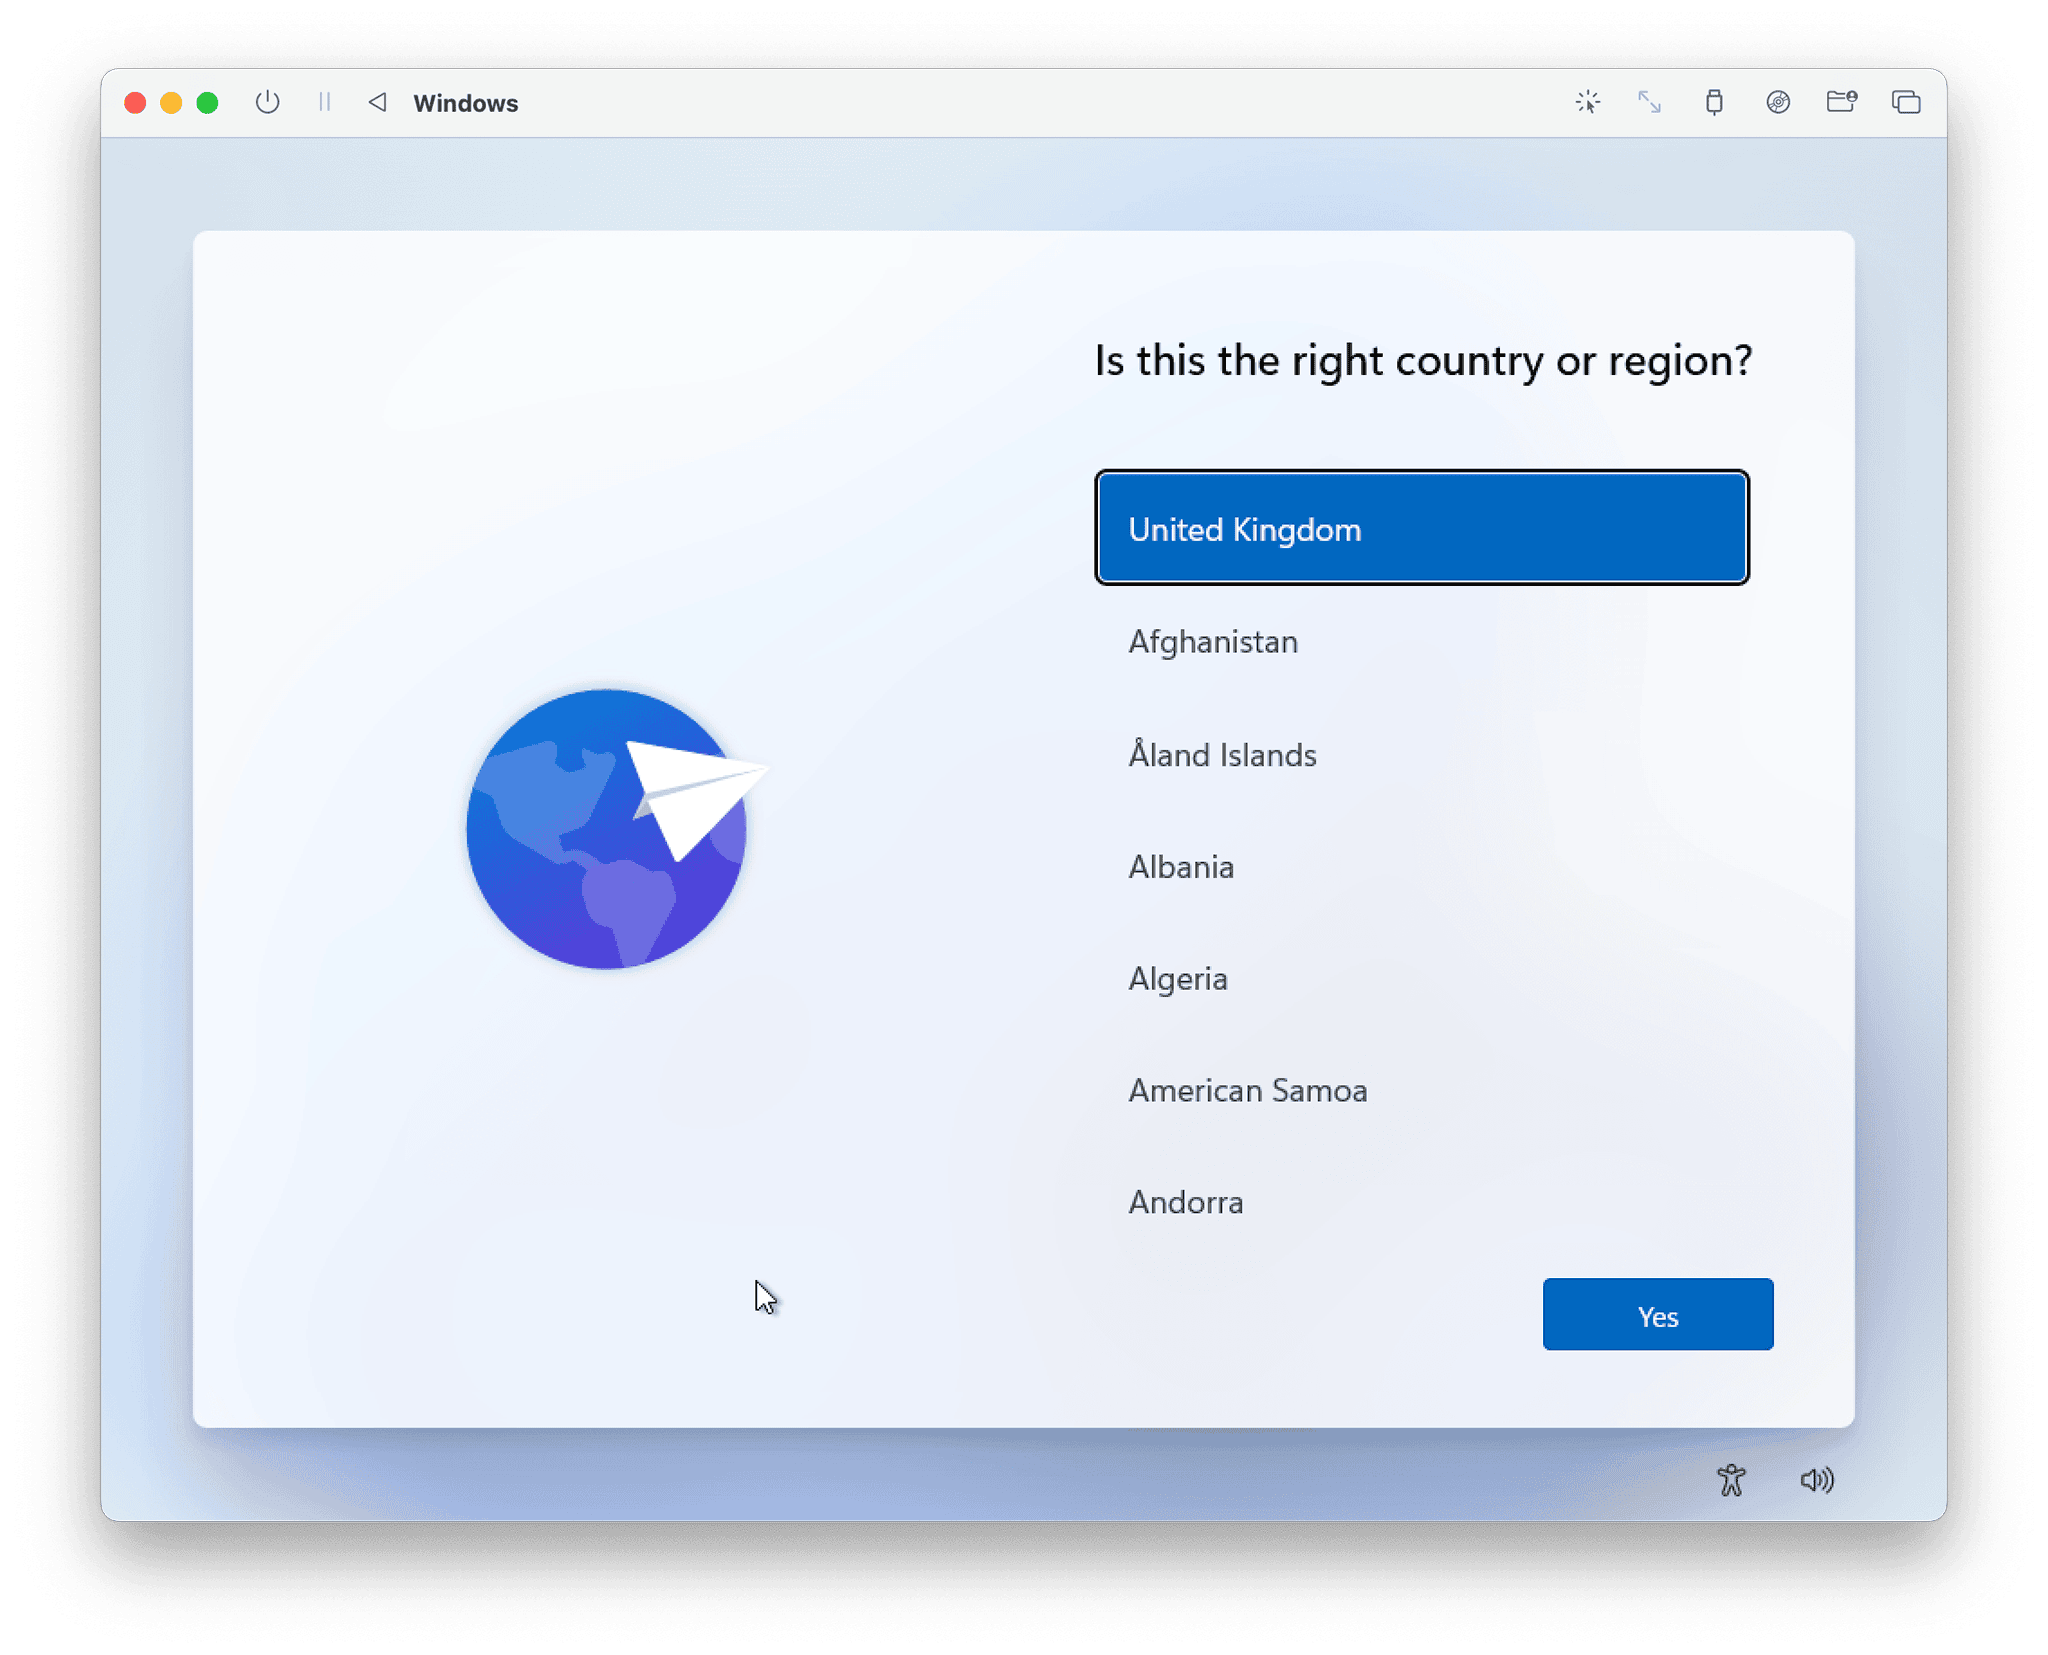
To generate a UUP Dump file for my purpose I selected English (United Kingdom) and in the next step, I leave all editions (Windows Home and Windows Pro).
As a download method I leave the default Download and convert to ISO and conversion option, also selected by default, Include updates (Windows converter only).
Finished by clicking Create download package and after unpacking it, followed steps from
readme.unix.md.
Before we start, we need to have Brew installed in our system followed by additional packages as described later in generated UUP Dump package.
Even if you have the below commands run in your system some time ago, worth to re-do this again, as brew will update them if there are any newest versions available.
brew tap sidneys/homebrew
brew install cabextract wimlib cdrtools sidneys/homebrew/chntpw
You may also need aria2 package
brew install aria2
Once that is done, we can start building our ISO file by running the command:
sh uup_download_macos.sh
Depending on how fast your broadband is, it may take some time to complete. Let’s wait patiently.
On mine 200Mbps broadband and MacBook Air M1 download and conversion took just 5 minutes.
After a long while, if your transfer was not interrupted (which in my case was, and I need to re-run the above command) I ended up with my ISO file. Thanks to aria2 package you can stop downloading at any time and continue when convenient.
Before you start, you need to remember that you will find a couple of struggles during the installation process as I described in my post Trying Parallels Desktop alternative - UTM, and what you can read on UTM Documentation. One of them was the lack of a Microsoft Store. This is why I tried the Insider Preview version to get this sorted. Let’s see if the product marked for Retail is different.
In the below steps, I used UTM in version 4.1.5.
Installation
We will be following the steps as described in instruction with some input from myself.
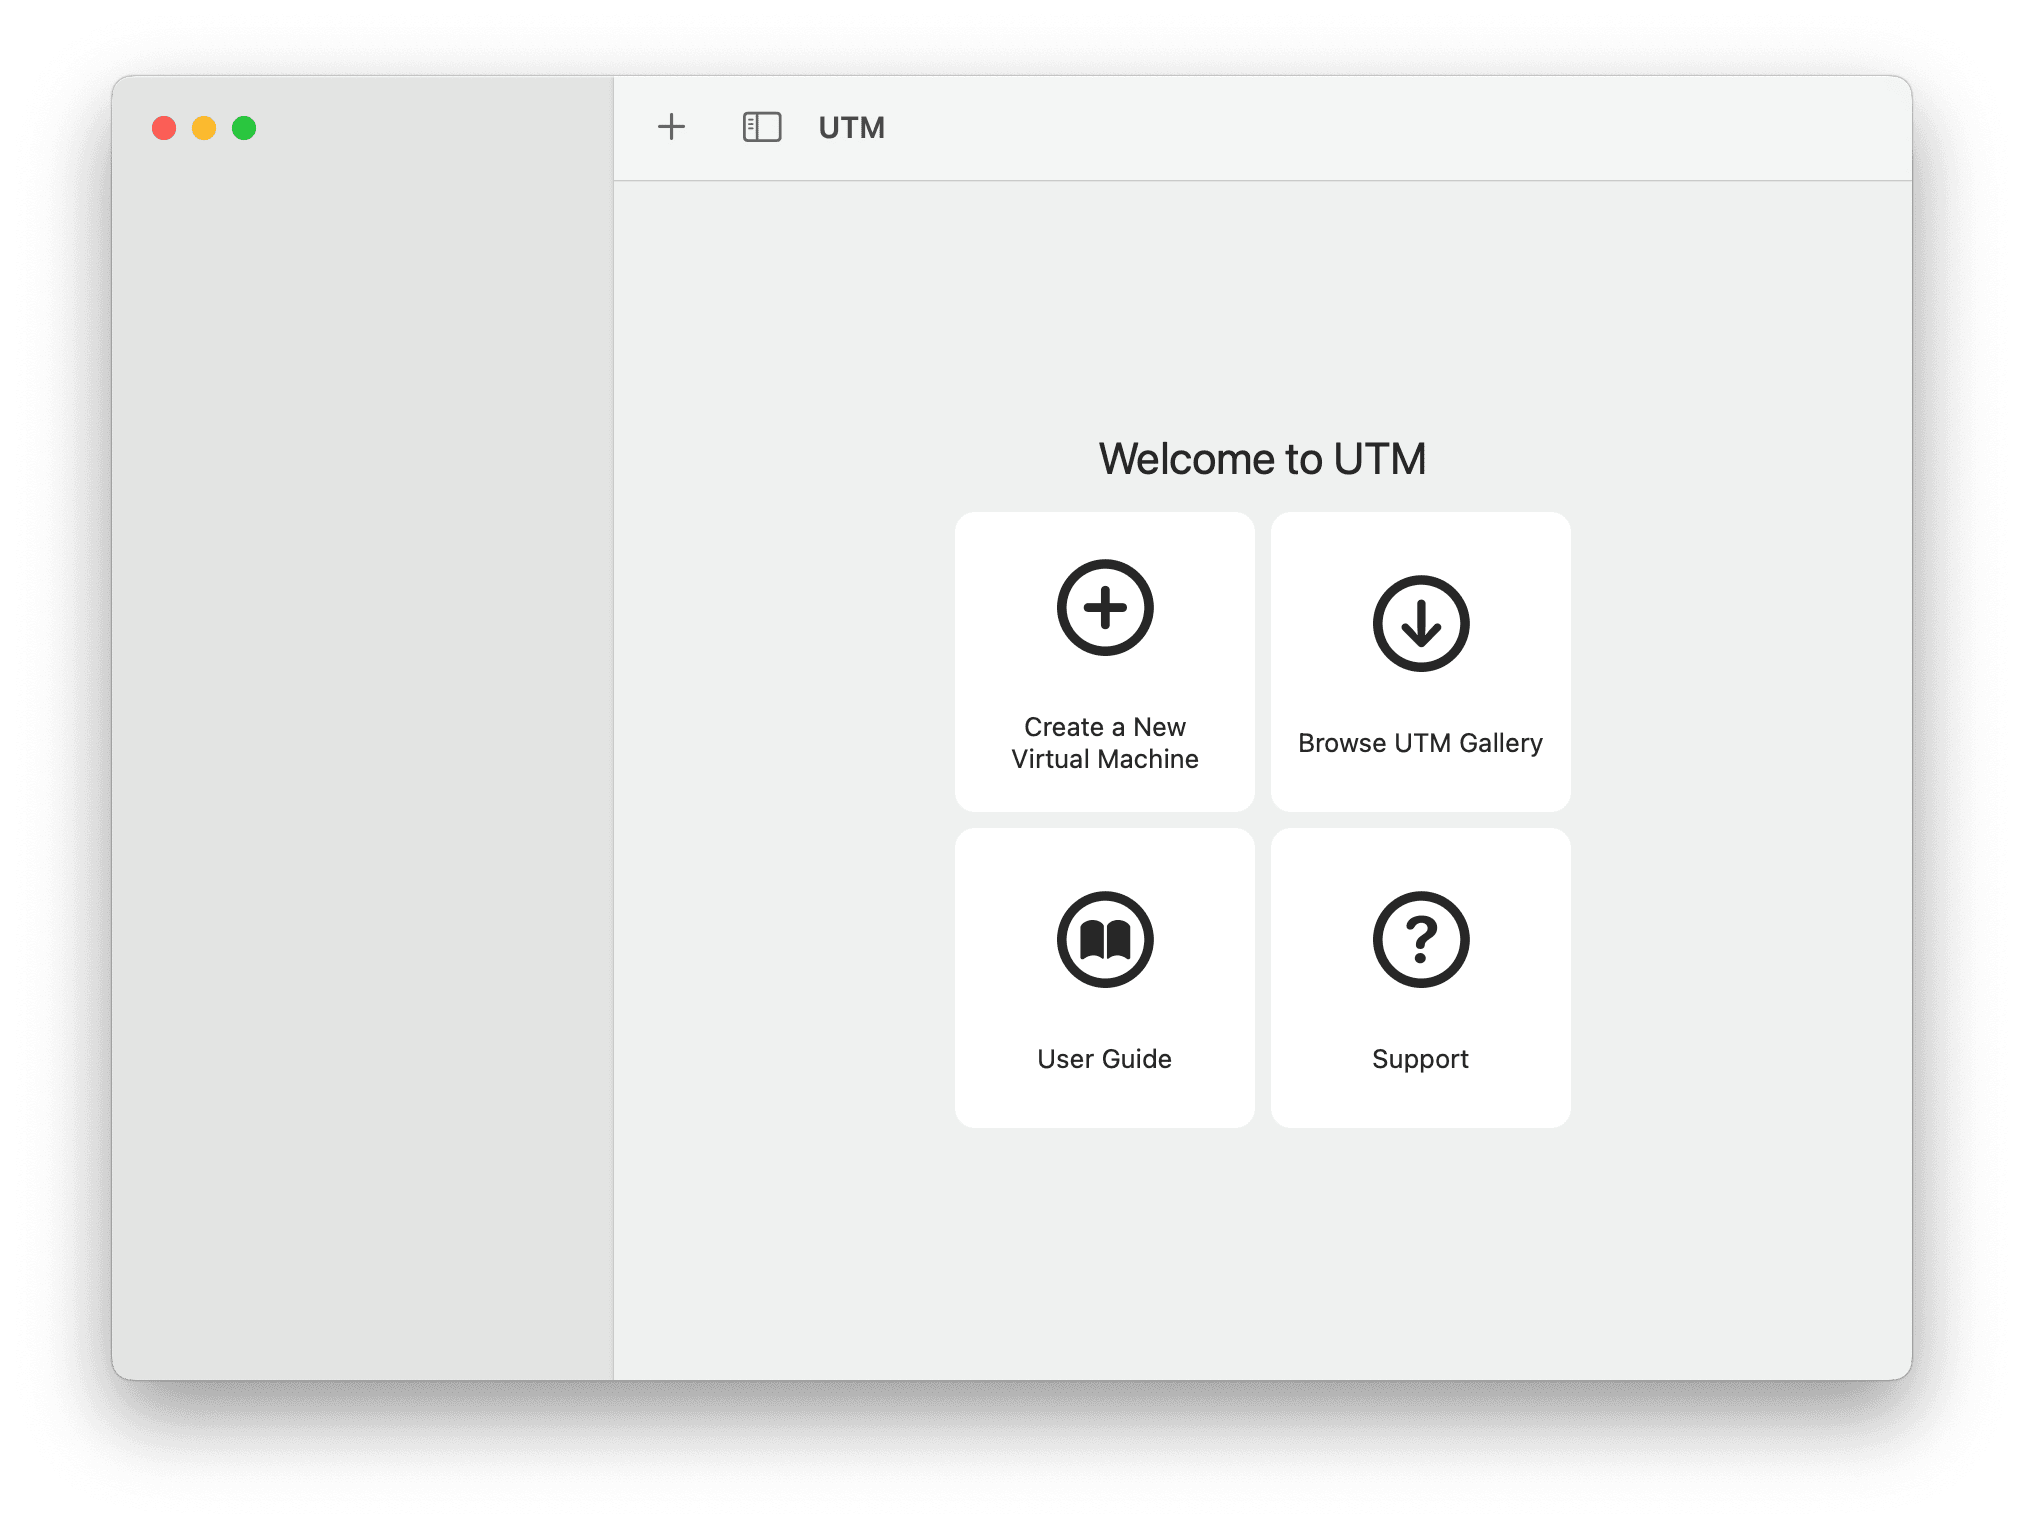
From UTM main window click on the + icon.
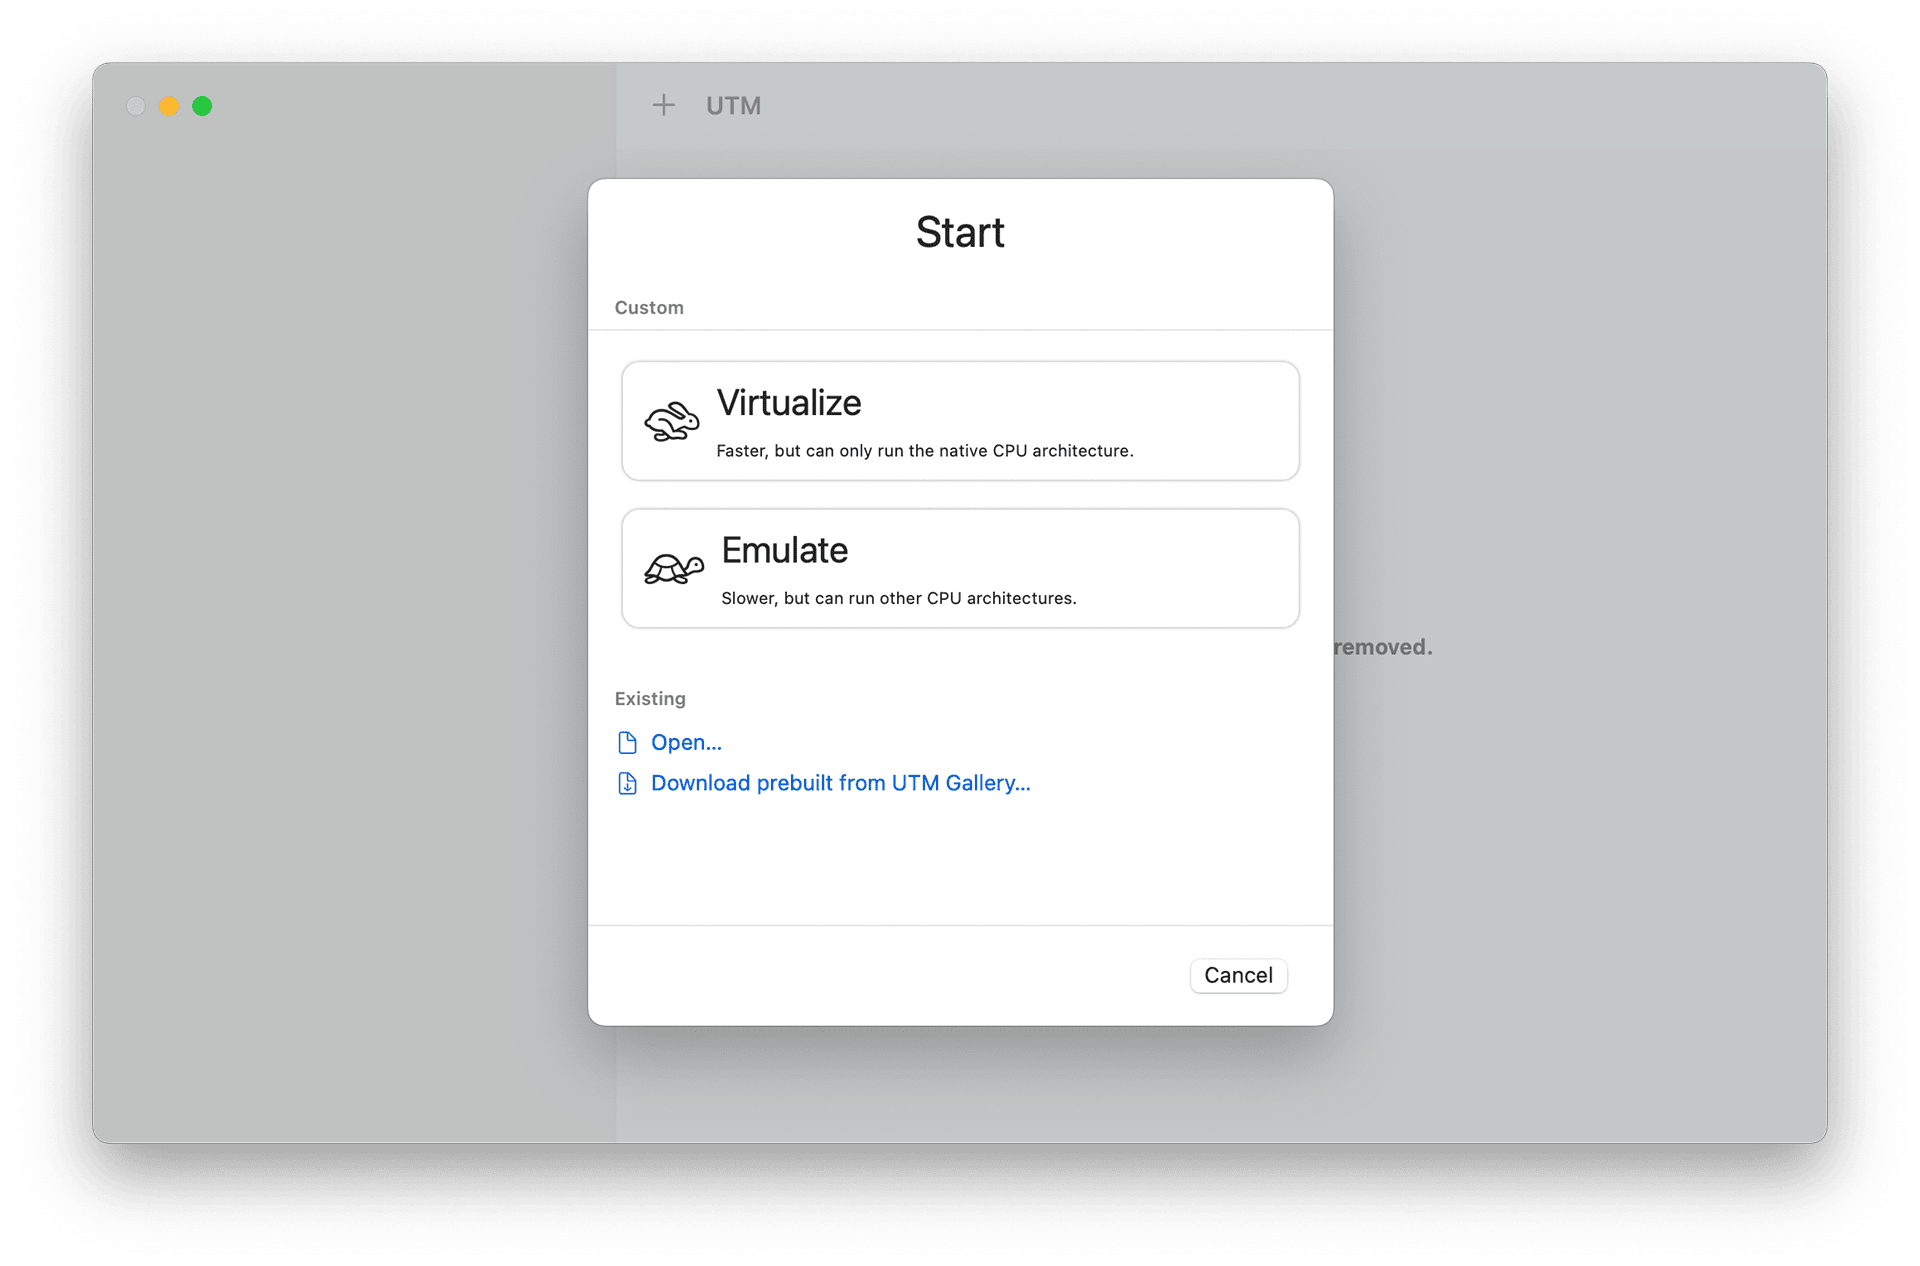
Select Virtualize
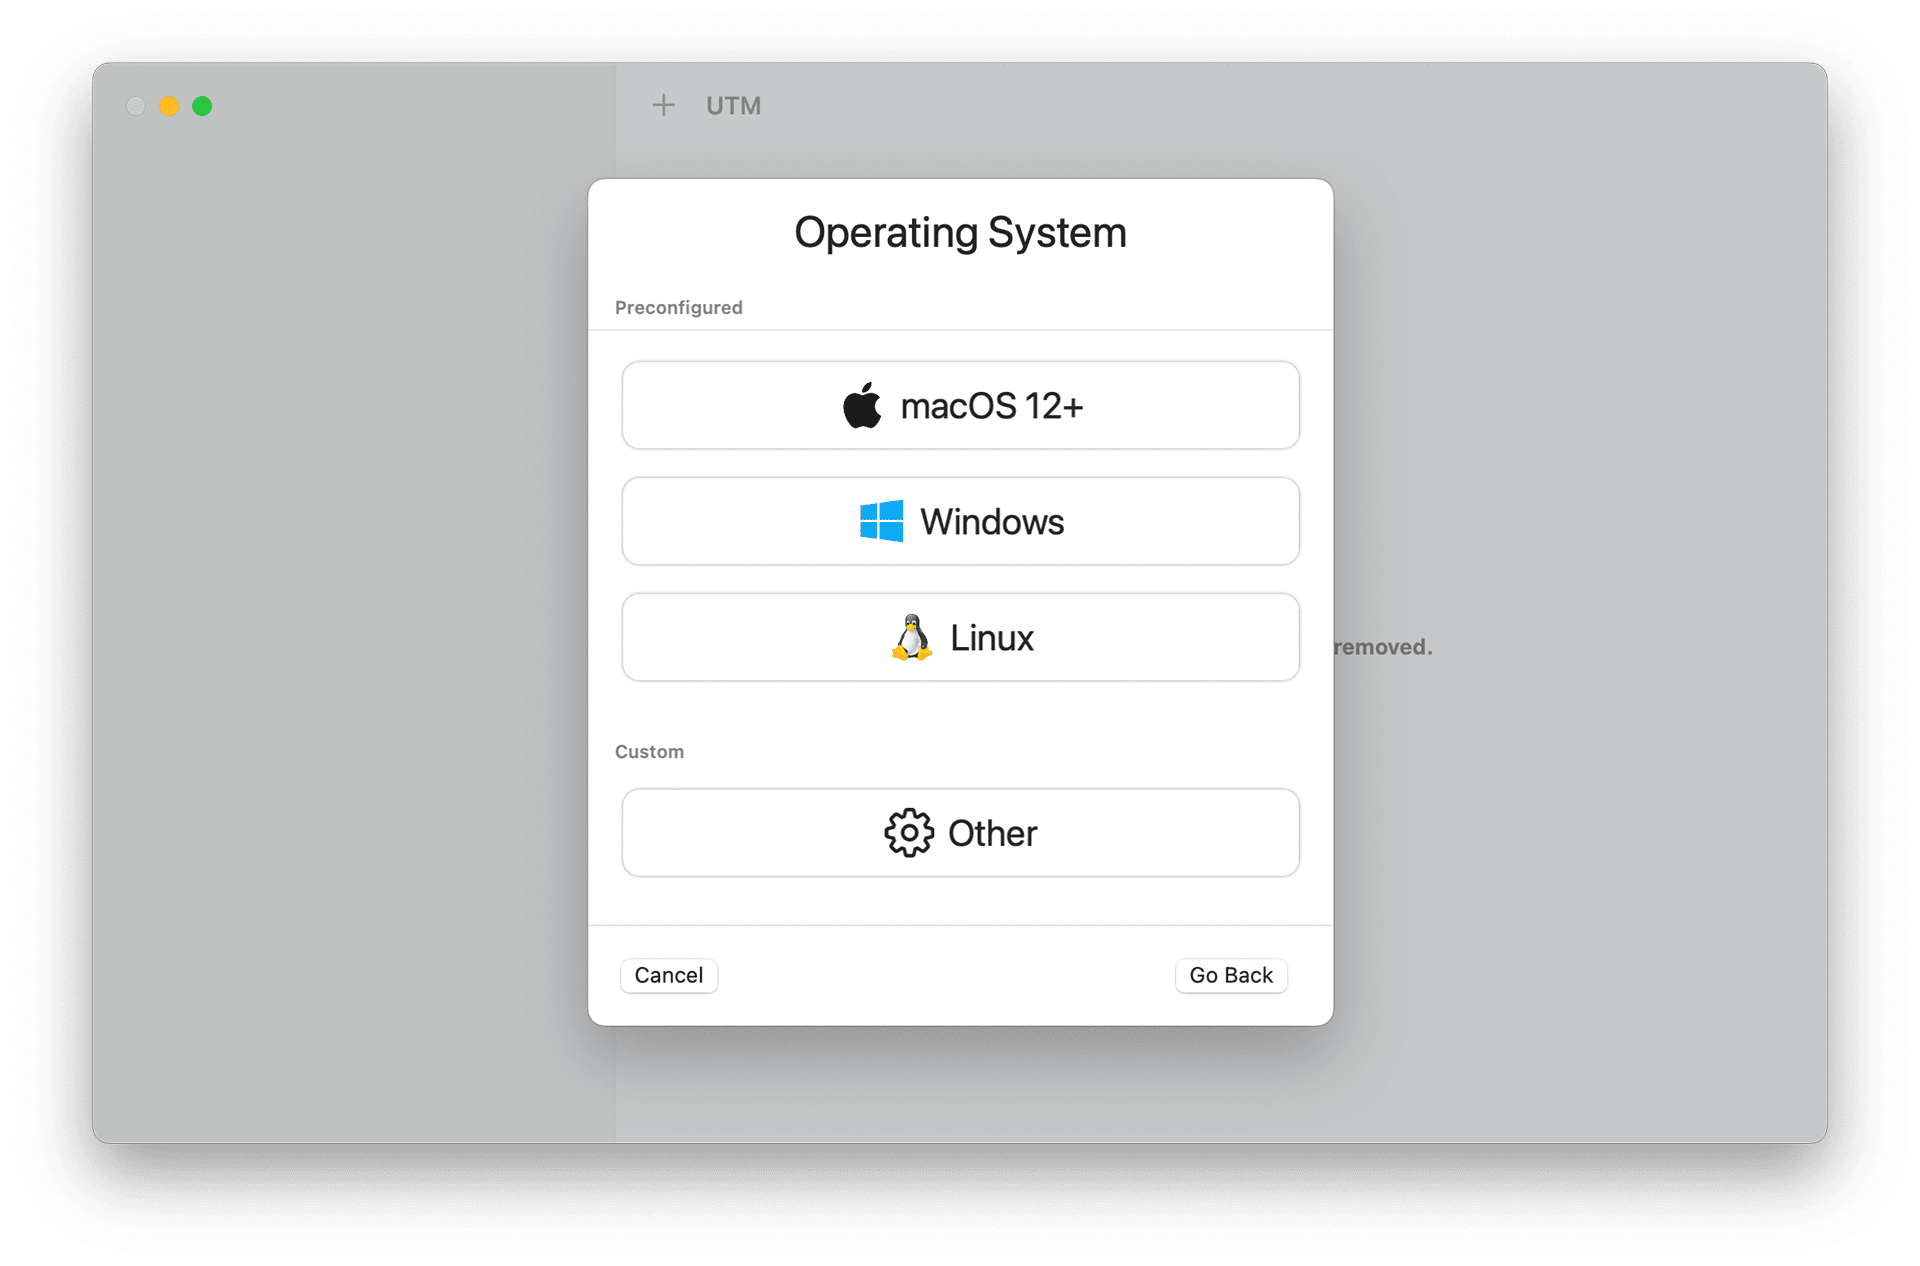
Select Windows
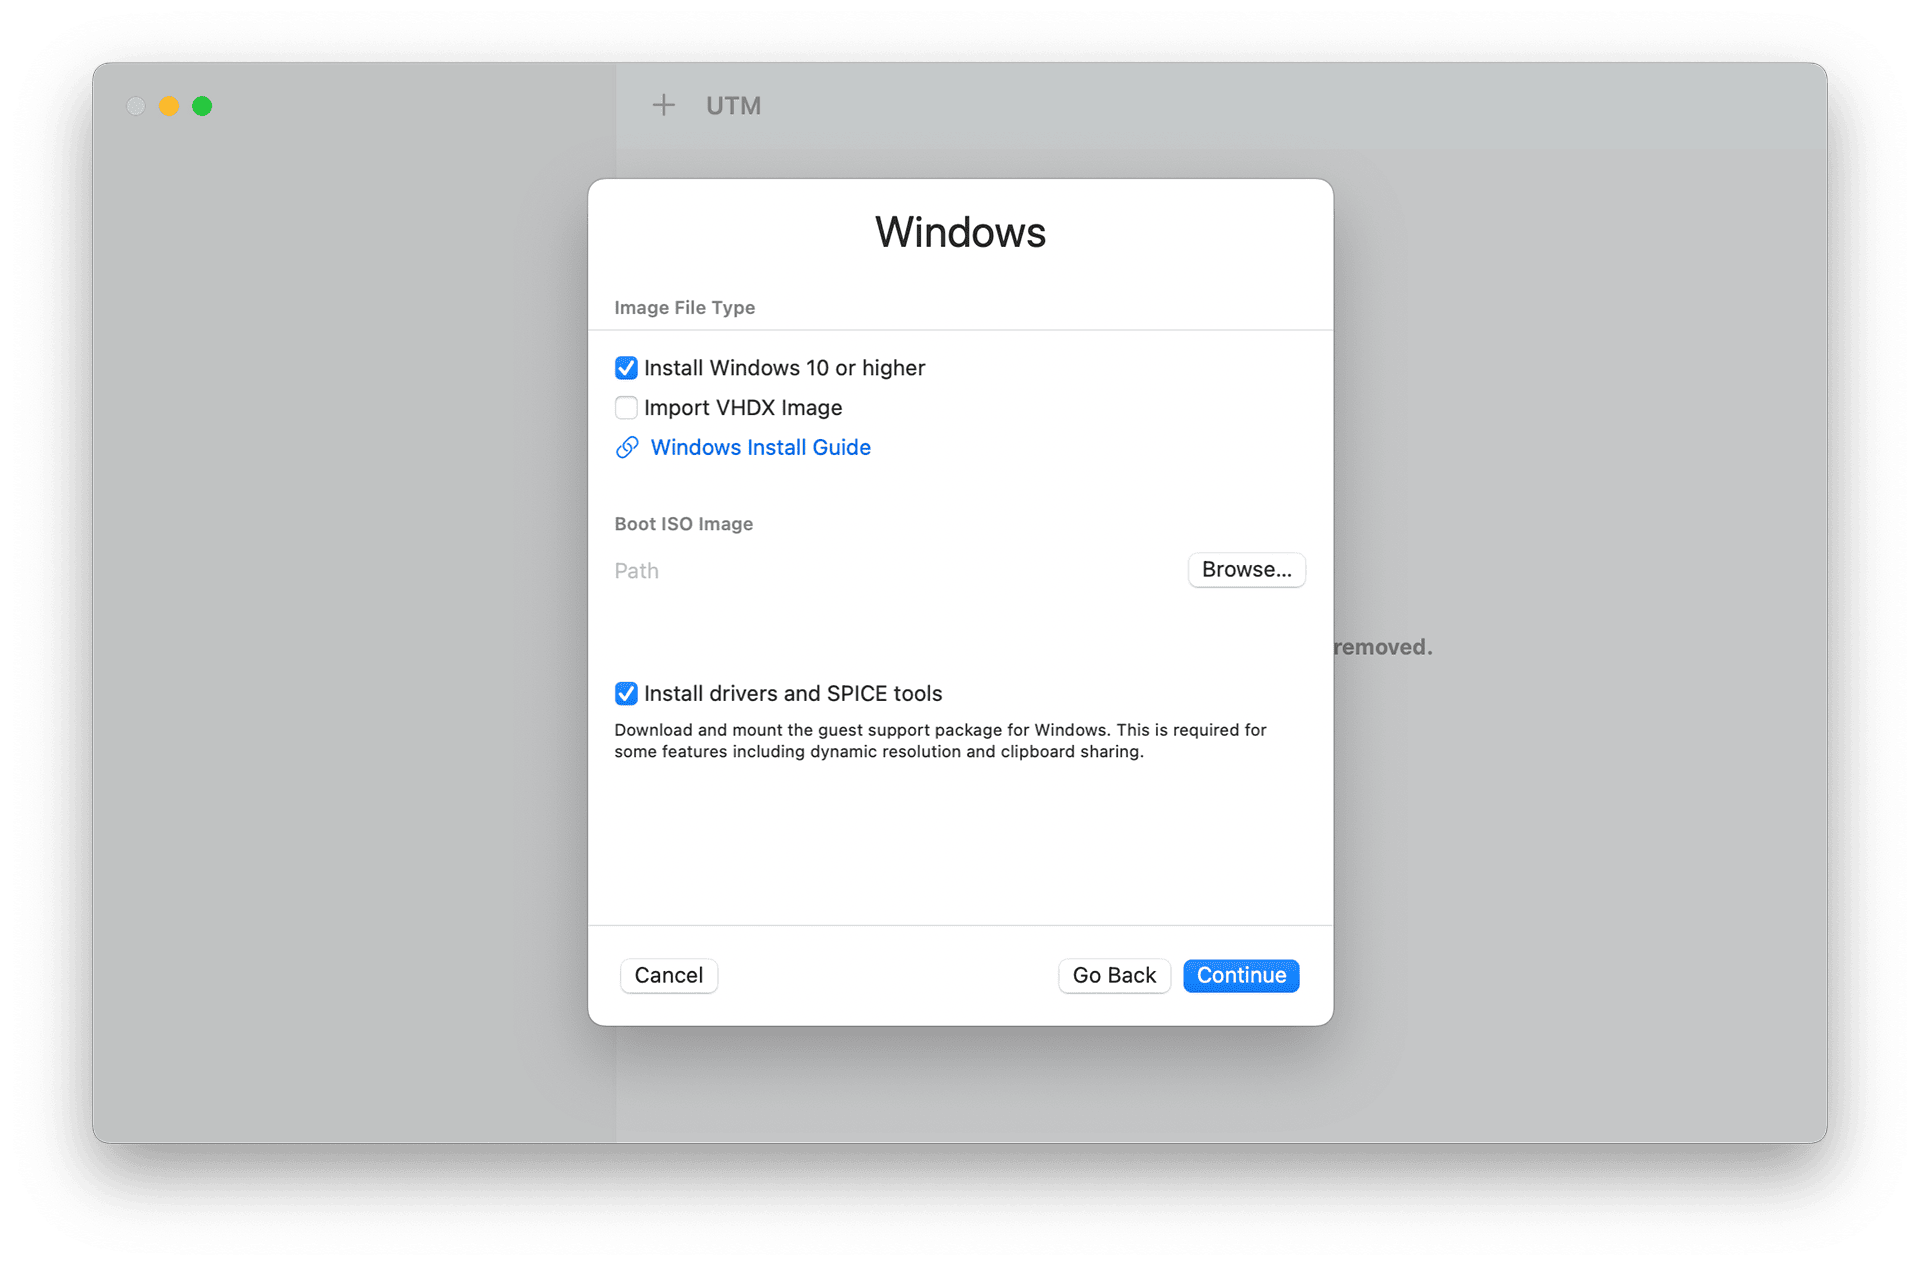
By default, it will be a ticked option to Install Windows 10 or higher and to Instal drivers and SPICE tools. What we need to do is to select our ISO file by clicking the Browse… button.
When we are ready, let’s click Continue.
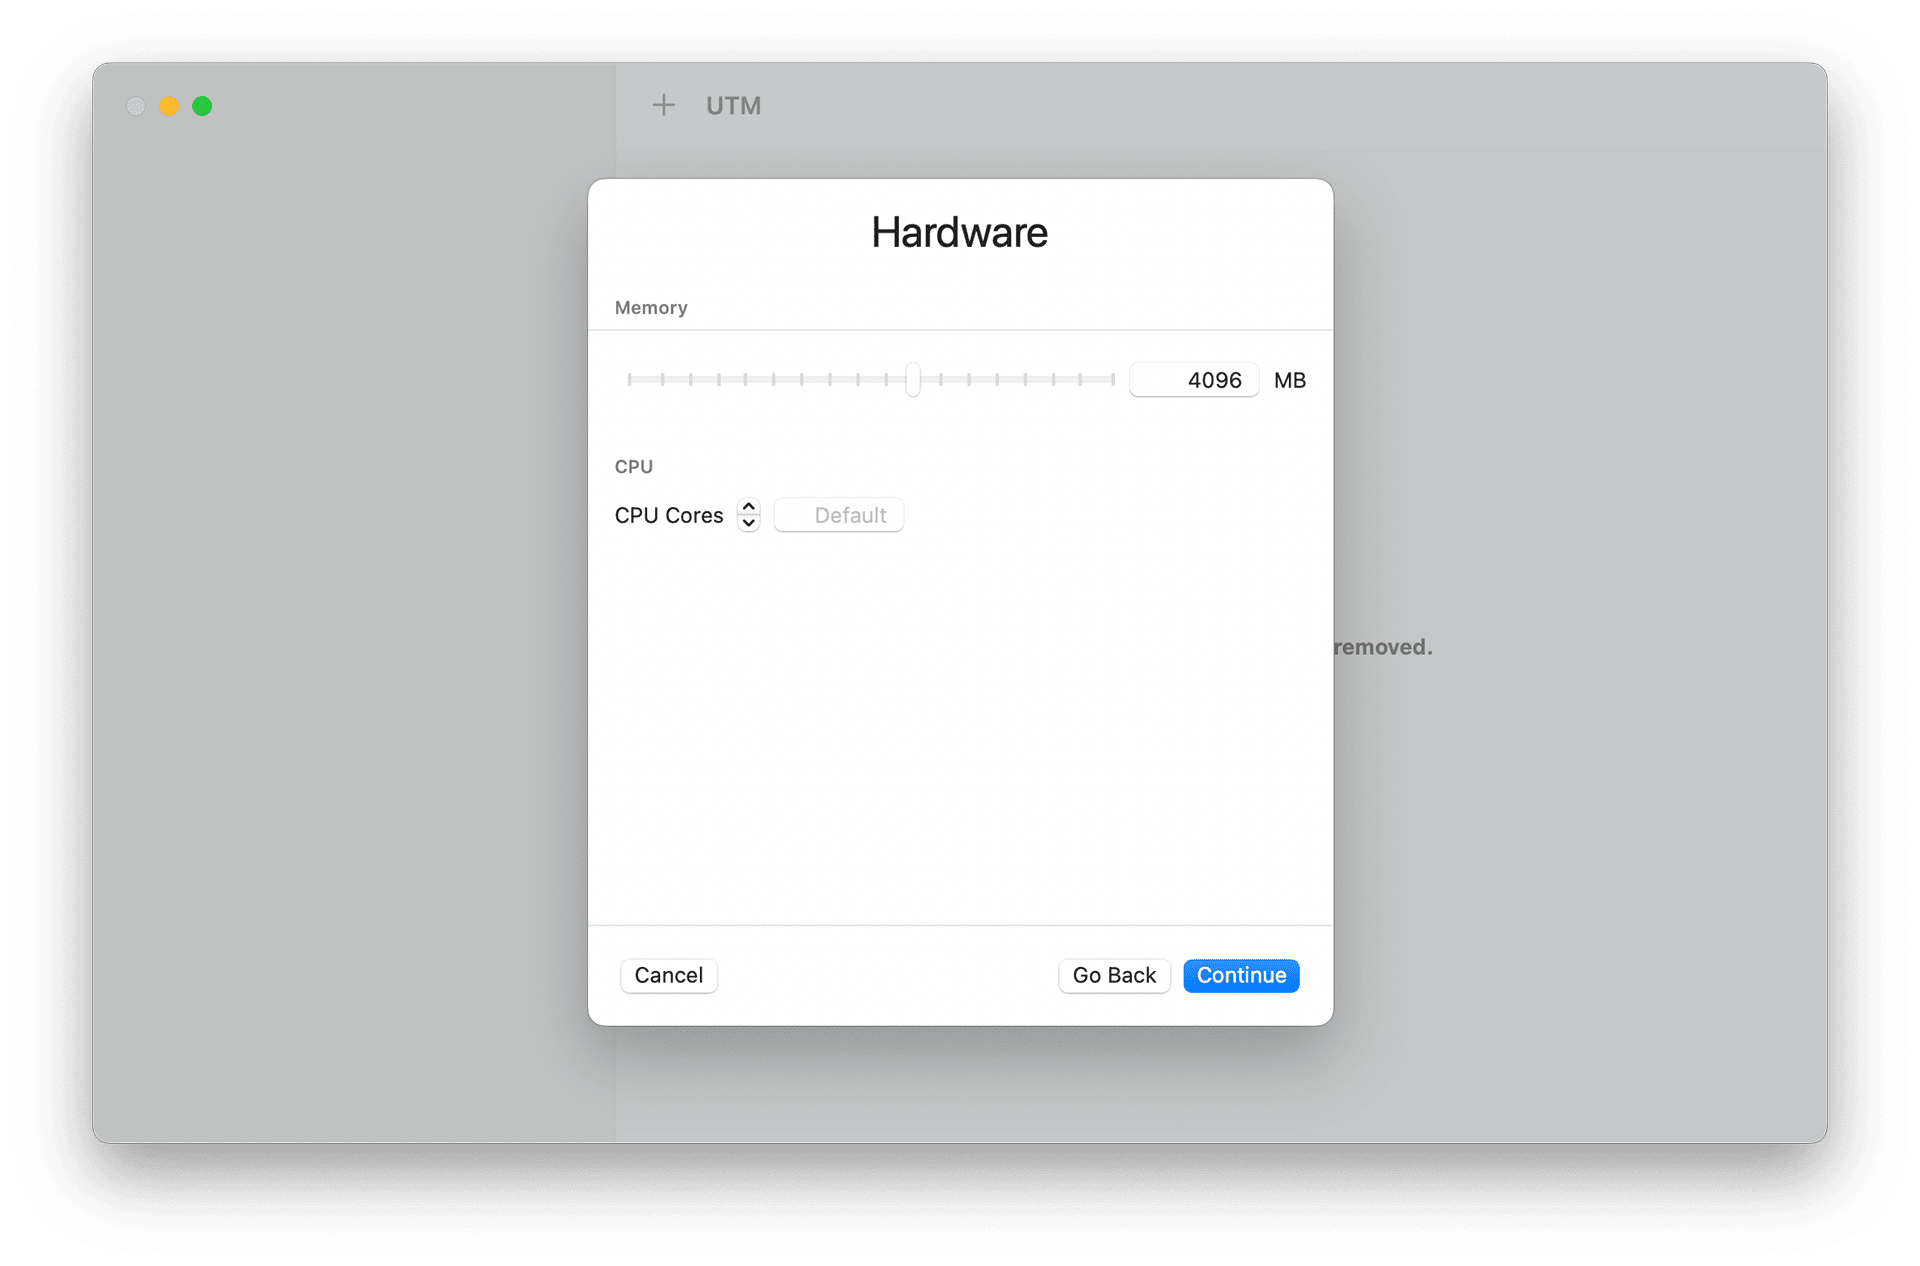
At the next screen, we can specify how much RAM we want to allocate and how many CPU cores. I would recommend leaving this as it is and clicking Continue.

At the Storage step, we can specify the virtual hard drive size (recommend 128GB). This is the maximum hard drive size and this will be used depending on how many Windows will need. In the beginning, you will see that your Windows will use something like 15GB only.
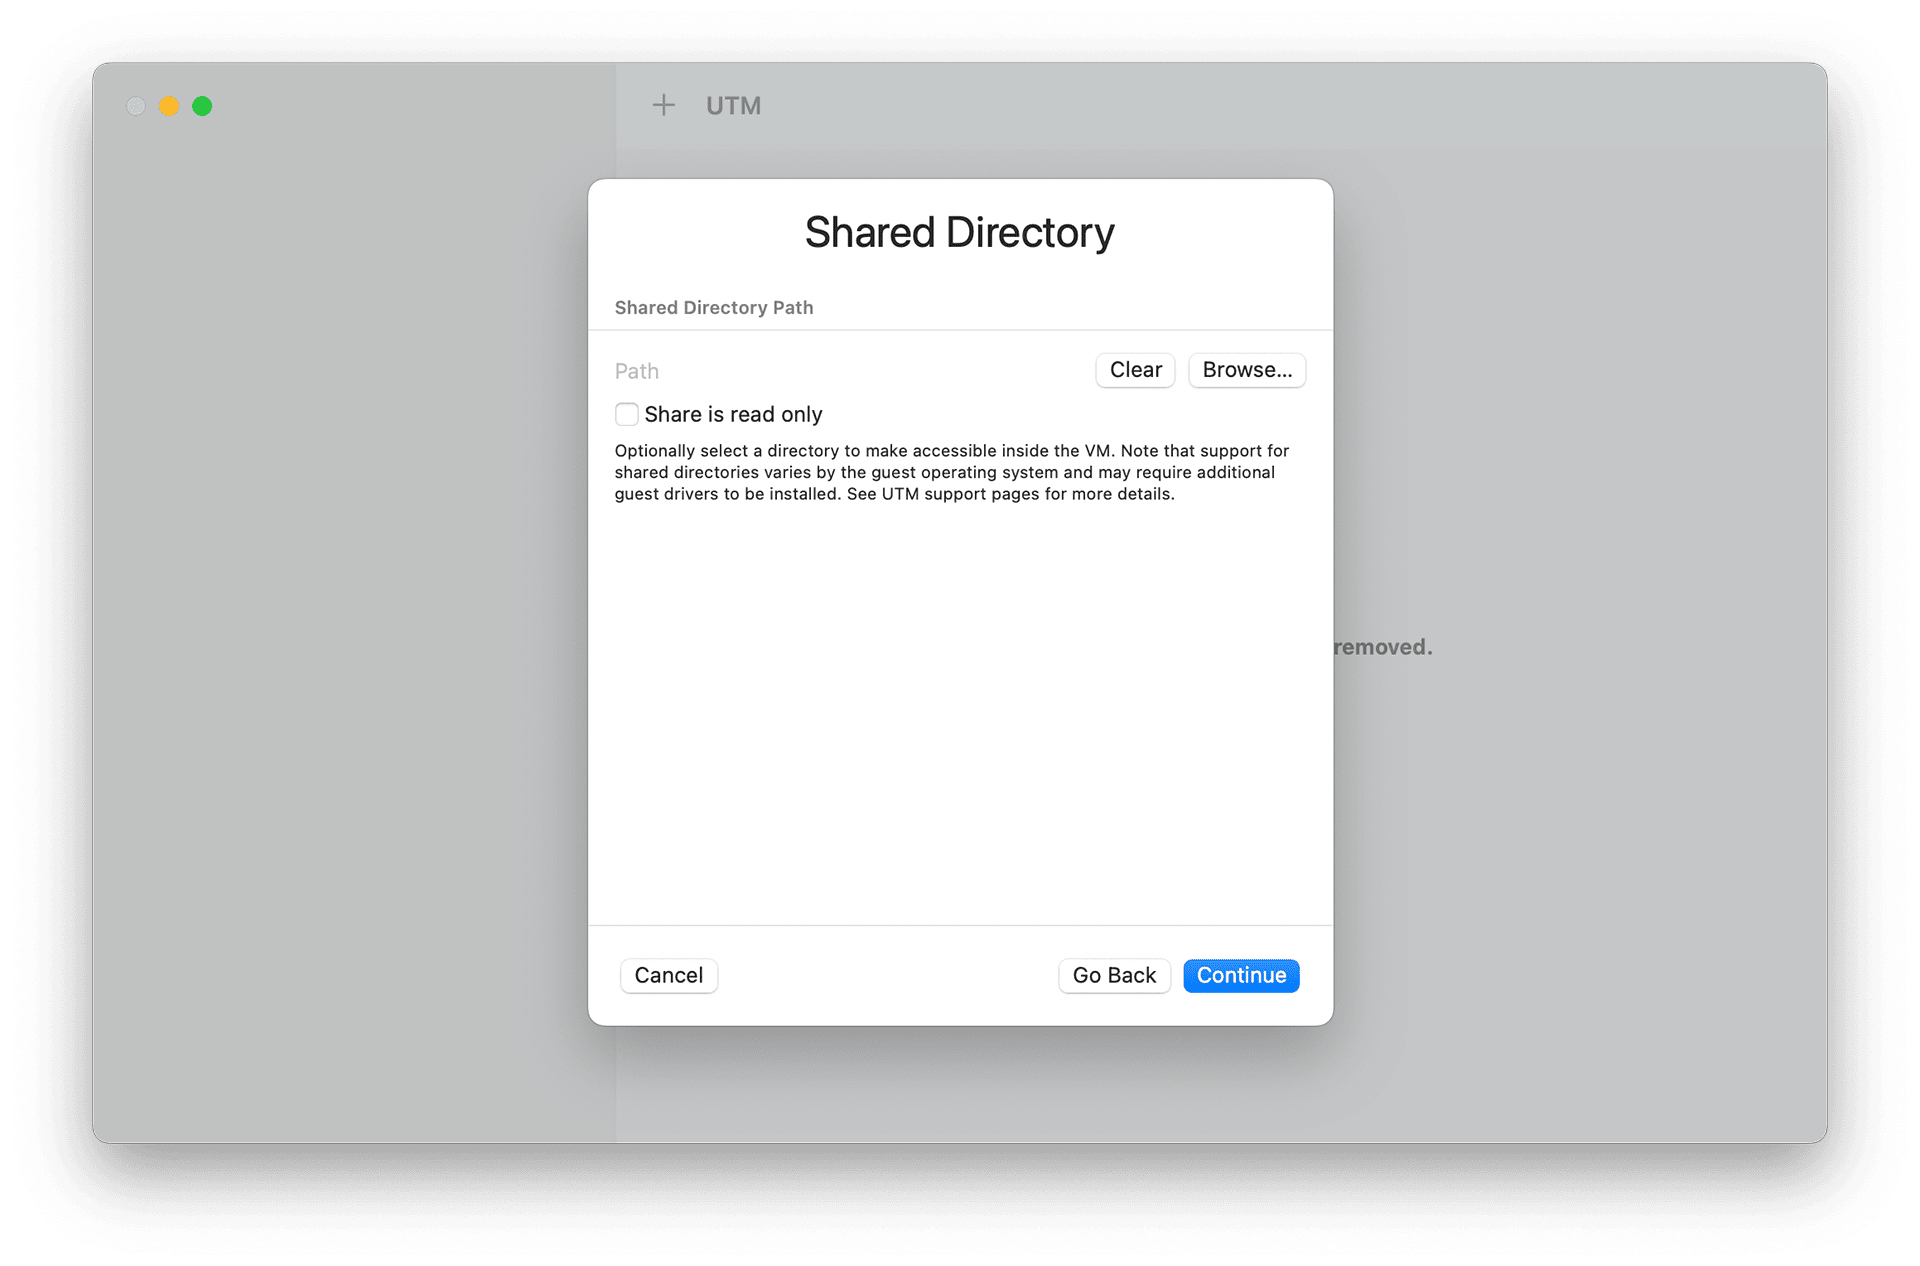
At Shared Directory we can specify the local folder to be visible in a virtual machine. I would recommend setting the Downloads folder and then clicking Continue.

In the summary, we can specify the name of our virtual machine and Save the settings.
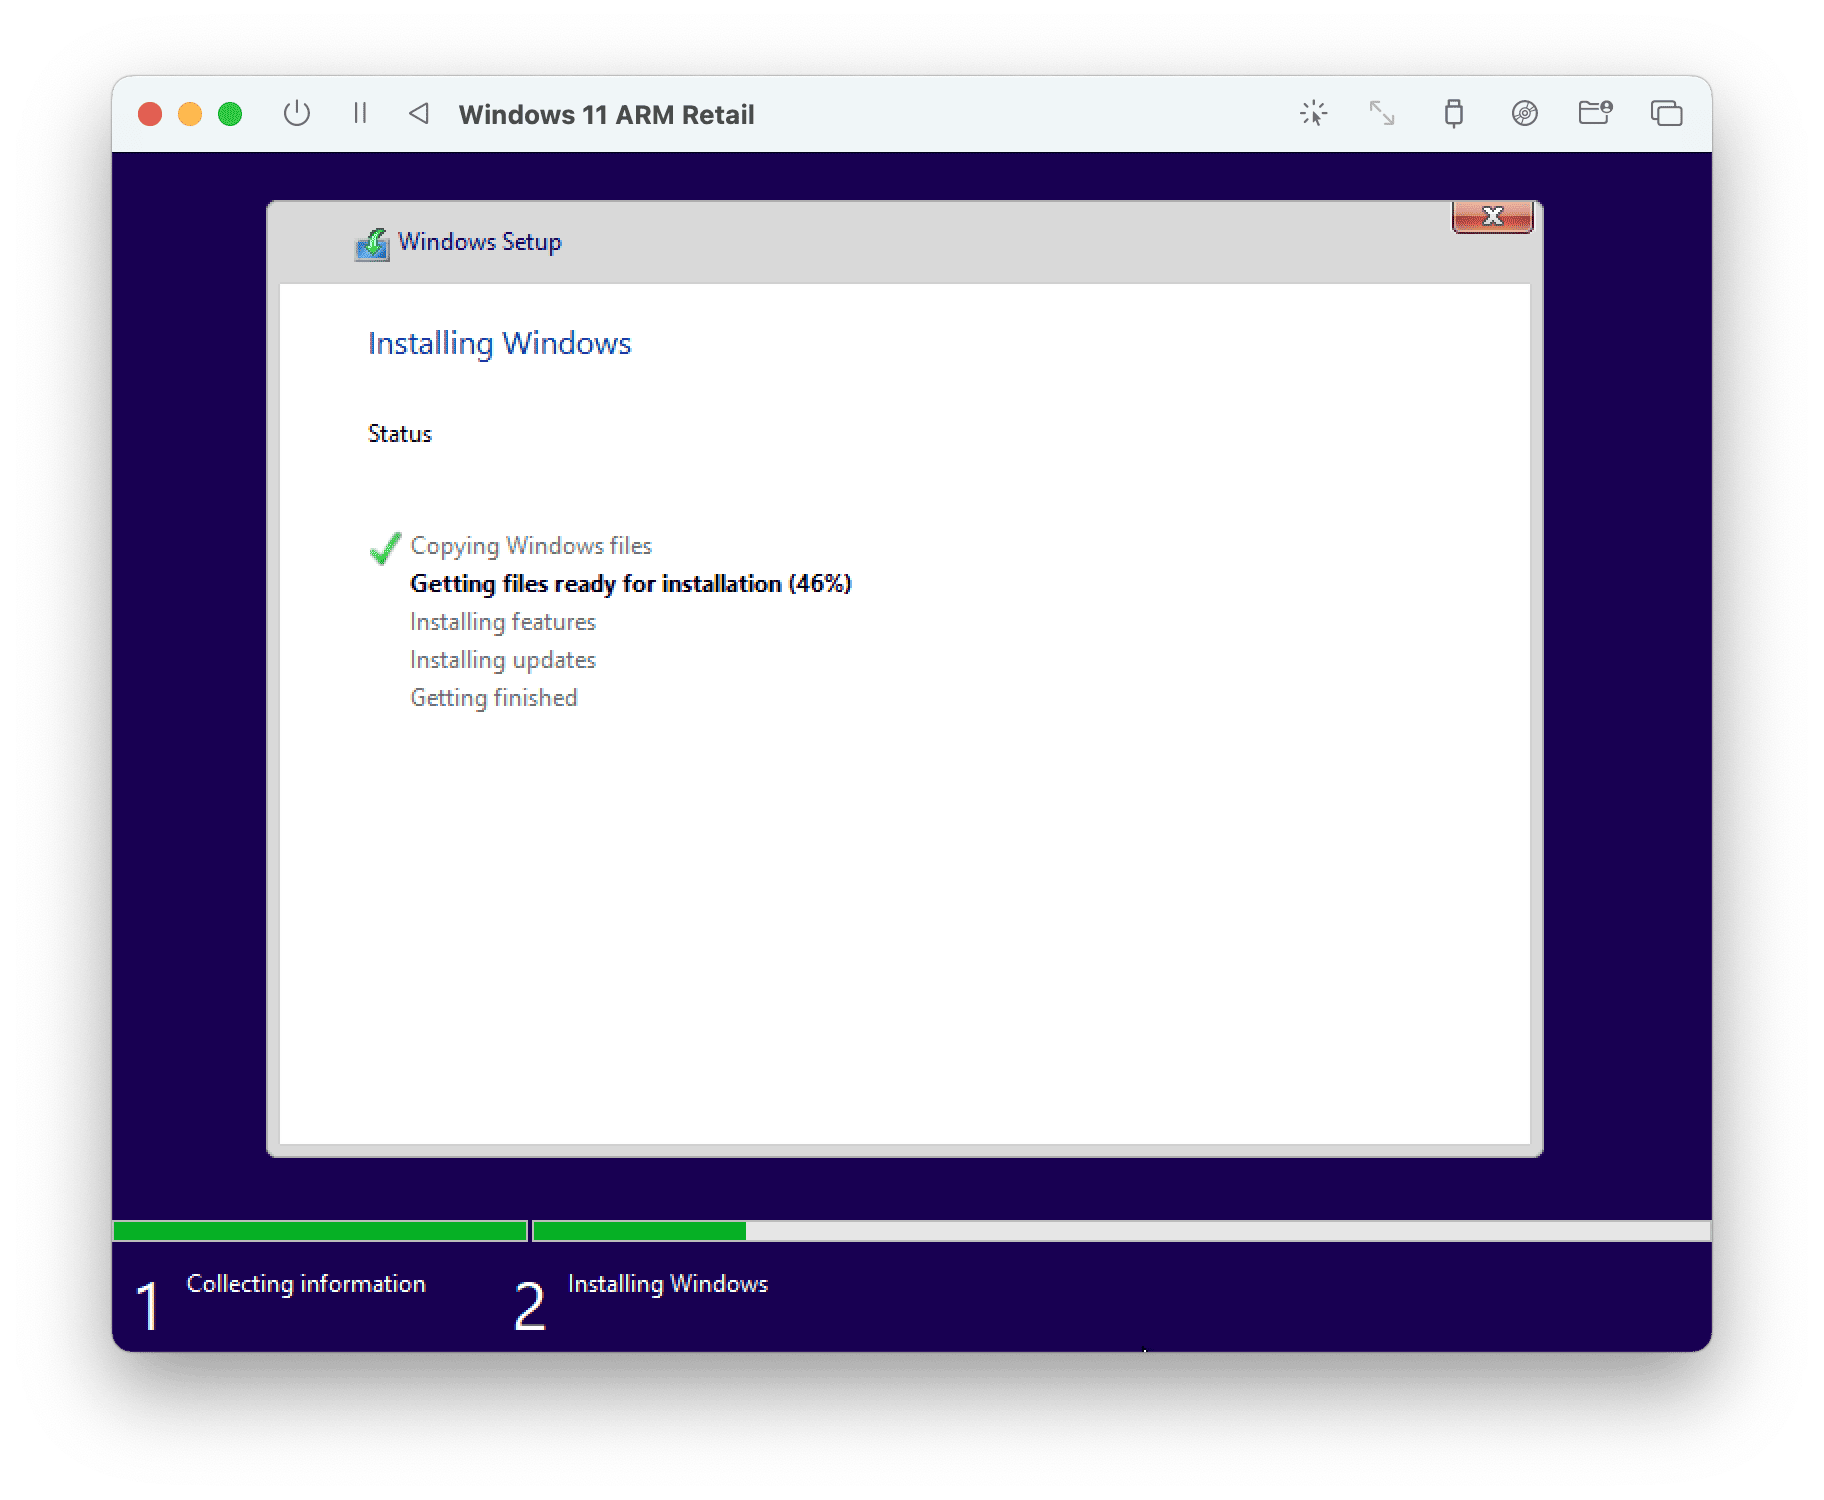
Right now we just need to press the play button and follow the step-by-step installation instruction of the Windows Setup.
After the installation restarts let’s Eject the Windows ISO file by clicking the disc icon from the top-right corner. This will allow you to start booting your system instead trying to do this once again from the ISO file.
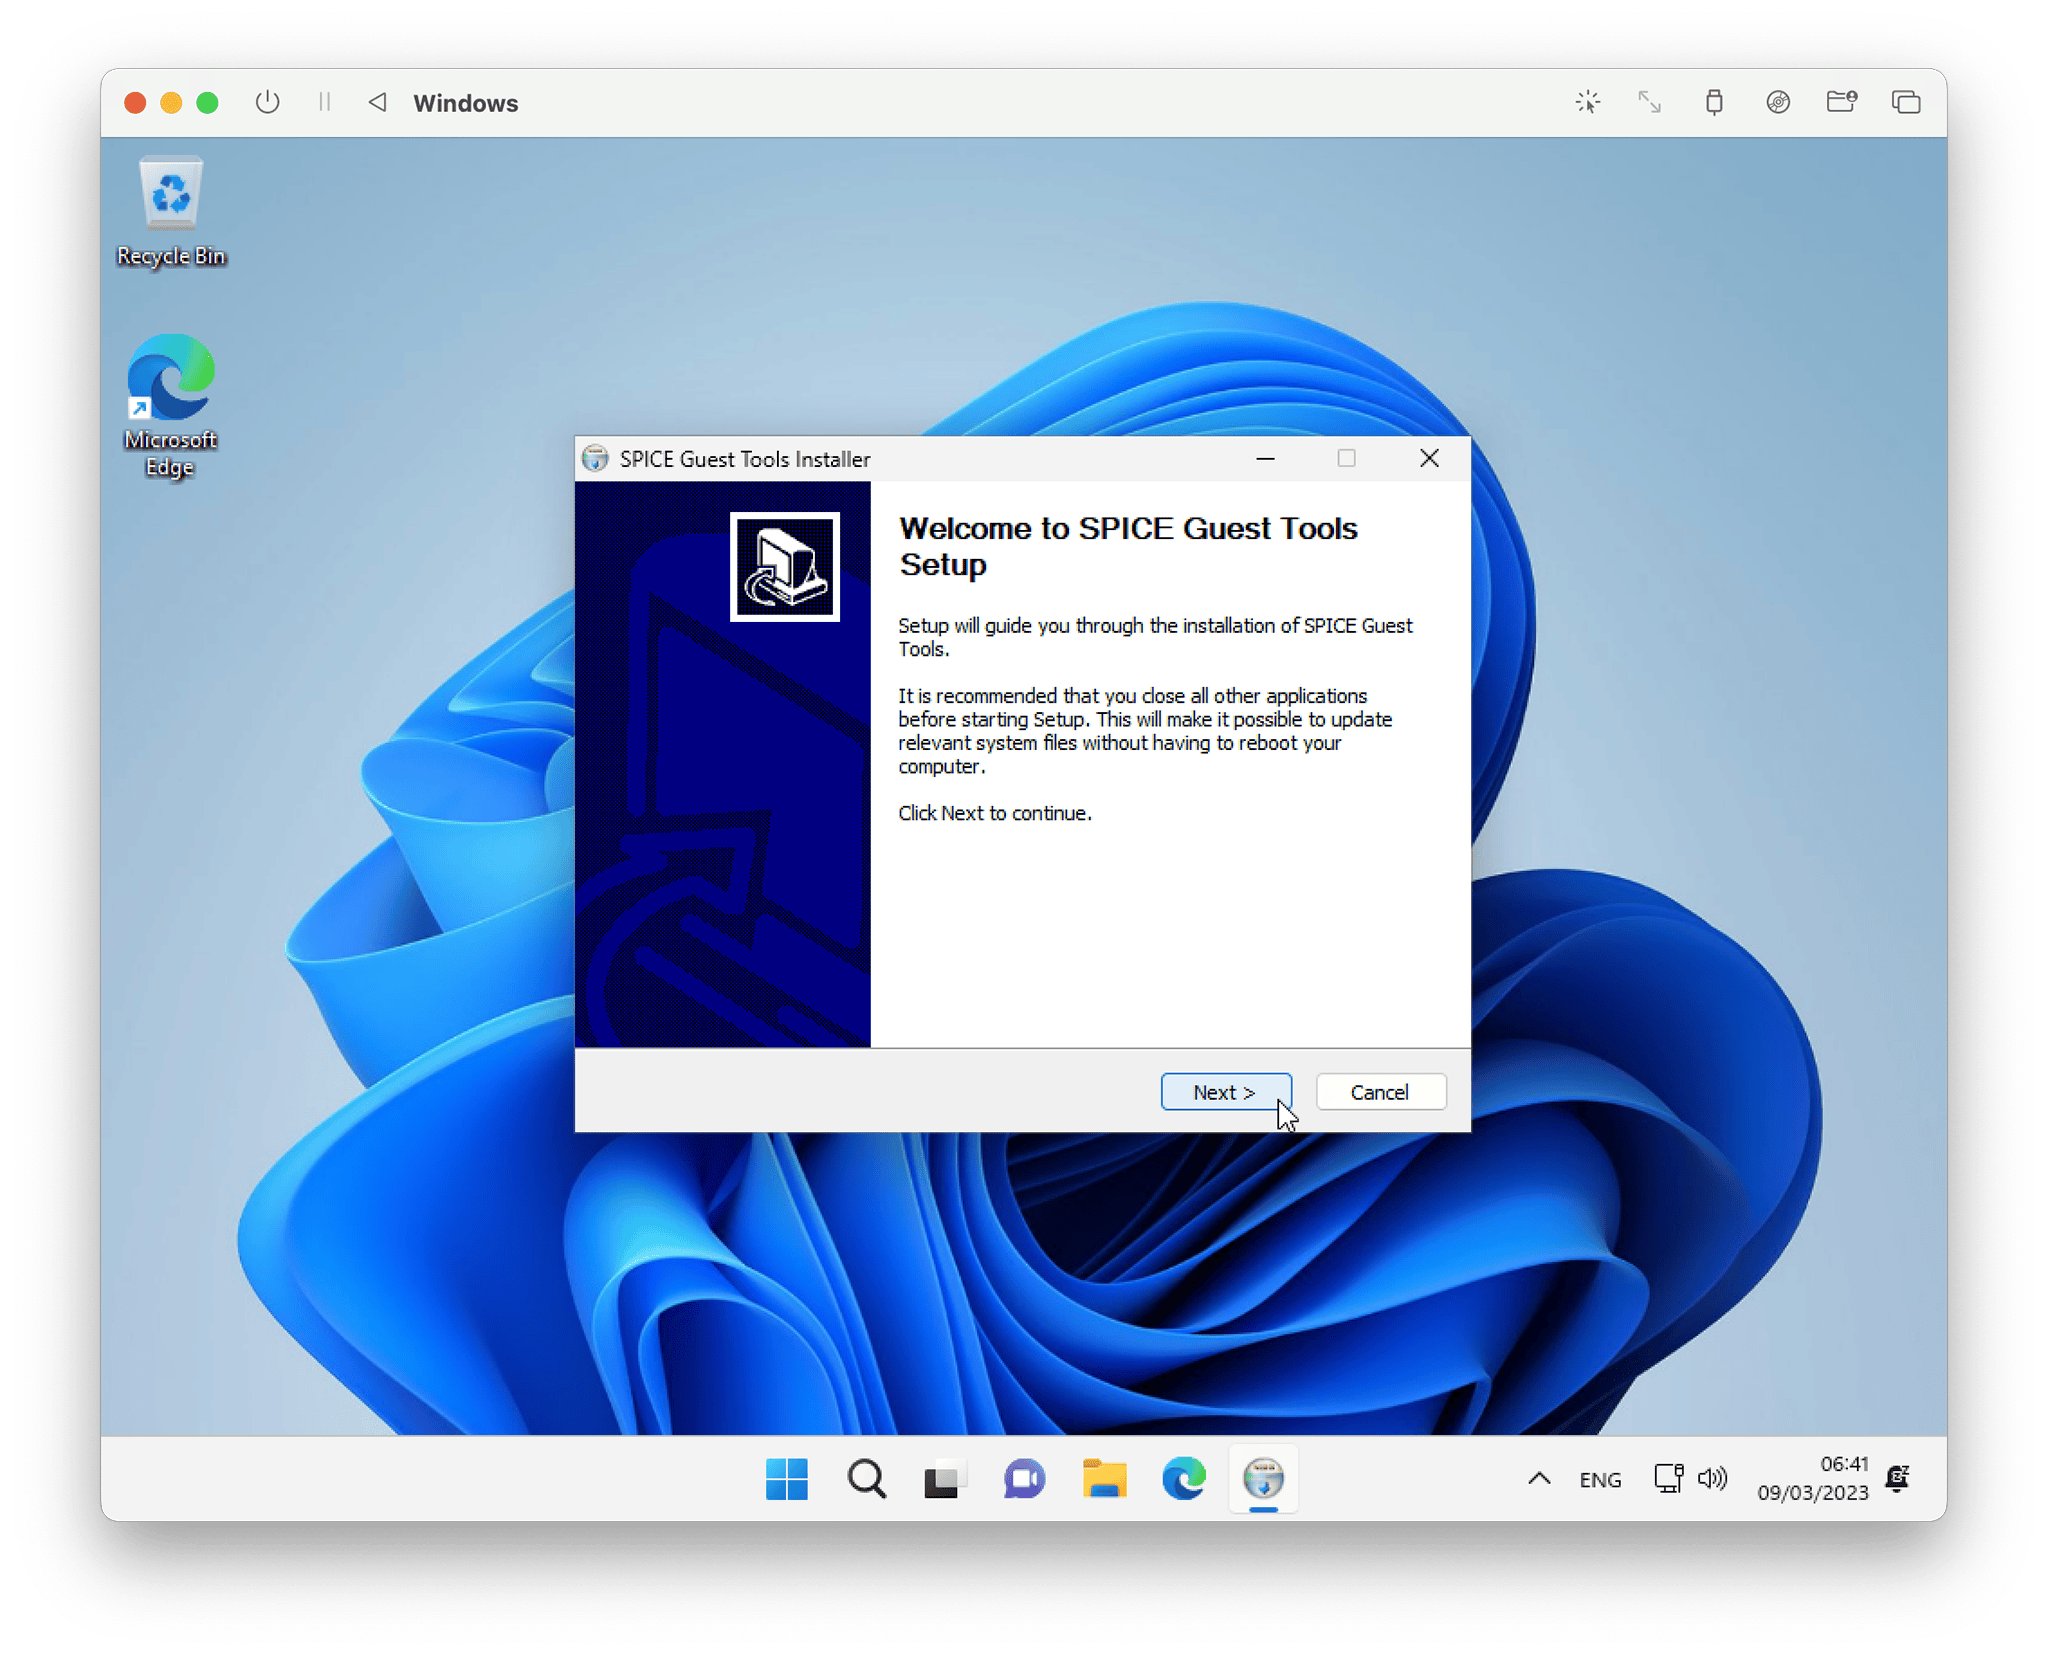
The first step after the initial setup was to install SPICE Guest Tools and wait until the system restarted.
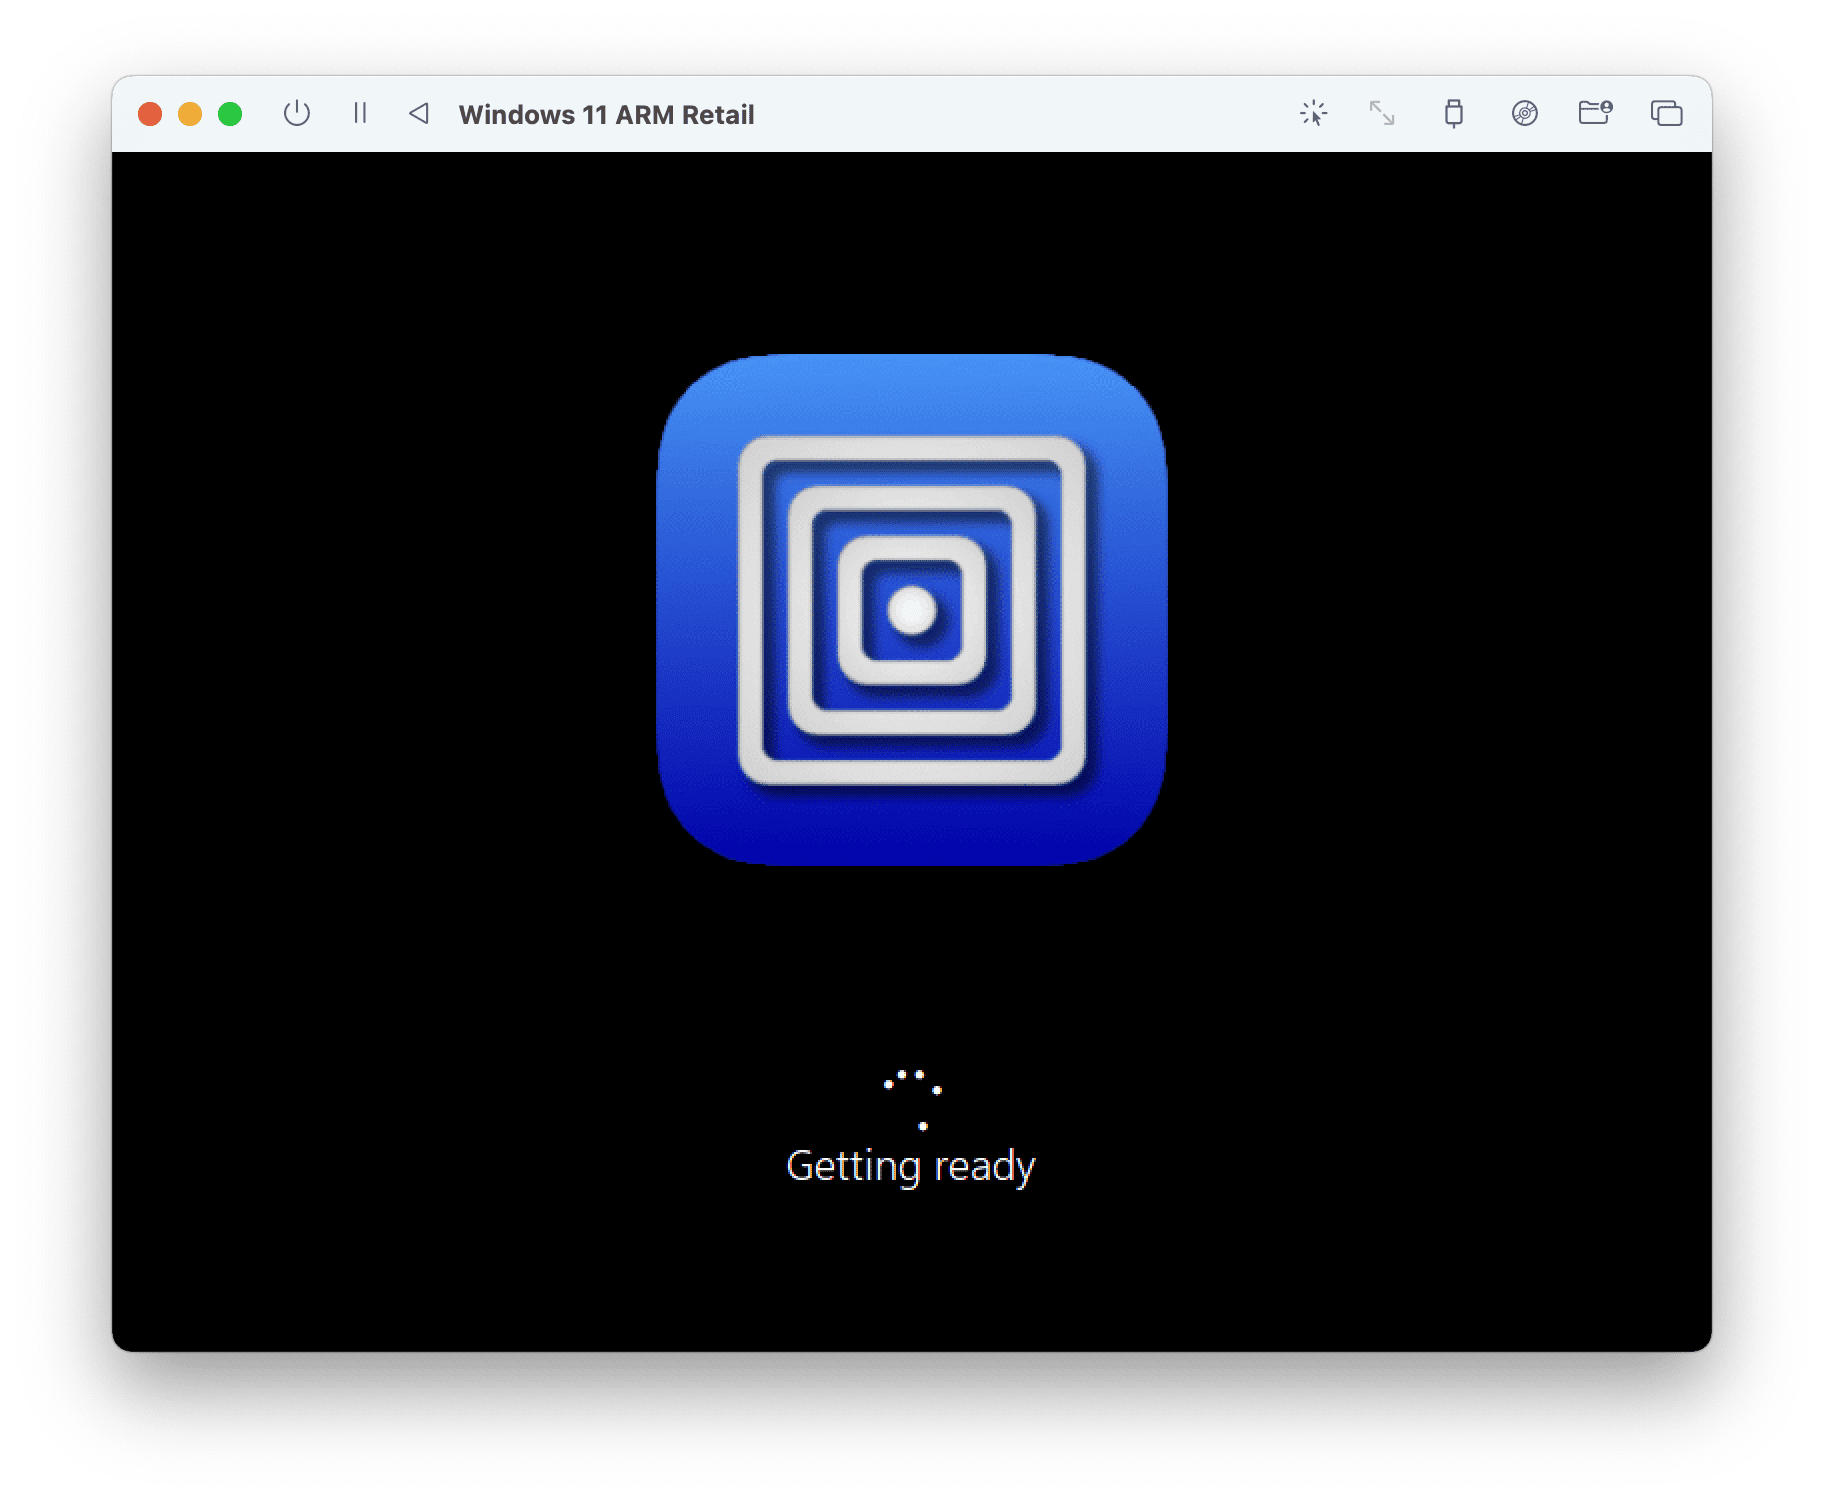
During installation the screen may become green, change its resolution and the system may restart.
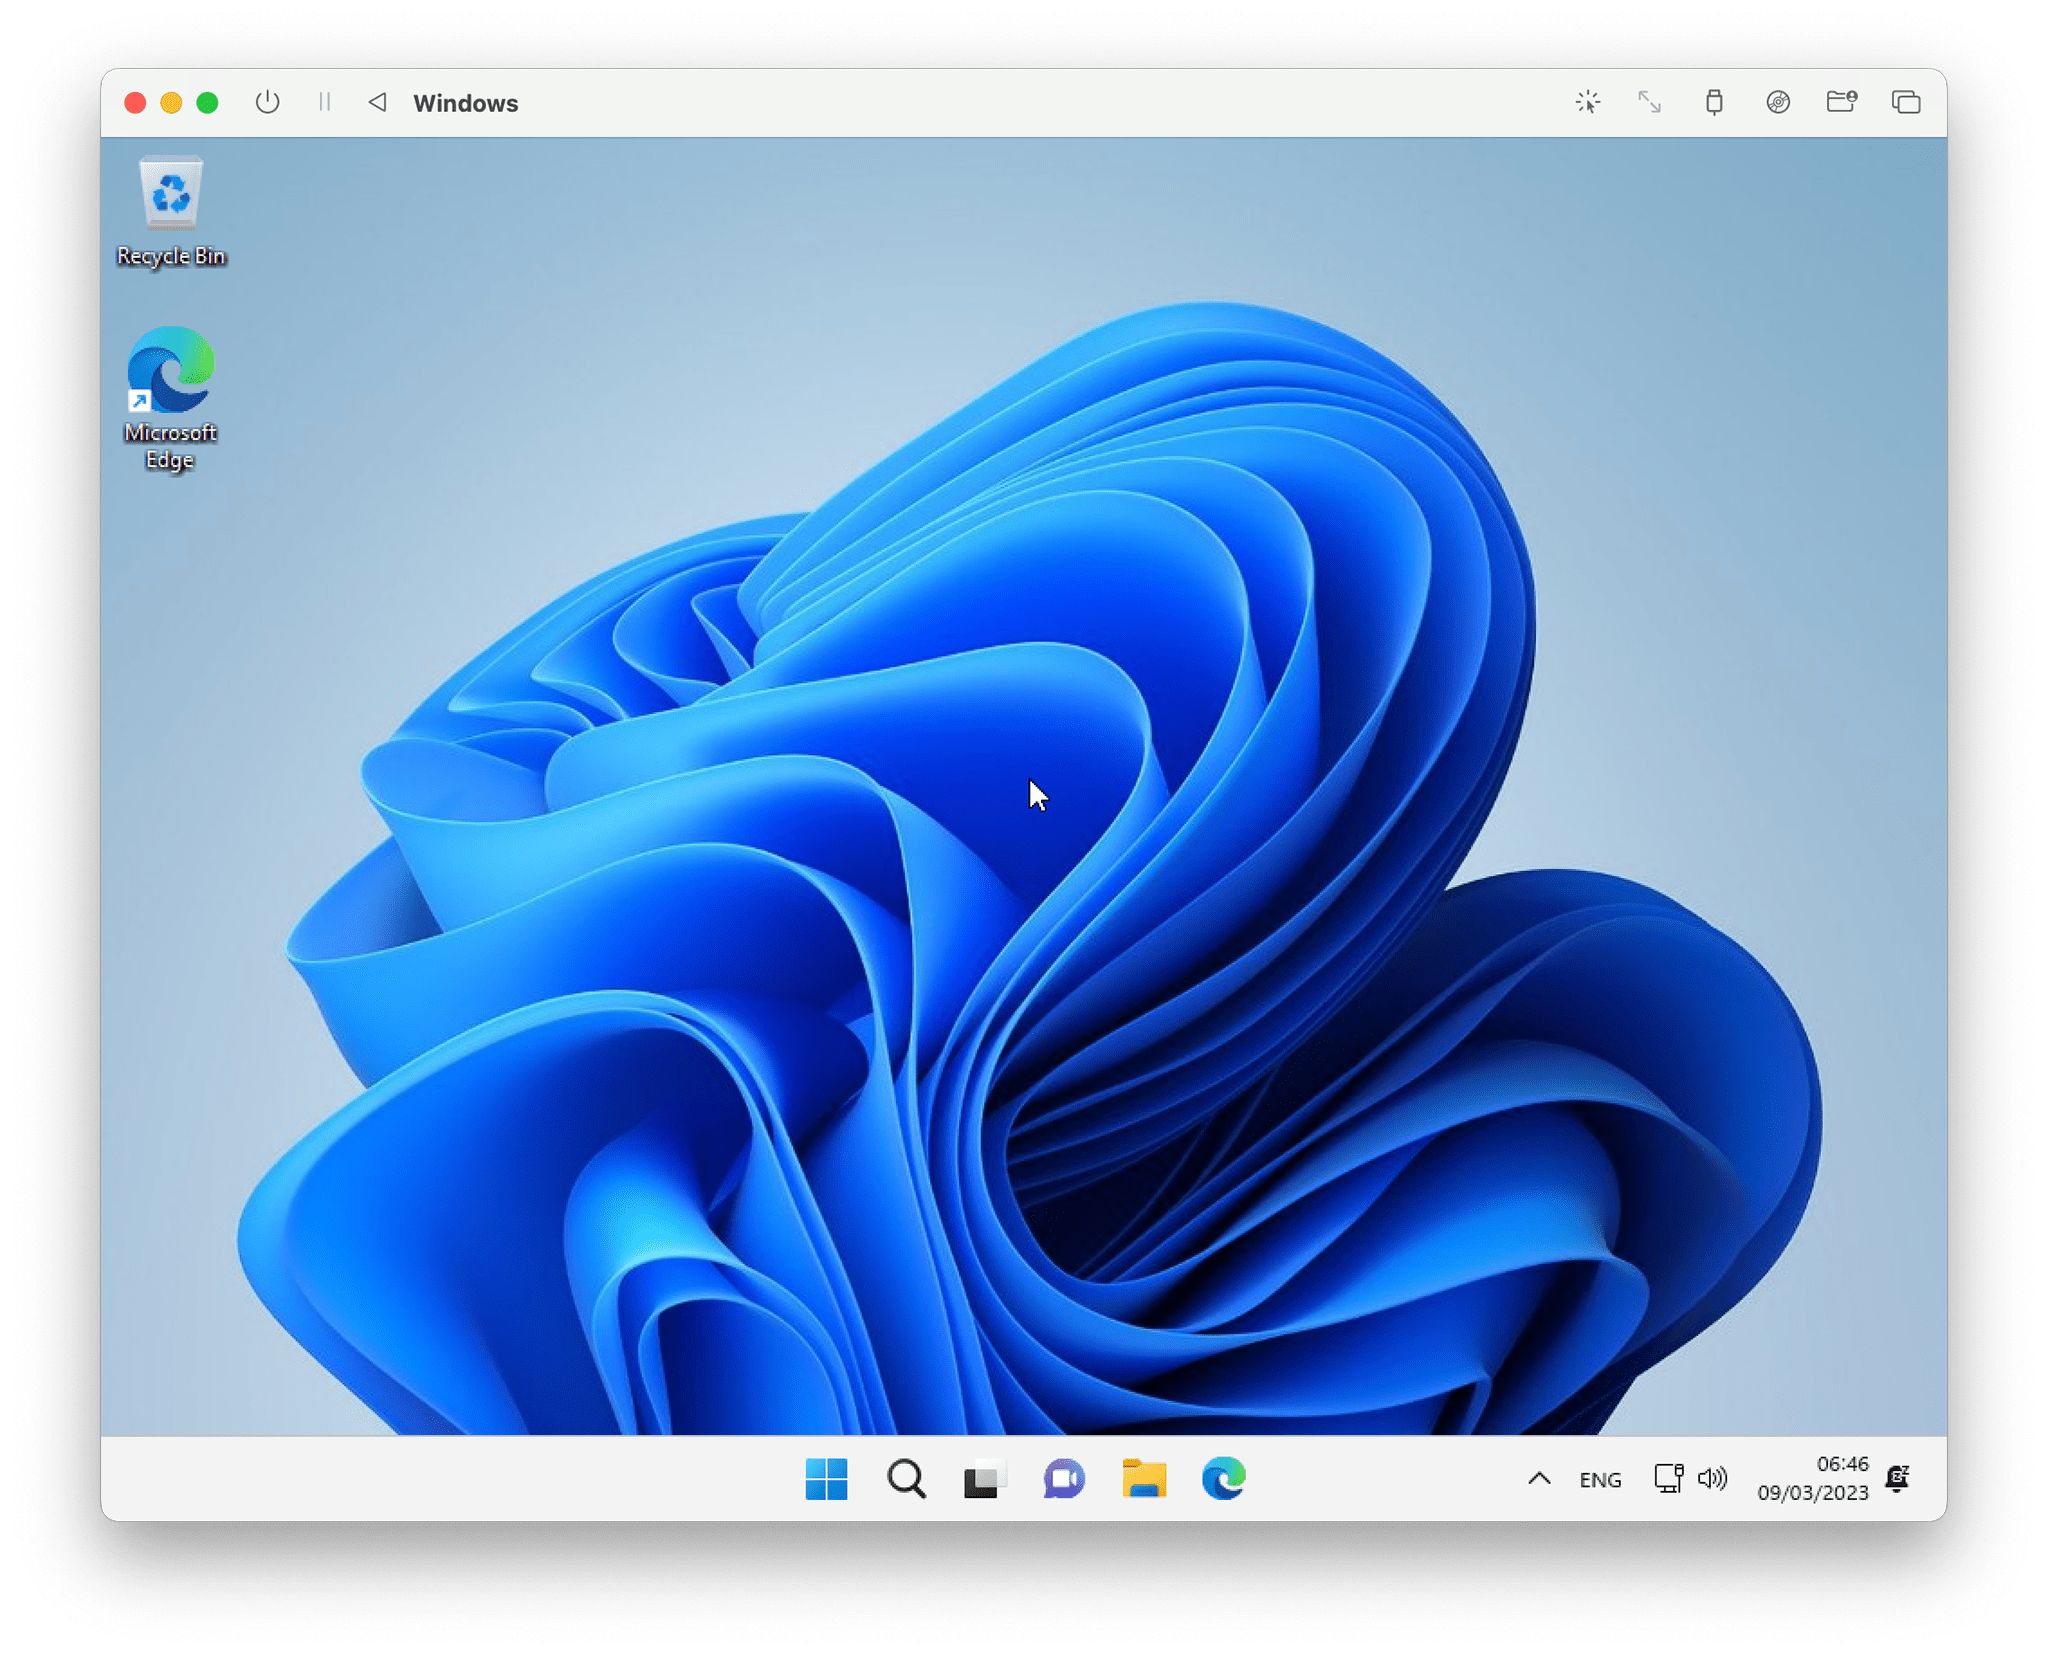
After restarting system was ready to use.
Because during installation my licence key didn’t show the relevant version available, I need to install it without it and select Windows 11 Professional from the available two options (Core and Professional).
I head to System > Activation and select Change product key to activate followed by logging into my Microsoft Account.
Before I started messing with other things, I head to Windows Updates and install whatever was there available.
Under Advanced options I turn on updates to other Microsoft products as well.
I noticed that the opposite to my first try with UTM and Windows 11 Insider, this time I have a Microsoft Store icon available but the app didn’t want to start (the same with any other app from Microsoft Store).
Once again I install further updates that have been shown in Windows Update. I need to repeat that couple of times until no more updates were available, before proceeding further.
After that, a couple of restarts later Microsoft Store started working and I got the system ready.
 <script async delay="https://dariusz.wieckiewicz.org/g/serve.js?client=ca-pub-5380116874441486"
      crossorigin="anonymous"></script>
 <ins class="adsbygoogle"
      style="display:block; text-align:center;"
      data-ad-layout="in-article"
      data-ad-format="fluid"
      data-ad-client="ca-pub-5380116874441486"
      data-ad-slot="9220966978"></ins>
 <script>
      (adsbygoogle = window.adsbygoogle || []).push({});
 </script>
Post Scriptum
Don’t expect that Microsoft will play nice with people installing their system, on officially not approved by them, software (like UTM), even if you will pay full price for a licence. There is a big business behind it and the fully working software that use TPM and graphic acceleration on Apple computers is Parallels Desktop, which charges extra for this privilege.
As mentioned in the beginning, especially with 22H2, you may experience an issue with the lack of a Microsoft Store. The last version where everything plays sort of nicely with UTM was Windows 11 21H2.
When I used the above method with Windows 11 21H2, I installed it without a key during setup and selected Windows Professional as the version. Later, I activated it with the Windows Education key and get Windows 11 Education version. On 22H2 this trick not worked and Microsoft servers returned information that this key cannot be used for activation of this version of Windows. The other option that was available during setup was Windows Core, which I followed.
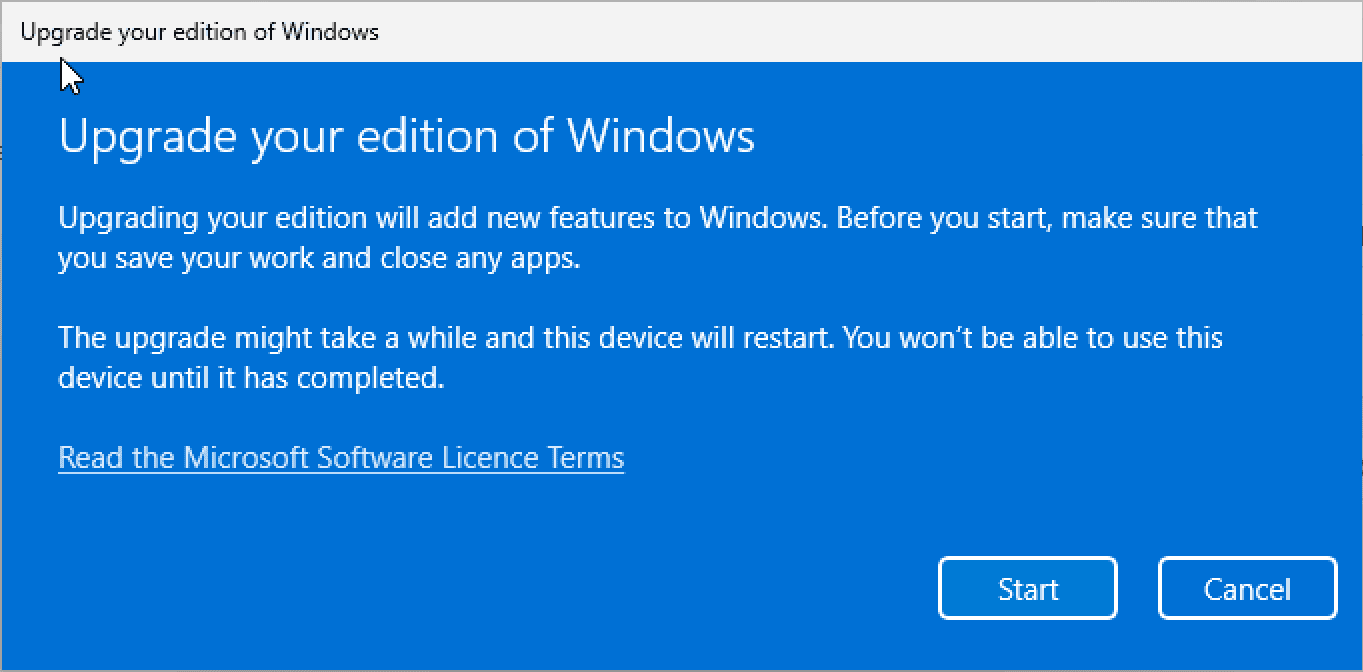
During the activation of Windows Core with the Windows Education key I got an option to Upgrade your edition of Windows which allows me to land on the Windows 11 Education version.
Microsoft Store on ARM64
A quick addition to missing Microsoft Store.
Open PowerShell or Terminal as an Administrator and type:
iwr -useb https://raw.githubusercontent.com/DaBigBlob/ms-store-arm64/main/allowARMv2.ps1|iex

wsreset -i
Read more: Microsoft Store on ARM64 (for UTM)
Patiently wait and the Store Experience Host installs in the background. You may have some notifications about that pop-up in the right bottom corner or some hanging-in notifications (when clicked on the clock in the right bottom corner).