10 things to do after installing/upgrading to Windows 11 (+1)
If you have updated to Windows 11 from Windows 10, the below steps will help you to clean leftovers in your system and make it close enough to the performance known from the 10th edition.
If you planning (or did) to install Windows 11 from an official ISO, make sure that you using always the latest one. At the time of writing this text, the ISO available is the 2nd since the system has been presented to the world (64v1).
Move menu Start back to the left side
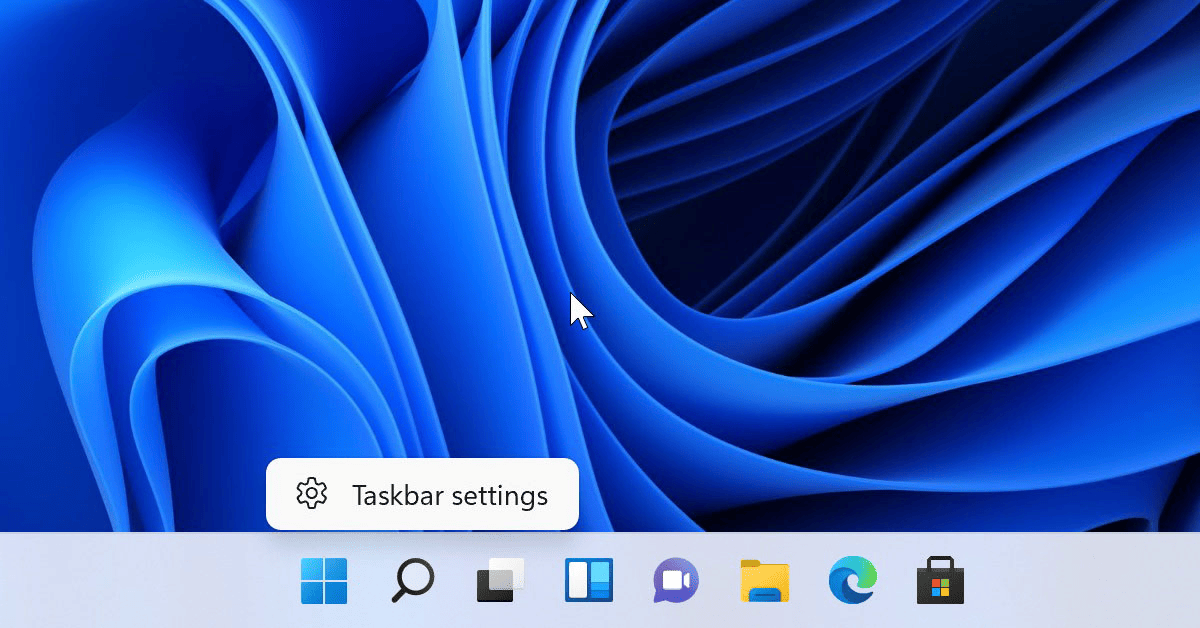
Unless you like your icons in center, you can move them back to the left edge, like it always been by right-clicking on the bottom menu bar and selecting the Taskbar settings.
Alternatively Start > Settings > Personalization > Taskbar
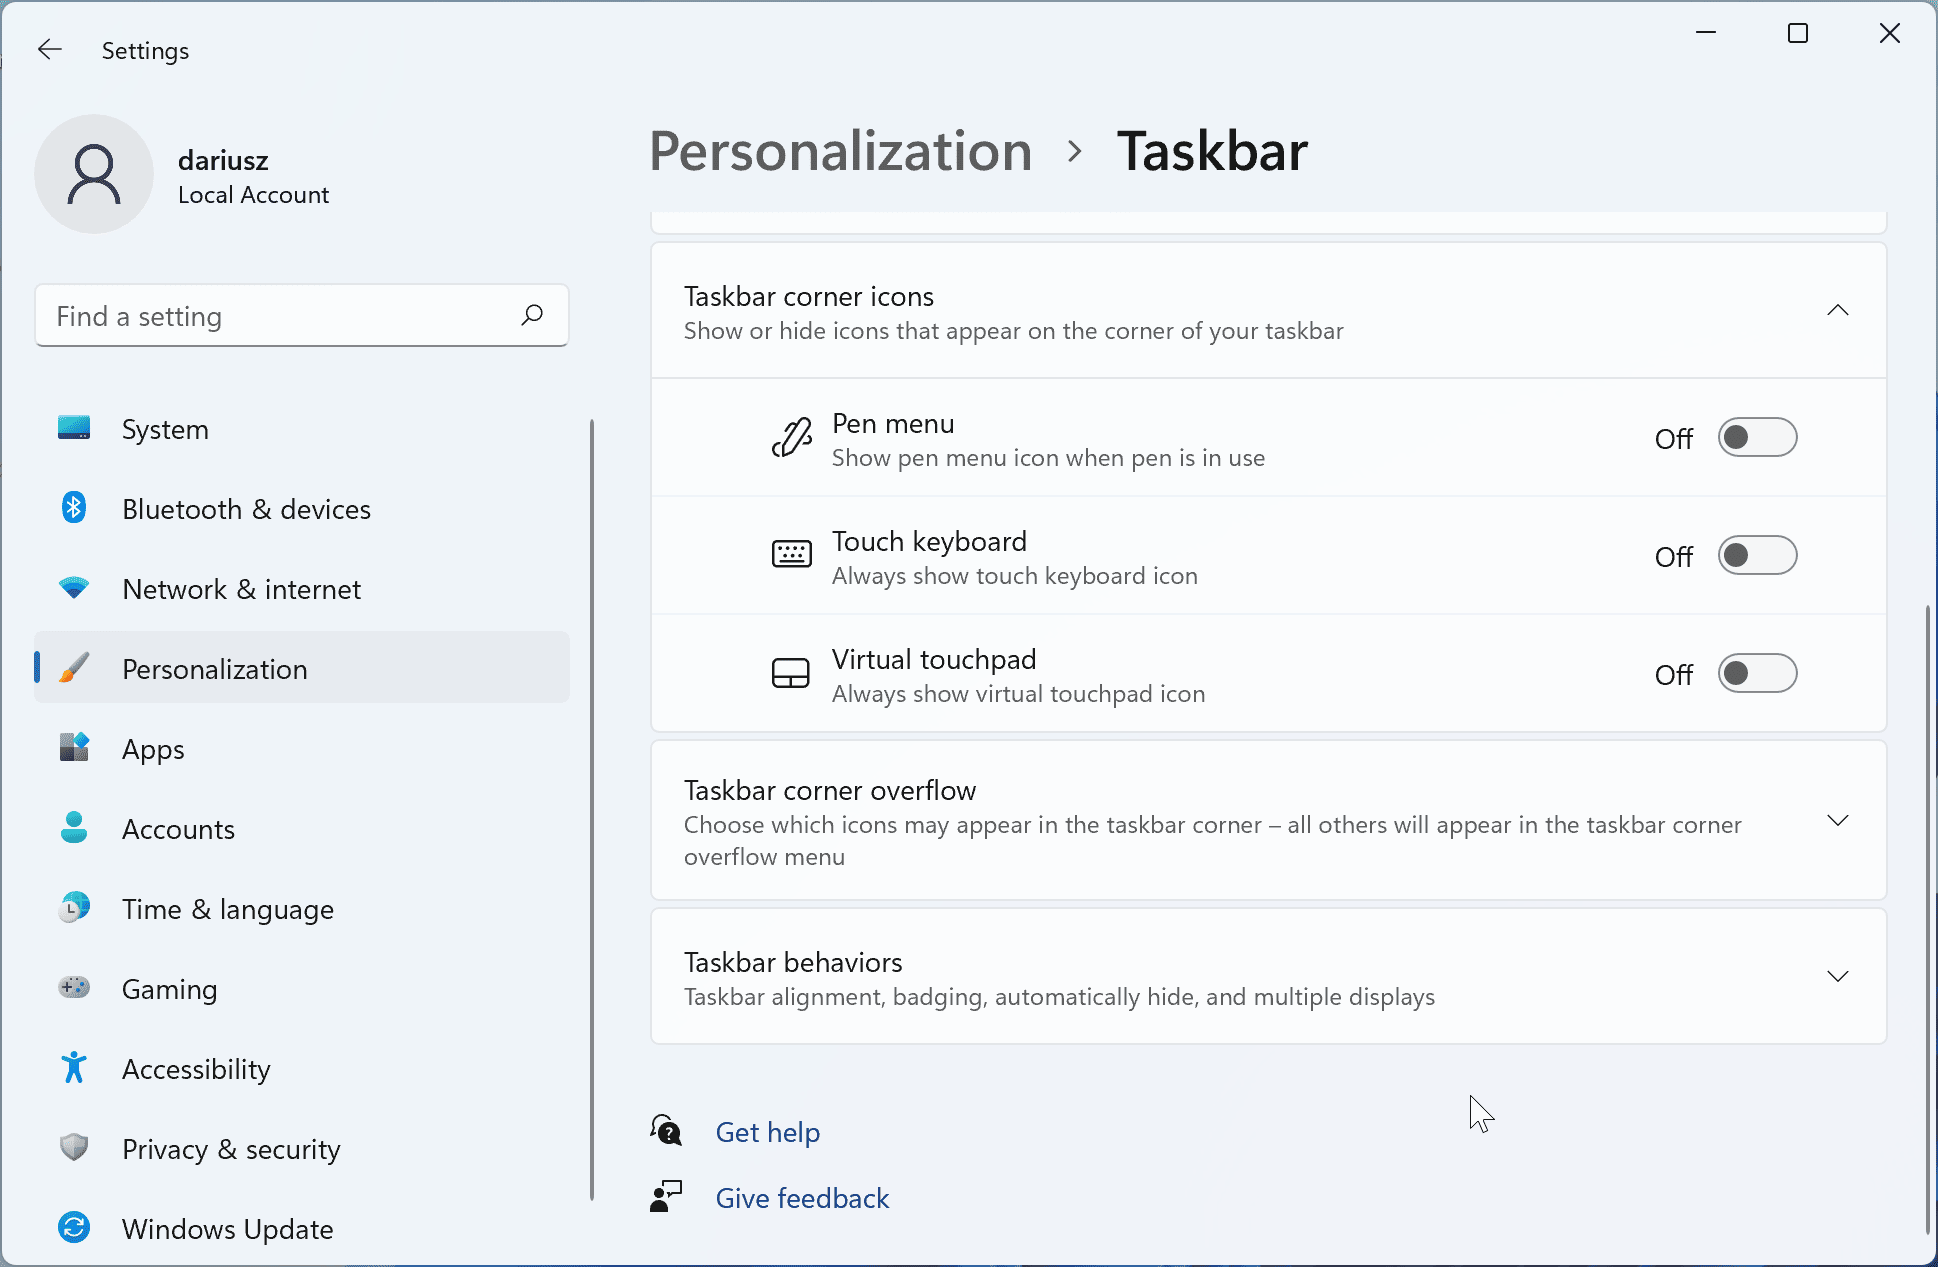
When you will scroll down the window, you will find Taskbar behaviour section, and there, when expanded, you will have the option Taskbar alignment set to Center (by default). Just switch it to Left.
I don’t understand the whole idea of centring it. Microsoft trying to do something like Dock in macOS, but in that case, we still got clock and icons on the right side, so the whole concept missing the point (as a macOS user). I understand that when you press the new menu Start it’s shown nicely centred, but overall, it is not what is expected/desired by users (in my opinion).
Run Windows Updates
If you installed windows 11 from scratch, there will be no surprise for you, that you will have Windows Updates waiting for you.
If you just updated from Windows 10, they may be installed through the process, but still, there will be some Optional Updates worth checking.
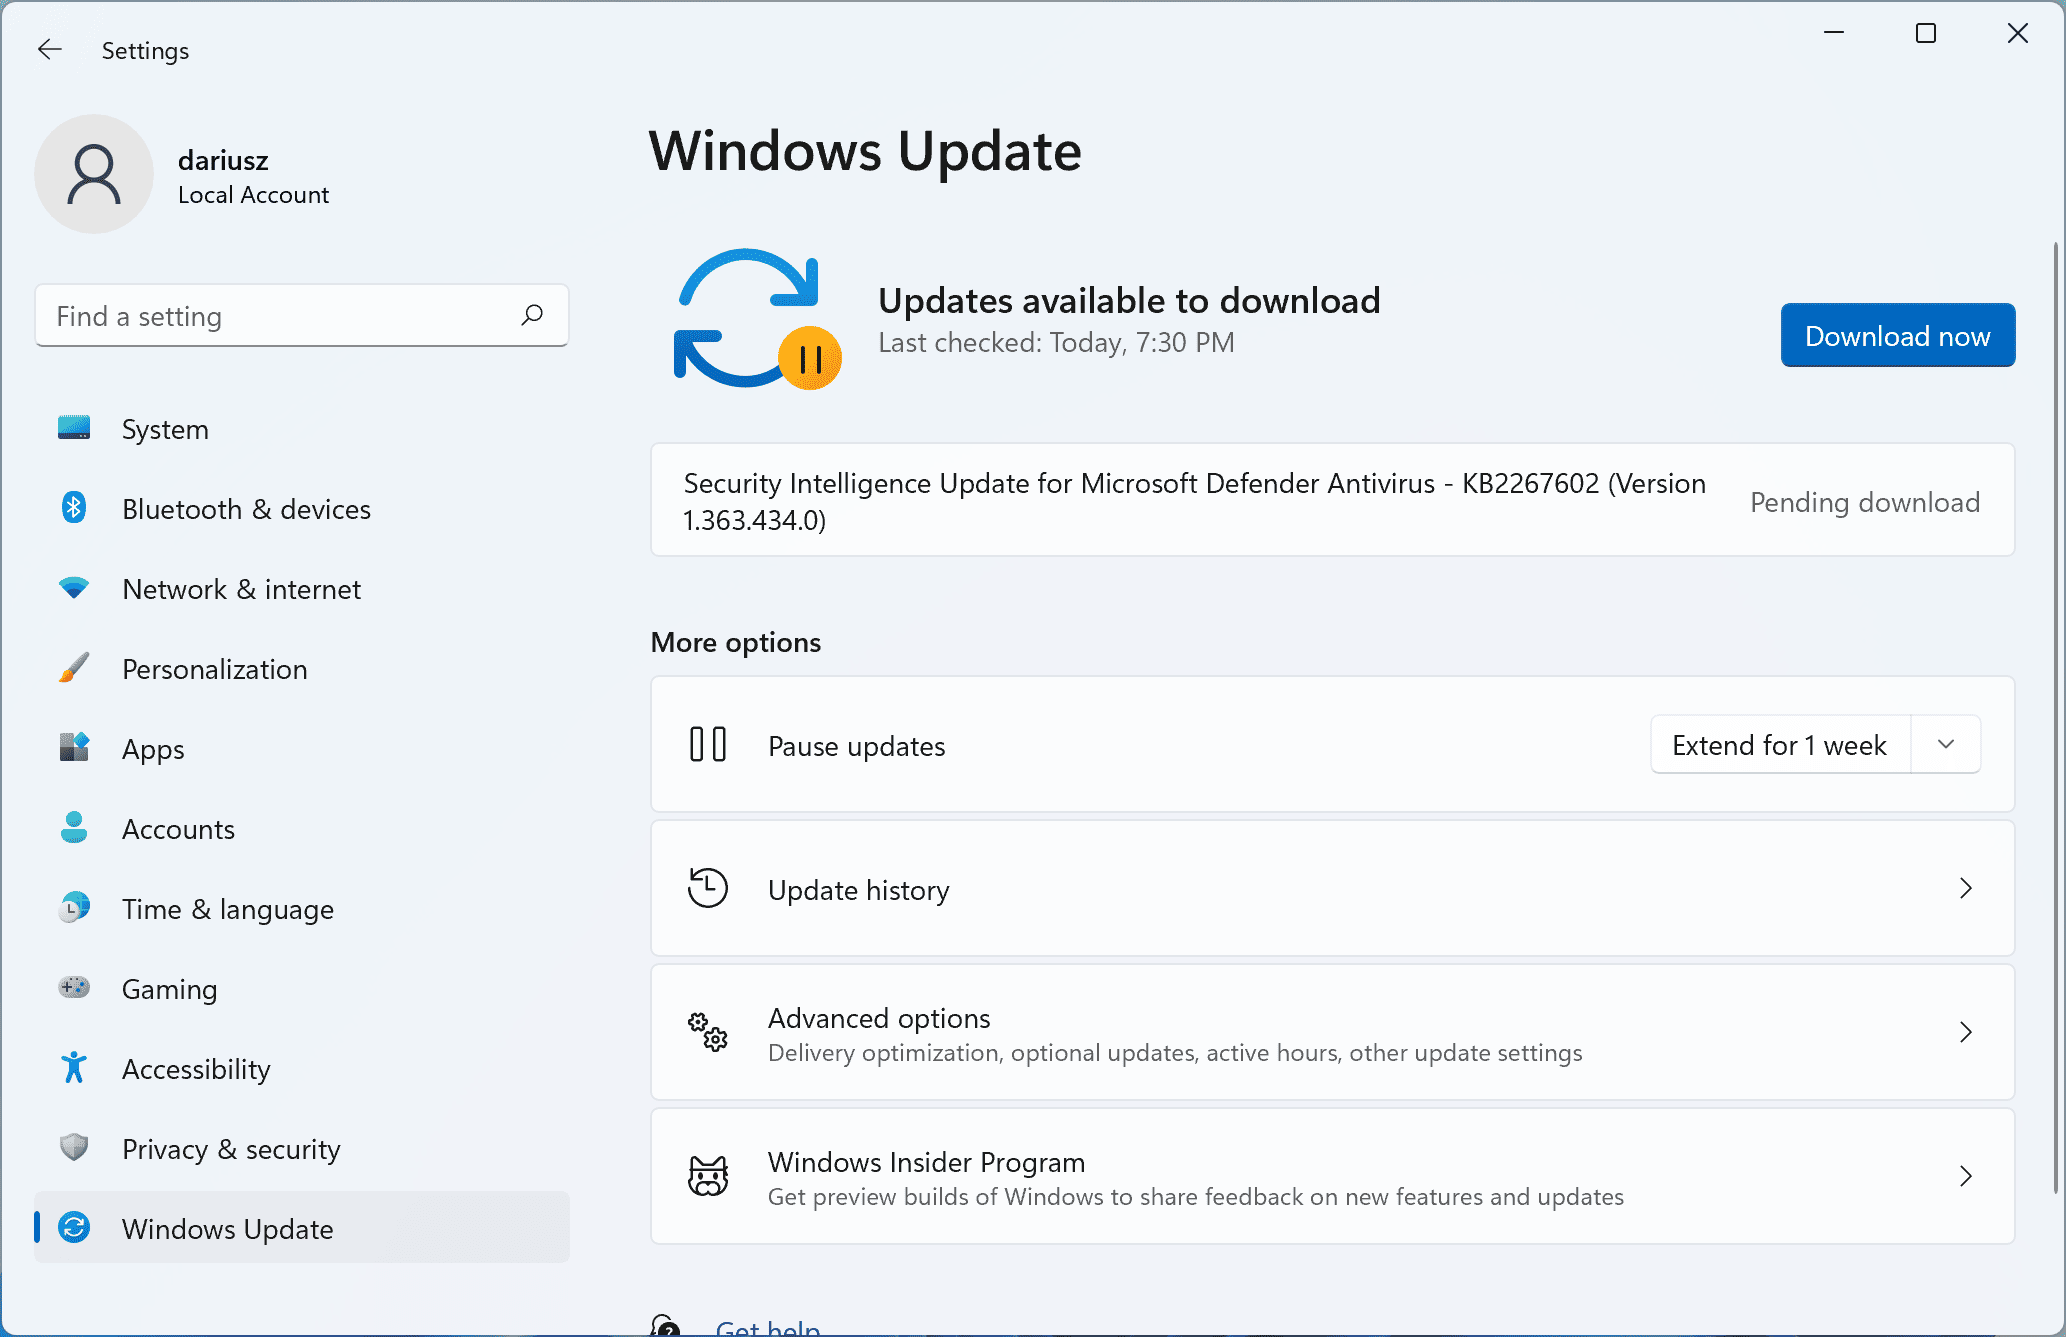
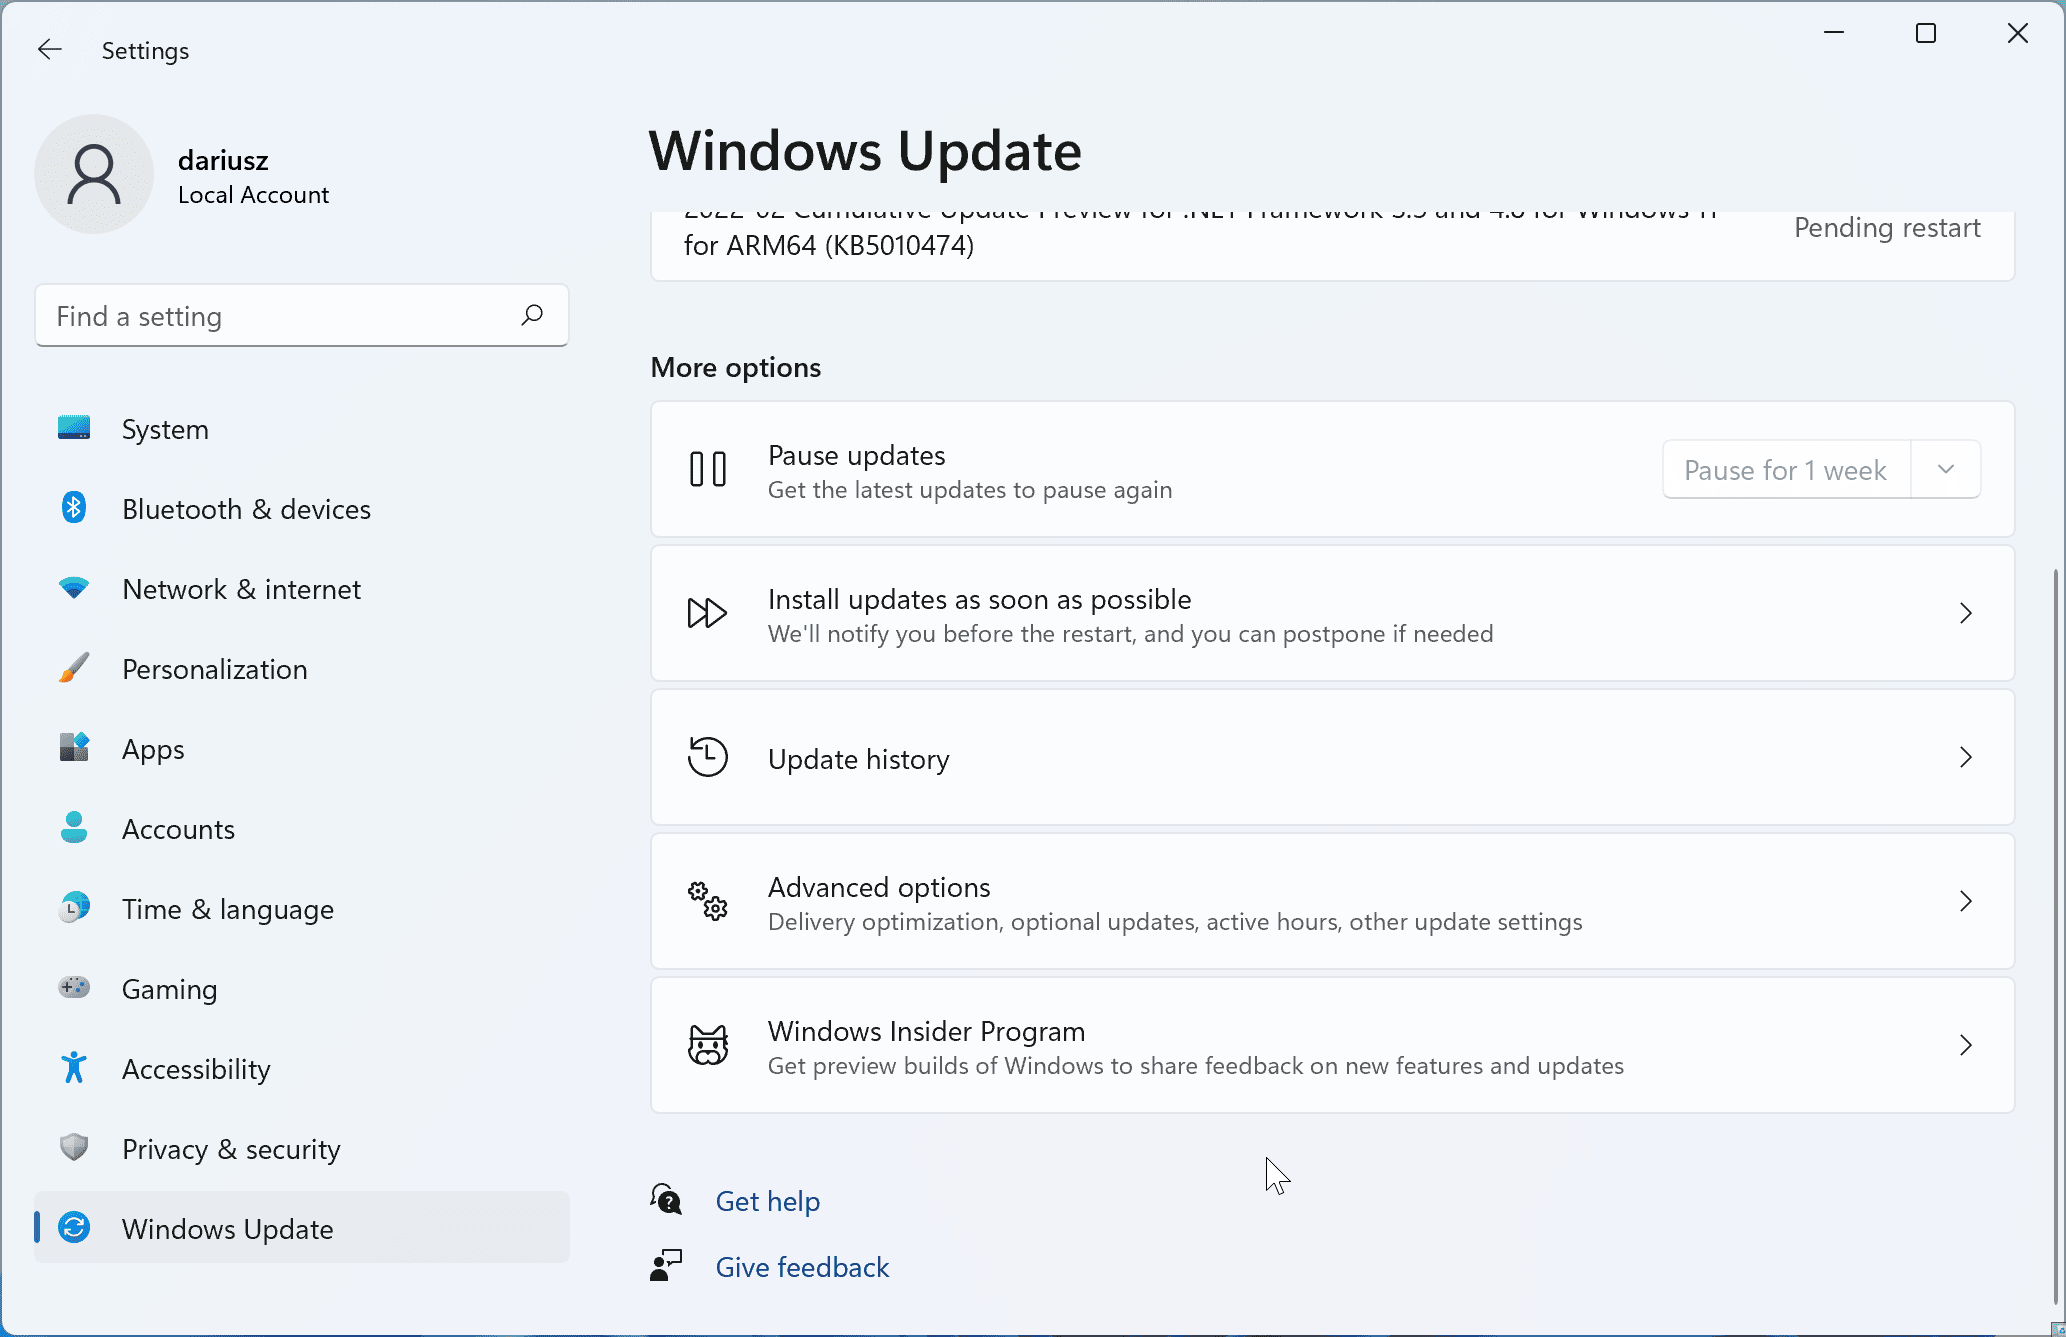
Head to Start > Settings and select Windows Update from left side of the window. If something is waiting to be downloaded, hit the blue Download now button to start downloading and installing them straight away.
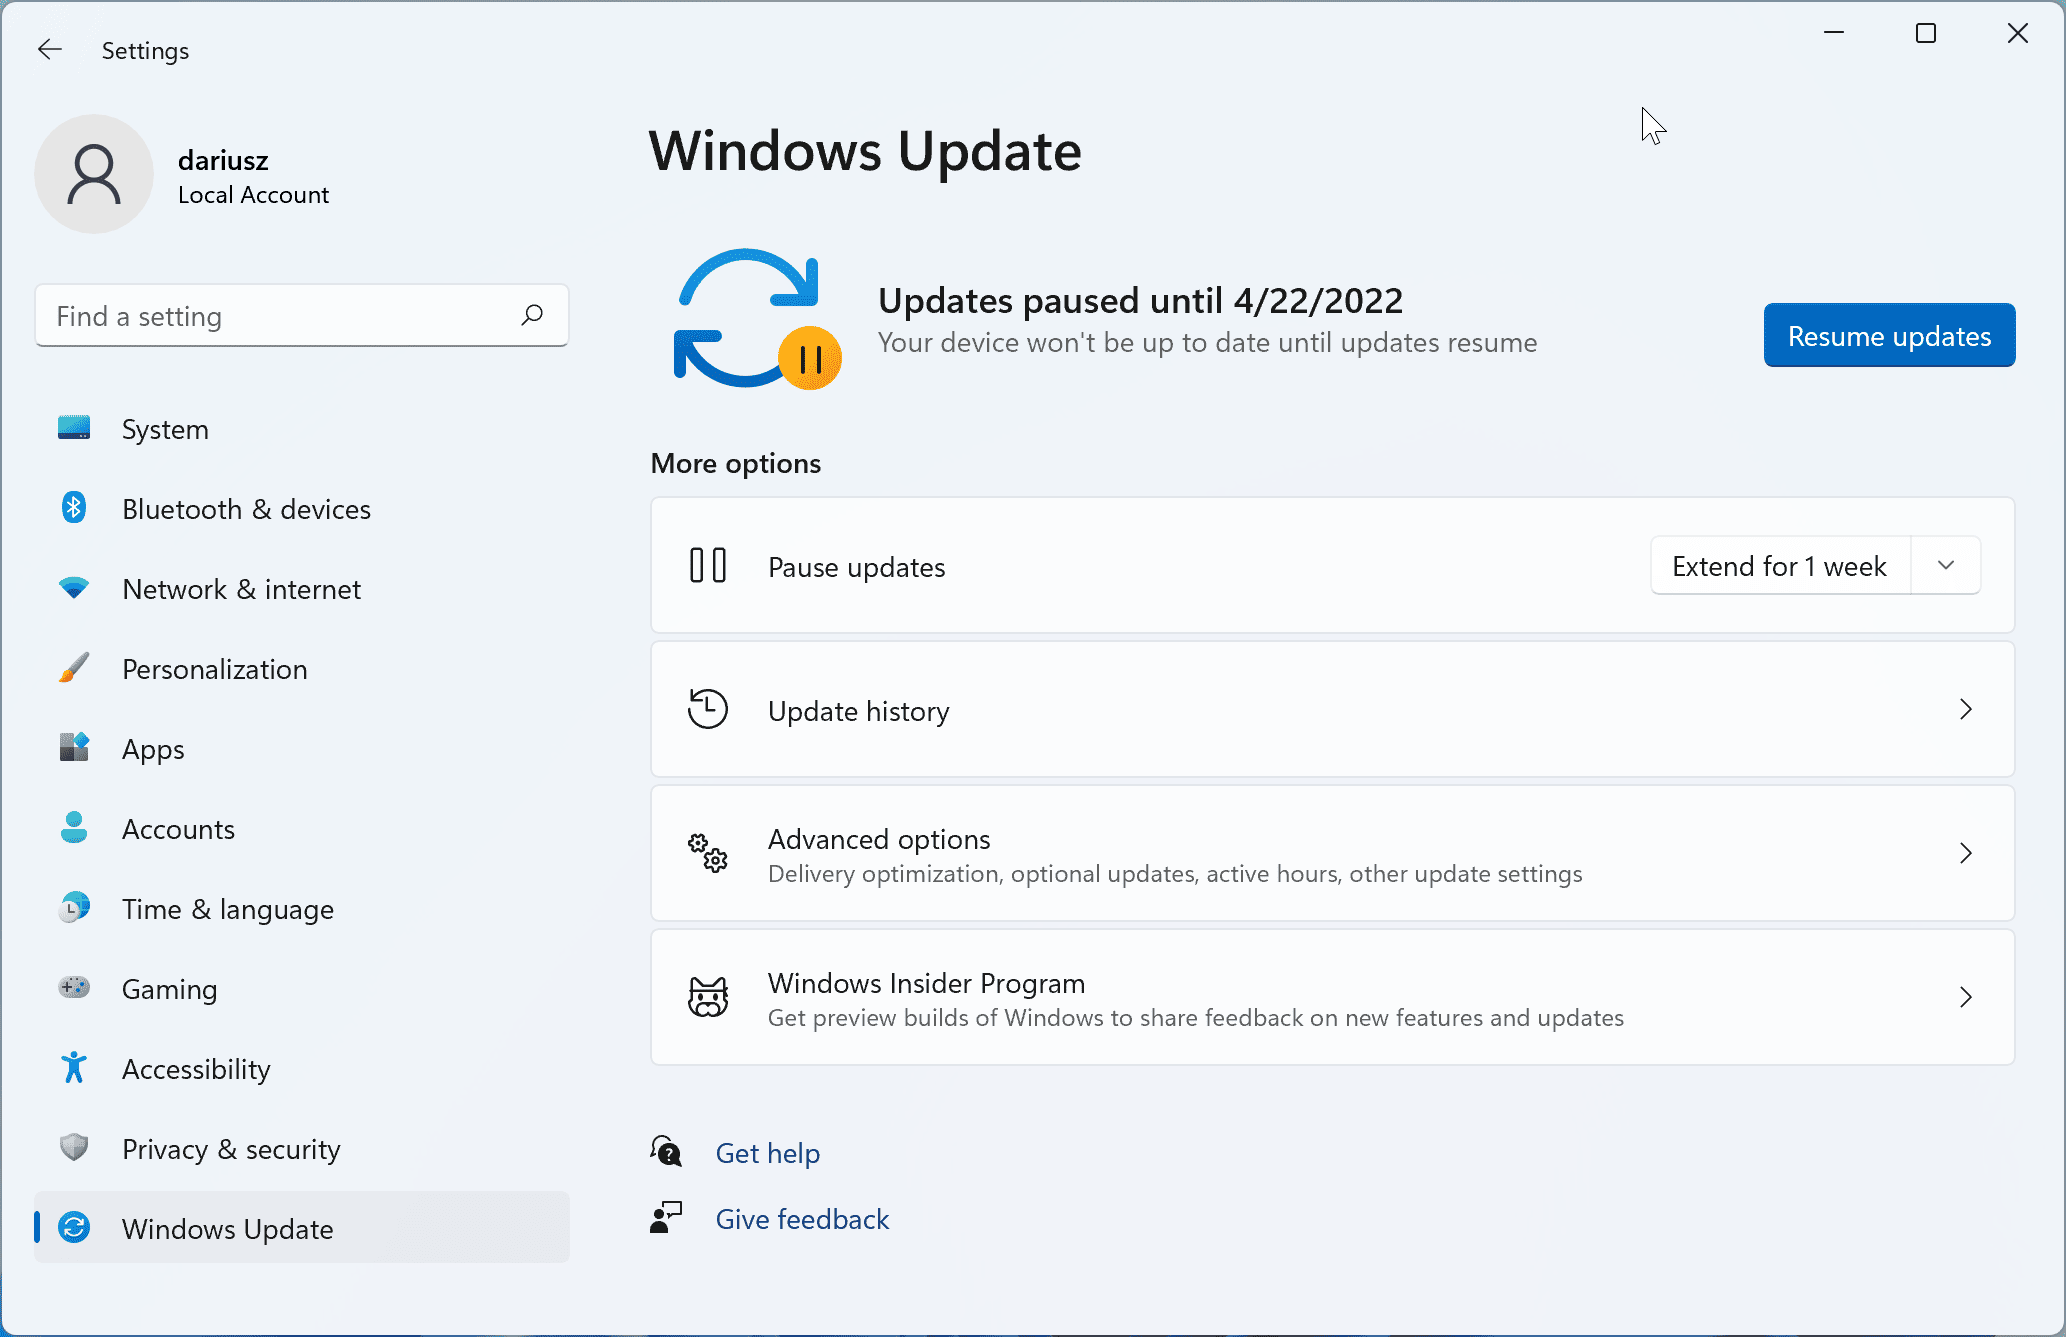
Depend on the Windows version you have installed, your updates may be paused at start. Click the blue Resume updates button to start searching for what is available.
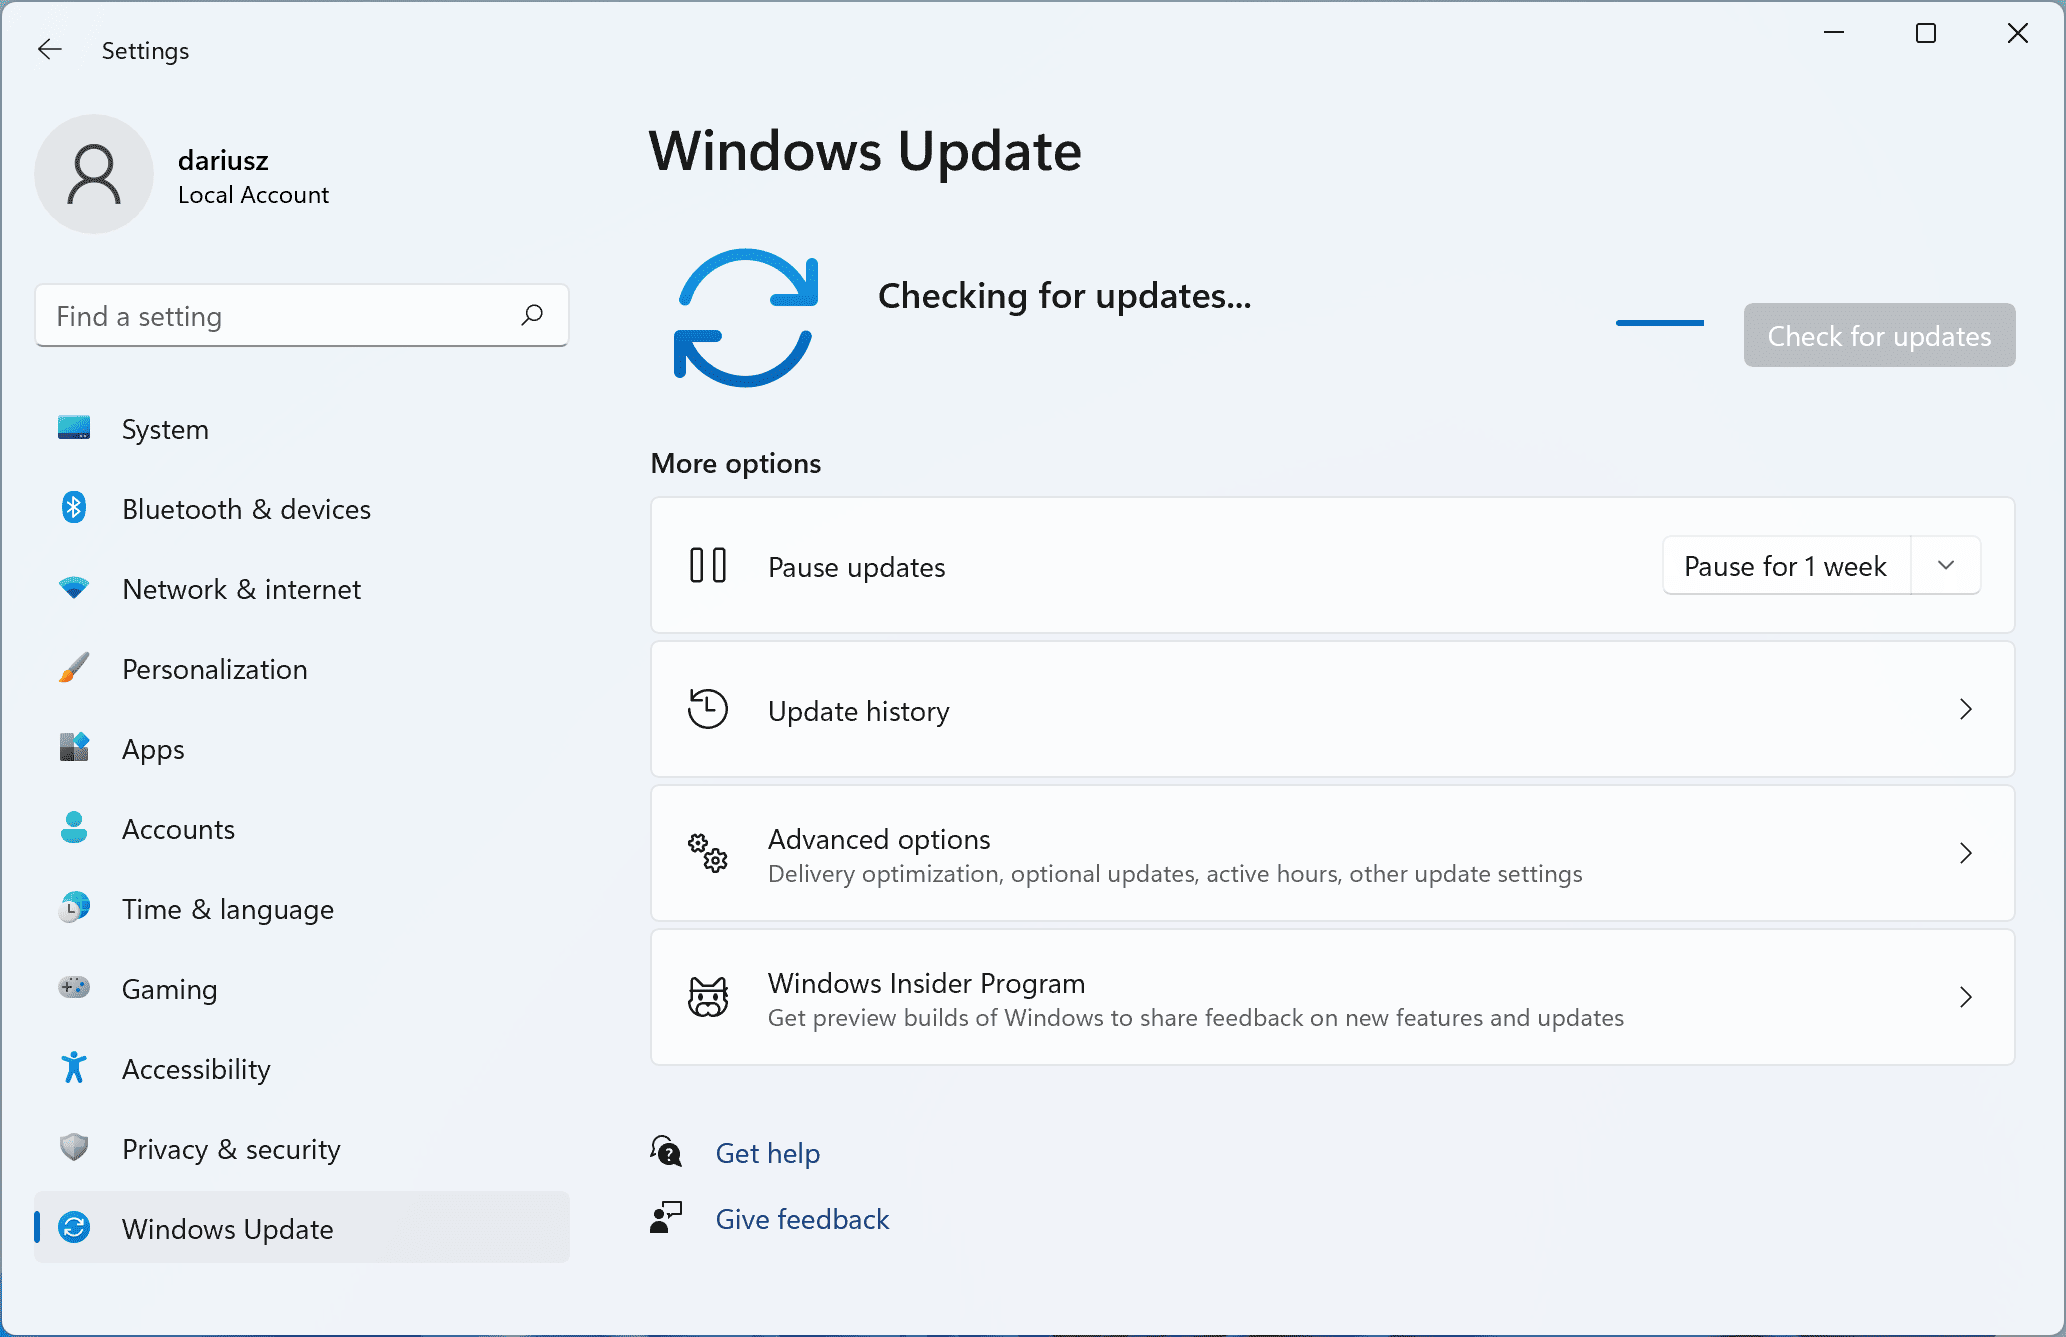
If you don’t see any updates waiting for you, you can always recheck that, but click the blue Check for updates button.
Turn on updates for other Microsoft Products
For this you need to head to Advanced options (in the Windows updates section) and tick (turn on) the option Receive updates for other Microsoft products.
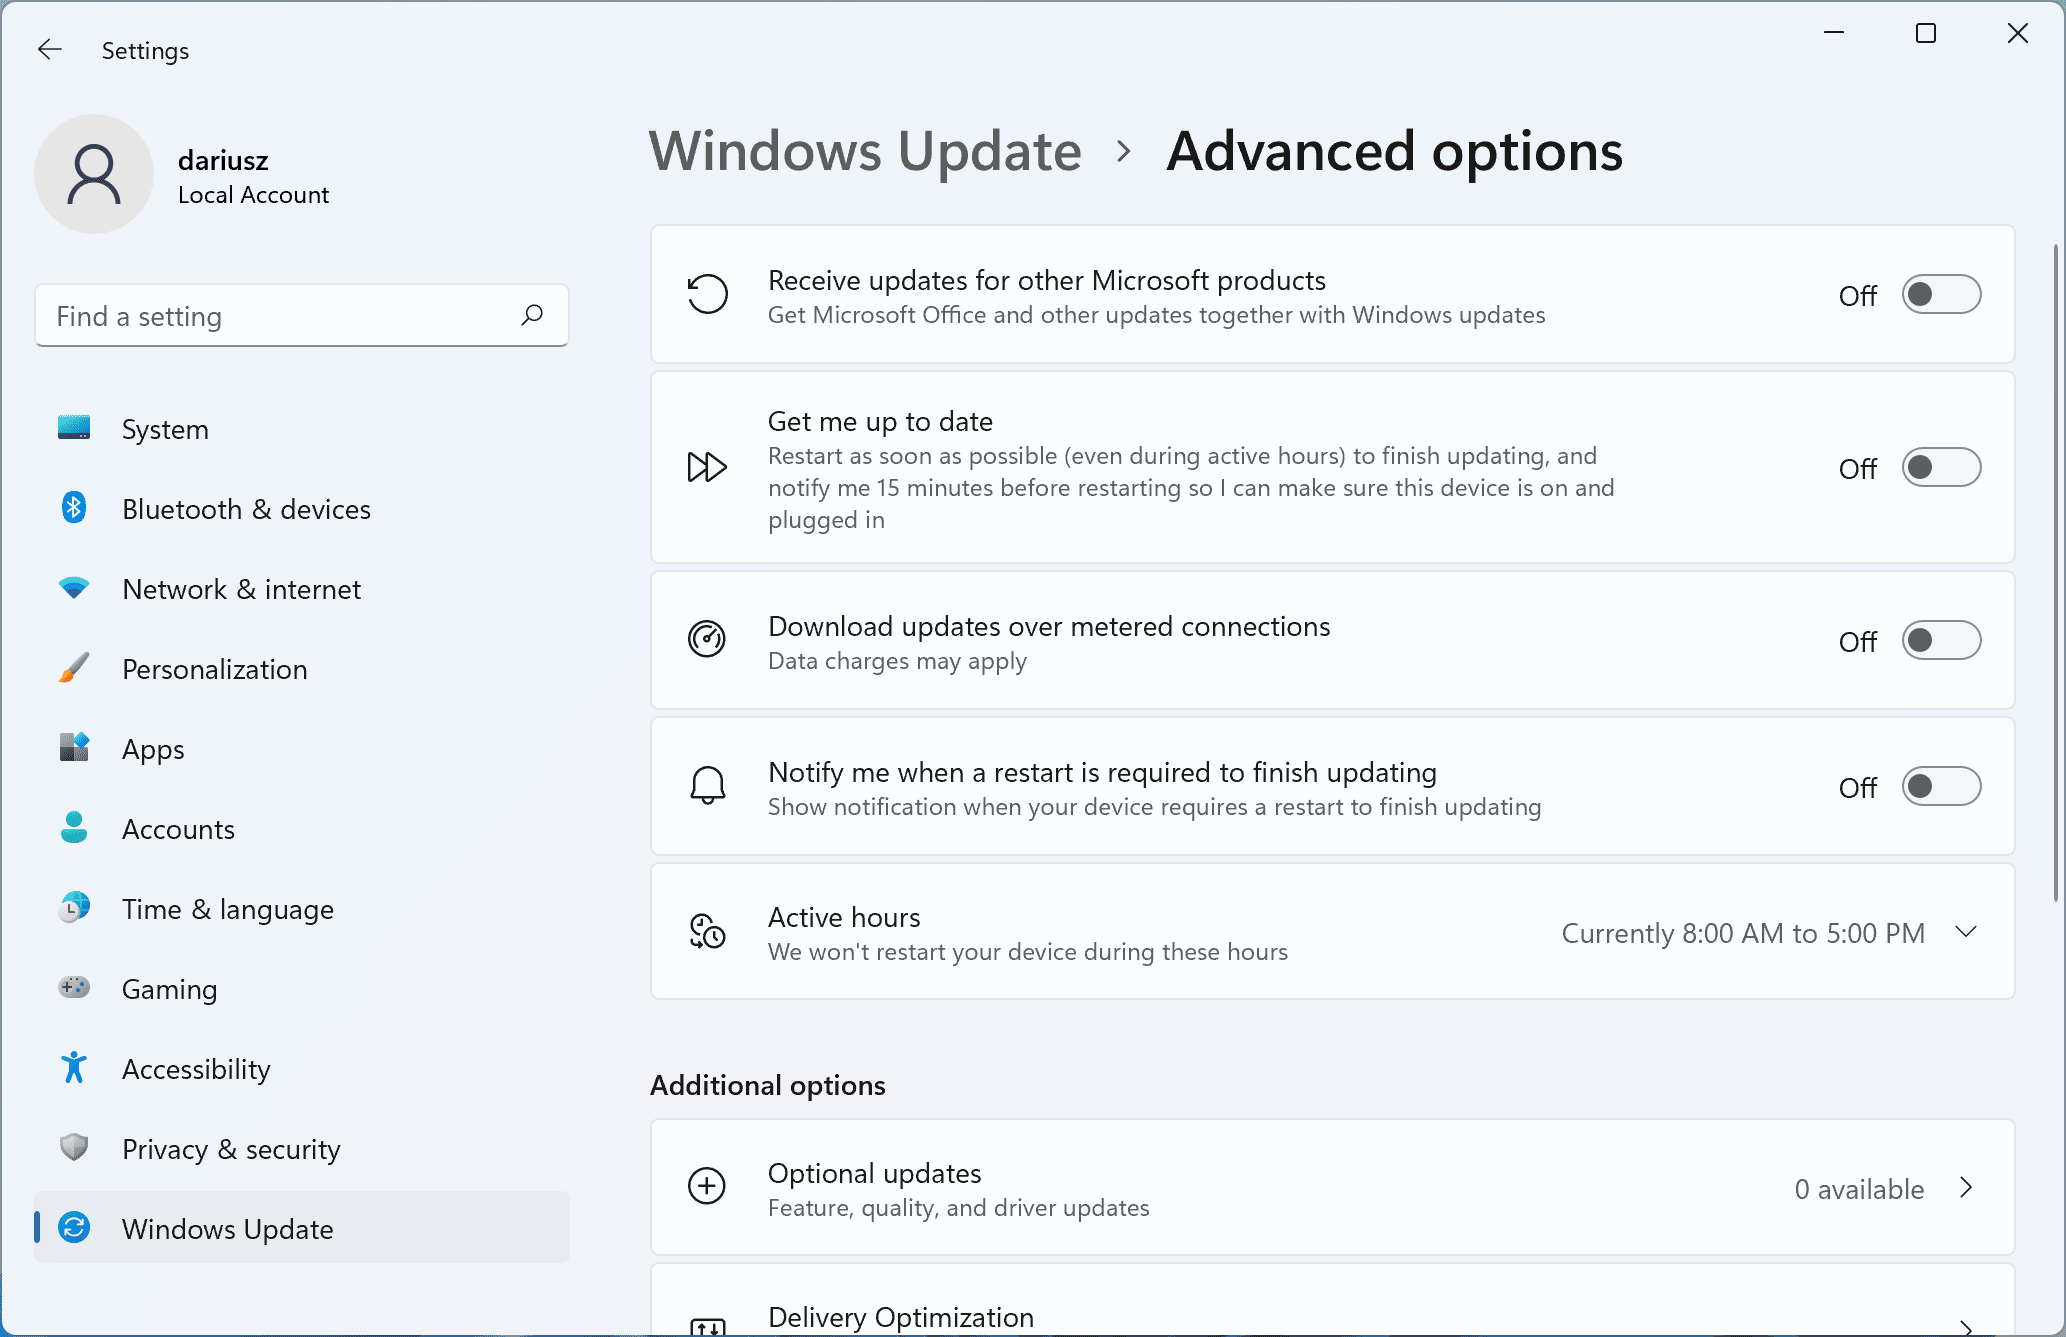
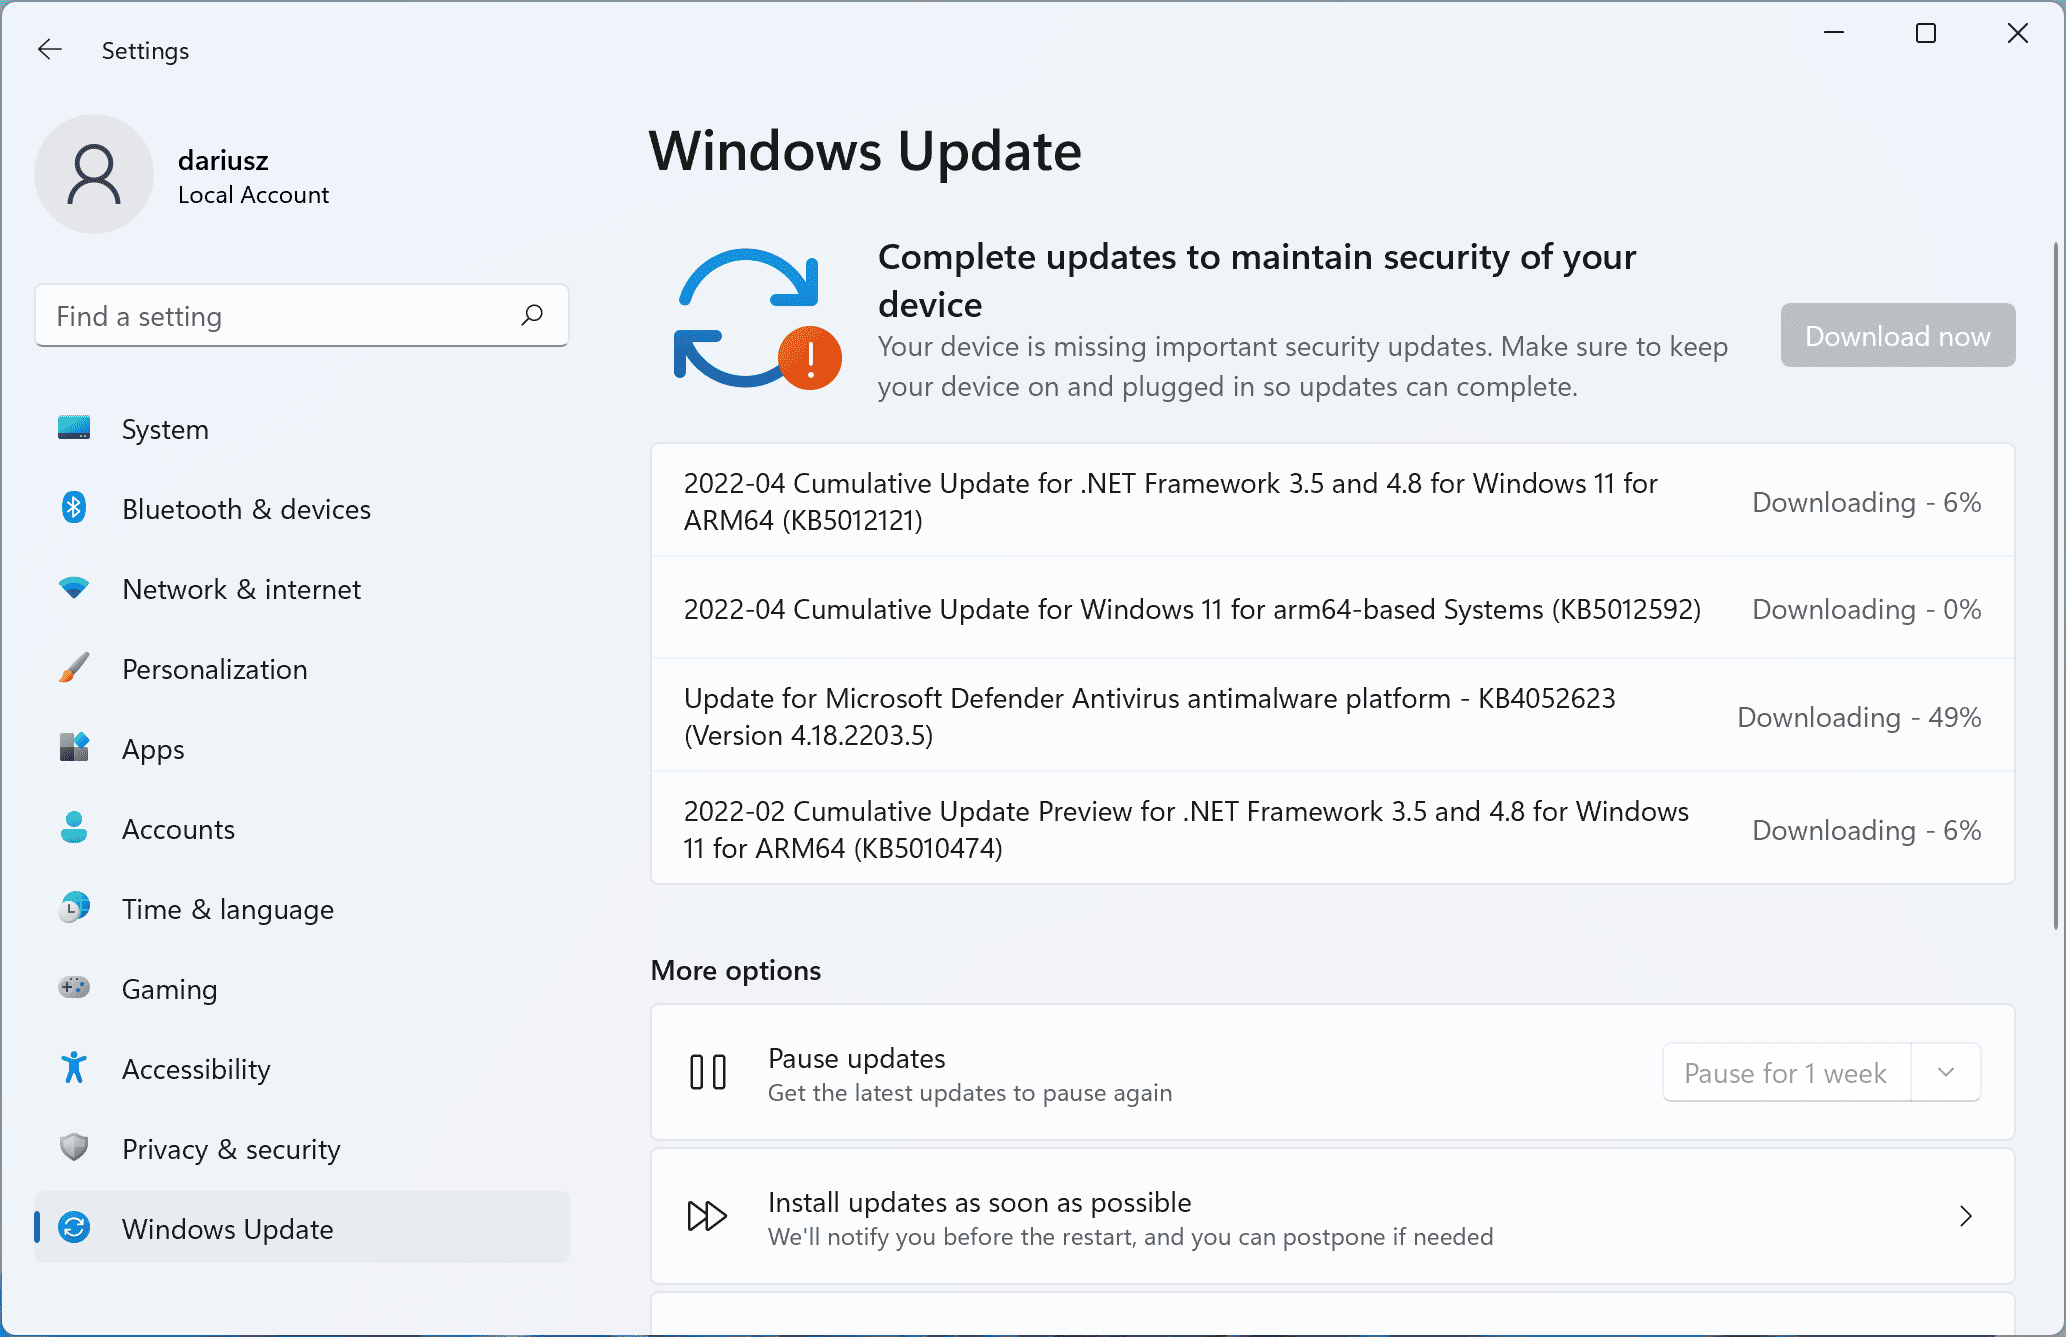
Once that is done, head back to the Windows Update section and click the blue Check for updates button to see if there is anything extra available.
Install Optional updates
When you are in Advanced options, find it in the Additional options section and go into it.
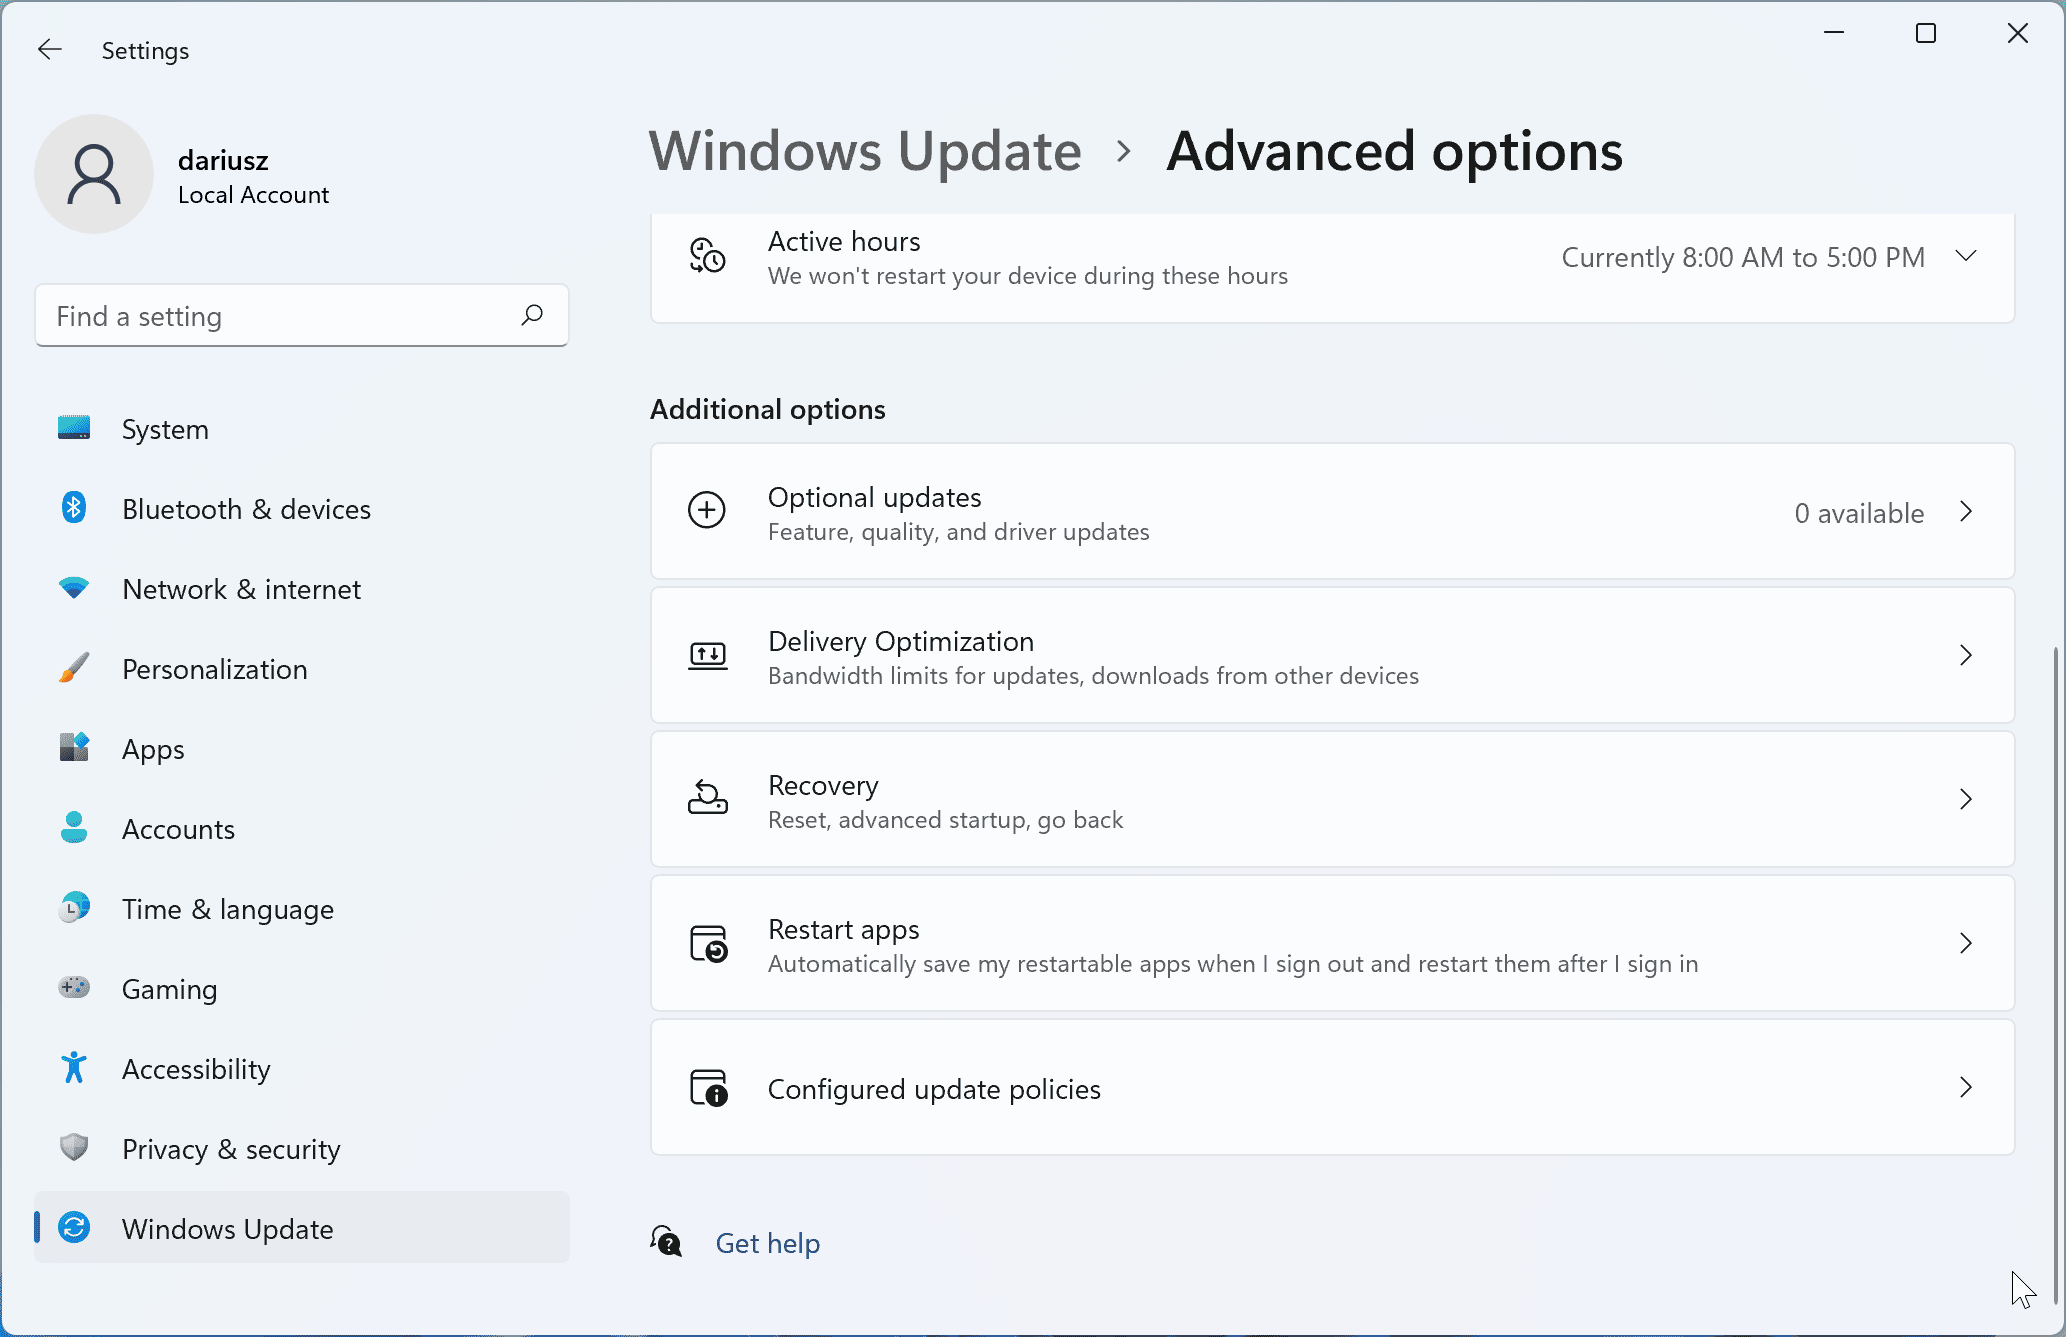
If there are any available, you will be able to select them and install through. Typically they are related to computer hardware when the current system contains drivers in older versions than those provided by Microsoft.
Sometimes to get the latest version of them, it’s better to use the manufacturer’s website to update the software and drivers.
Update Microsoft Store (itself) and Apps
Windows 11 is delivered with a bunch of preinstalled apps that will not get updated straight away when you install or update your system. Same as Microsoft Store, the place from where you install the apps, may require an update.
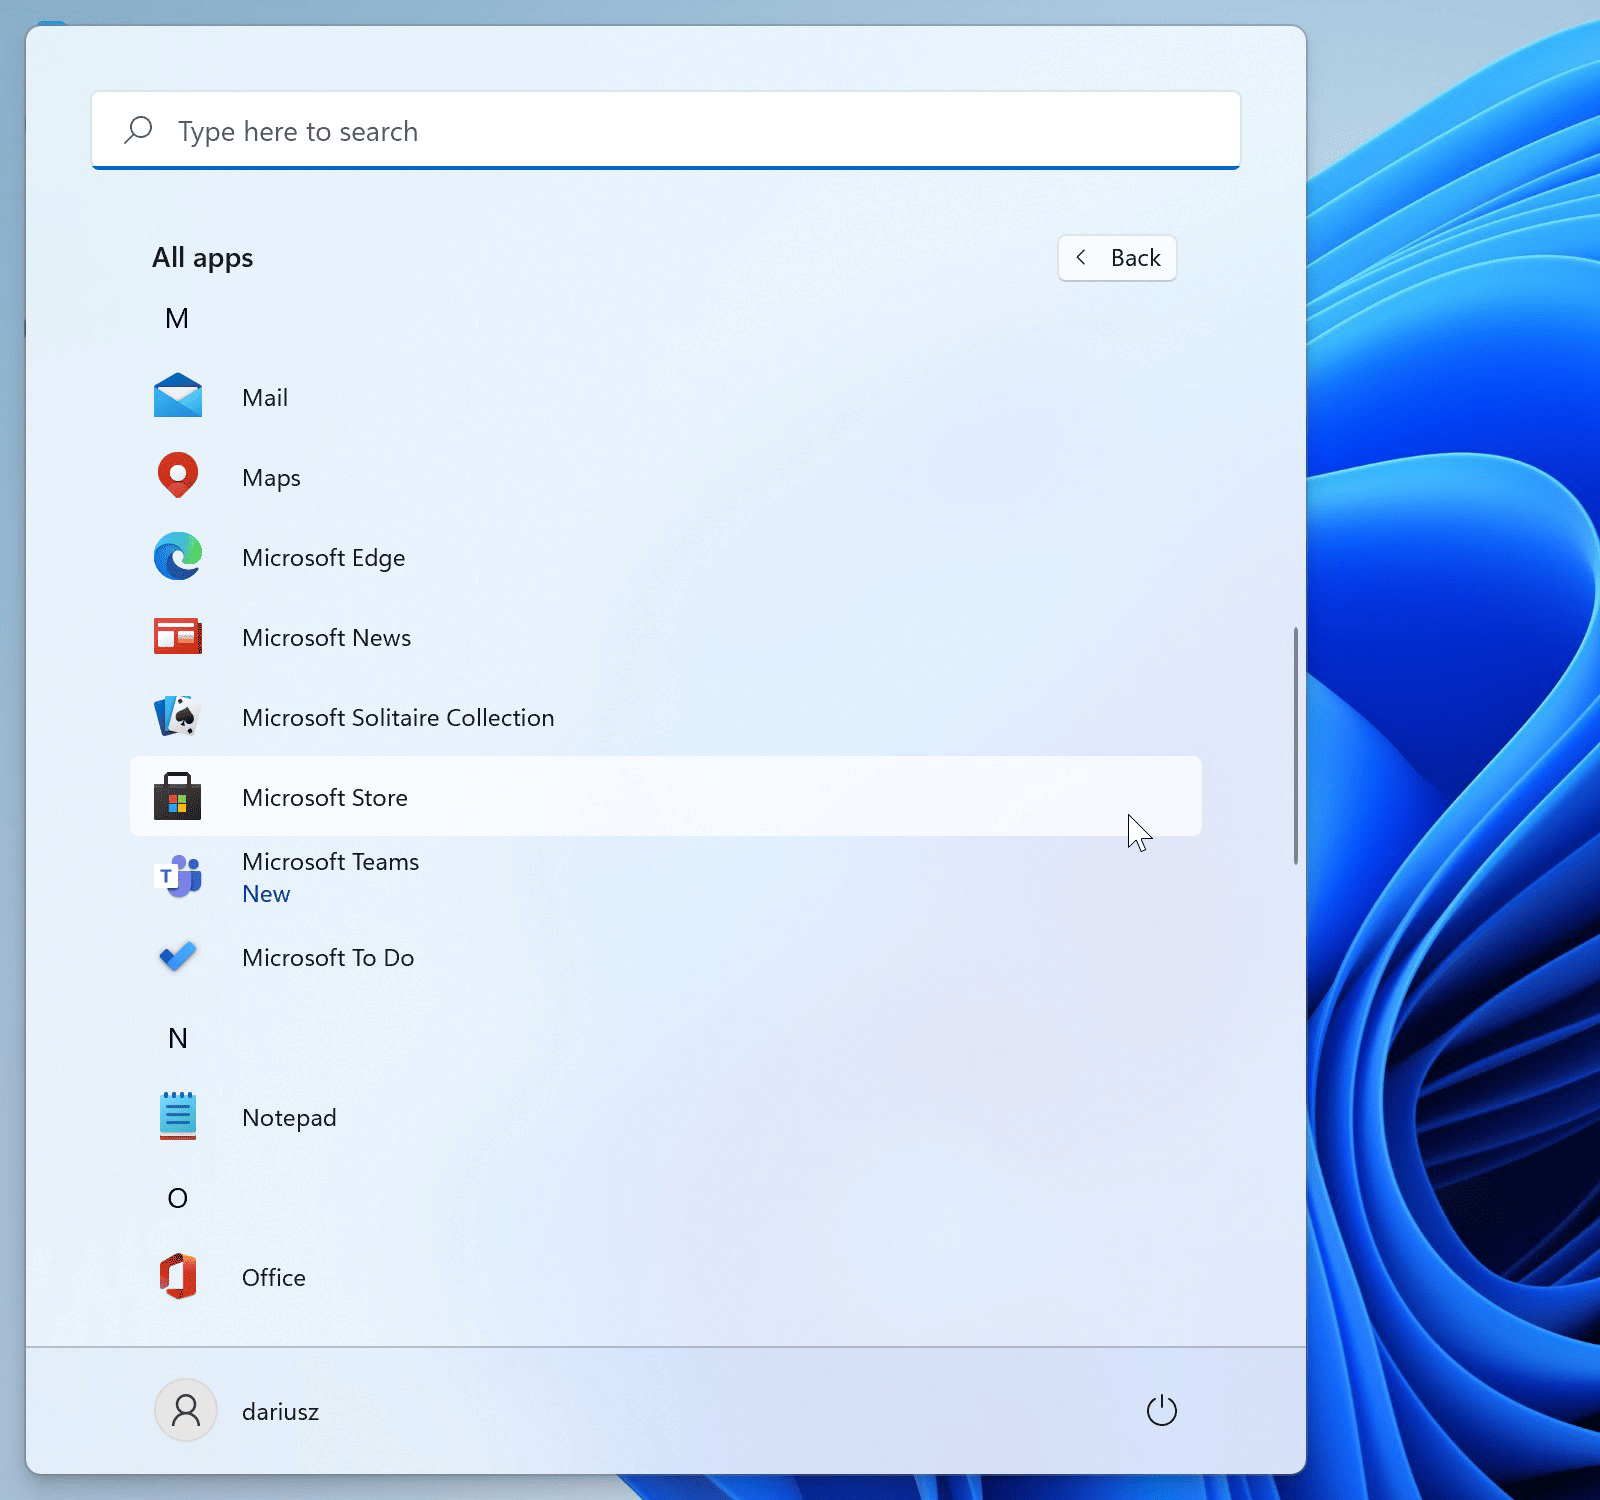
Head to Start > Click All apps from the right top corner, and find Microsoft Store on the list.


Click on Library located on the left bottom side of the window, then hit the blue Get updates button.
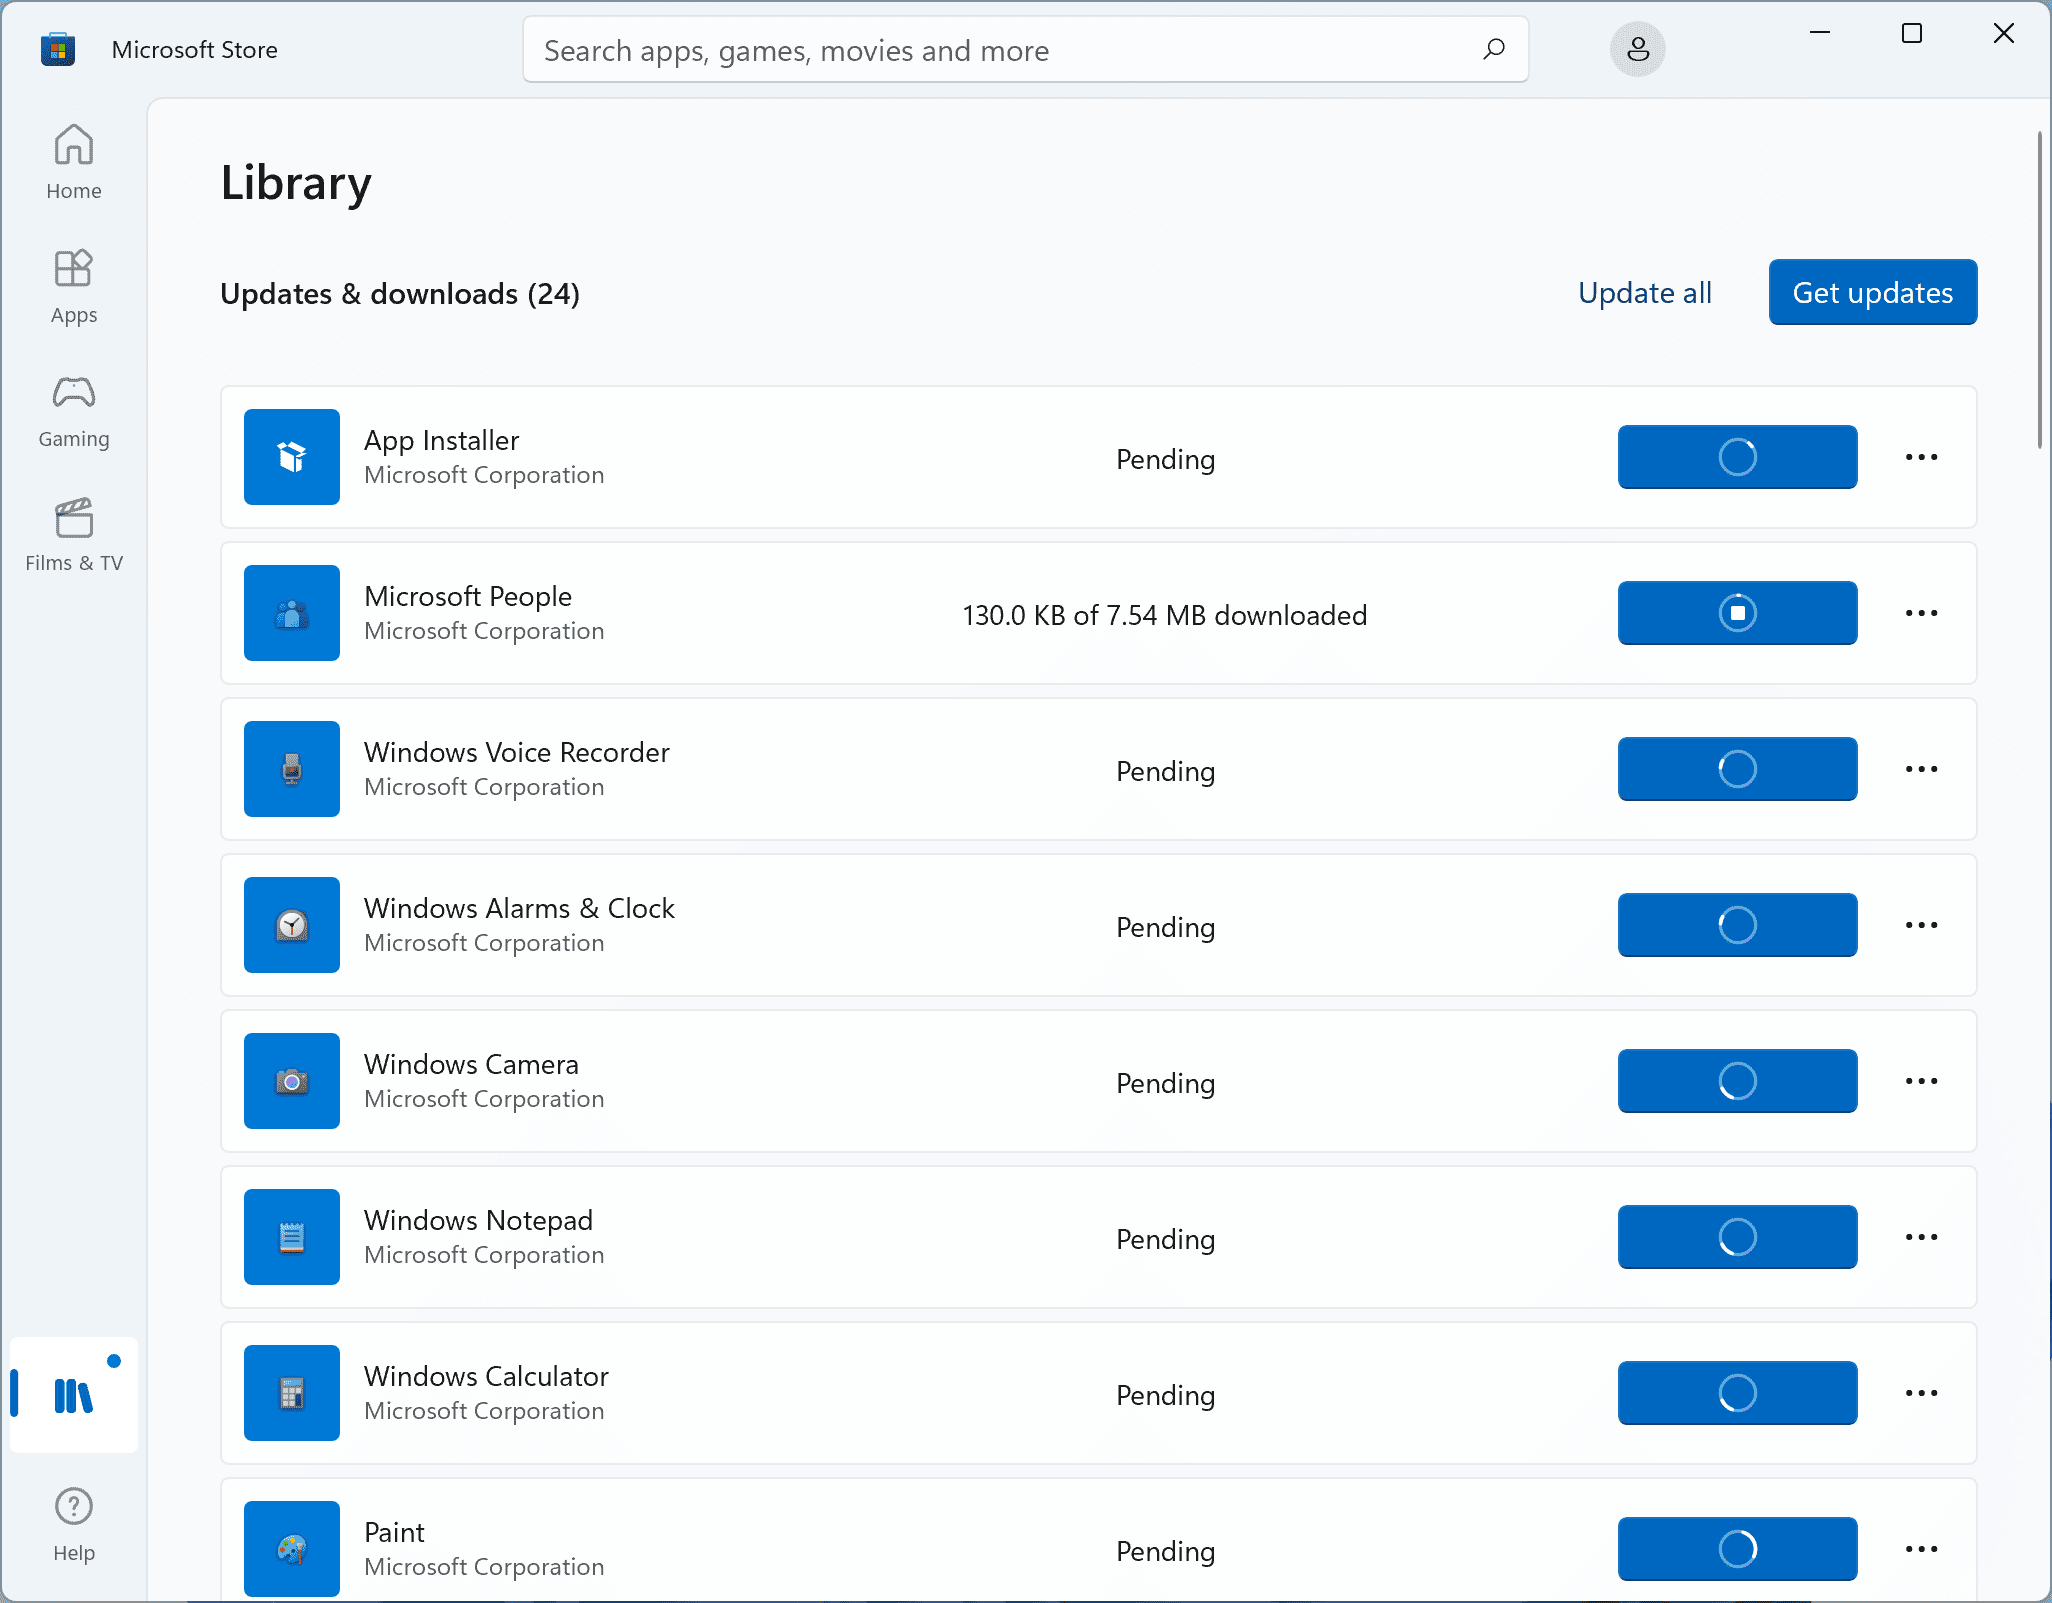
Once the search is complete they will start downloading and updating. If not, you can always force it by clicking the Update all button.
Update your drivers
You can do this directly from your computer manufacturer (for example HP and Lenovo have handy tools that will scan your system to see what’s missing and what can be updated) or run Driver Updater.
If your computer manufacturer offering you BIOS/UEFI update, do this in the first place.
Alternatively, use IObit Driver Booster Free.
If you decide to use this software. Install it, run, update what is offered for free and on the first or next system reboot remove it and all apps that may be installed with it. No need to keep the app when all is up-to-date. Leave the rest to get delivered through Windows Updates.
Restore handy icons in the menu Start
The new menu Start in Windows 11 is poor. Missing plenty of handy options by default, not mentioning, that when you upgrade from Windows 10, all of your pinned tiles and apps are no longer there, where they shall be.
Windows 10 have handy icons for some system folders (on the left side), that is not present in Windows 11.
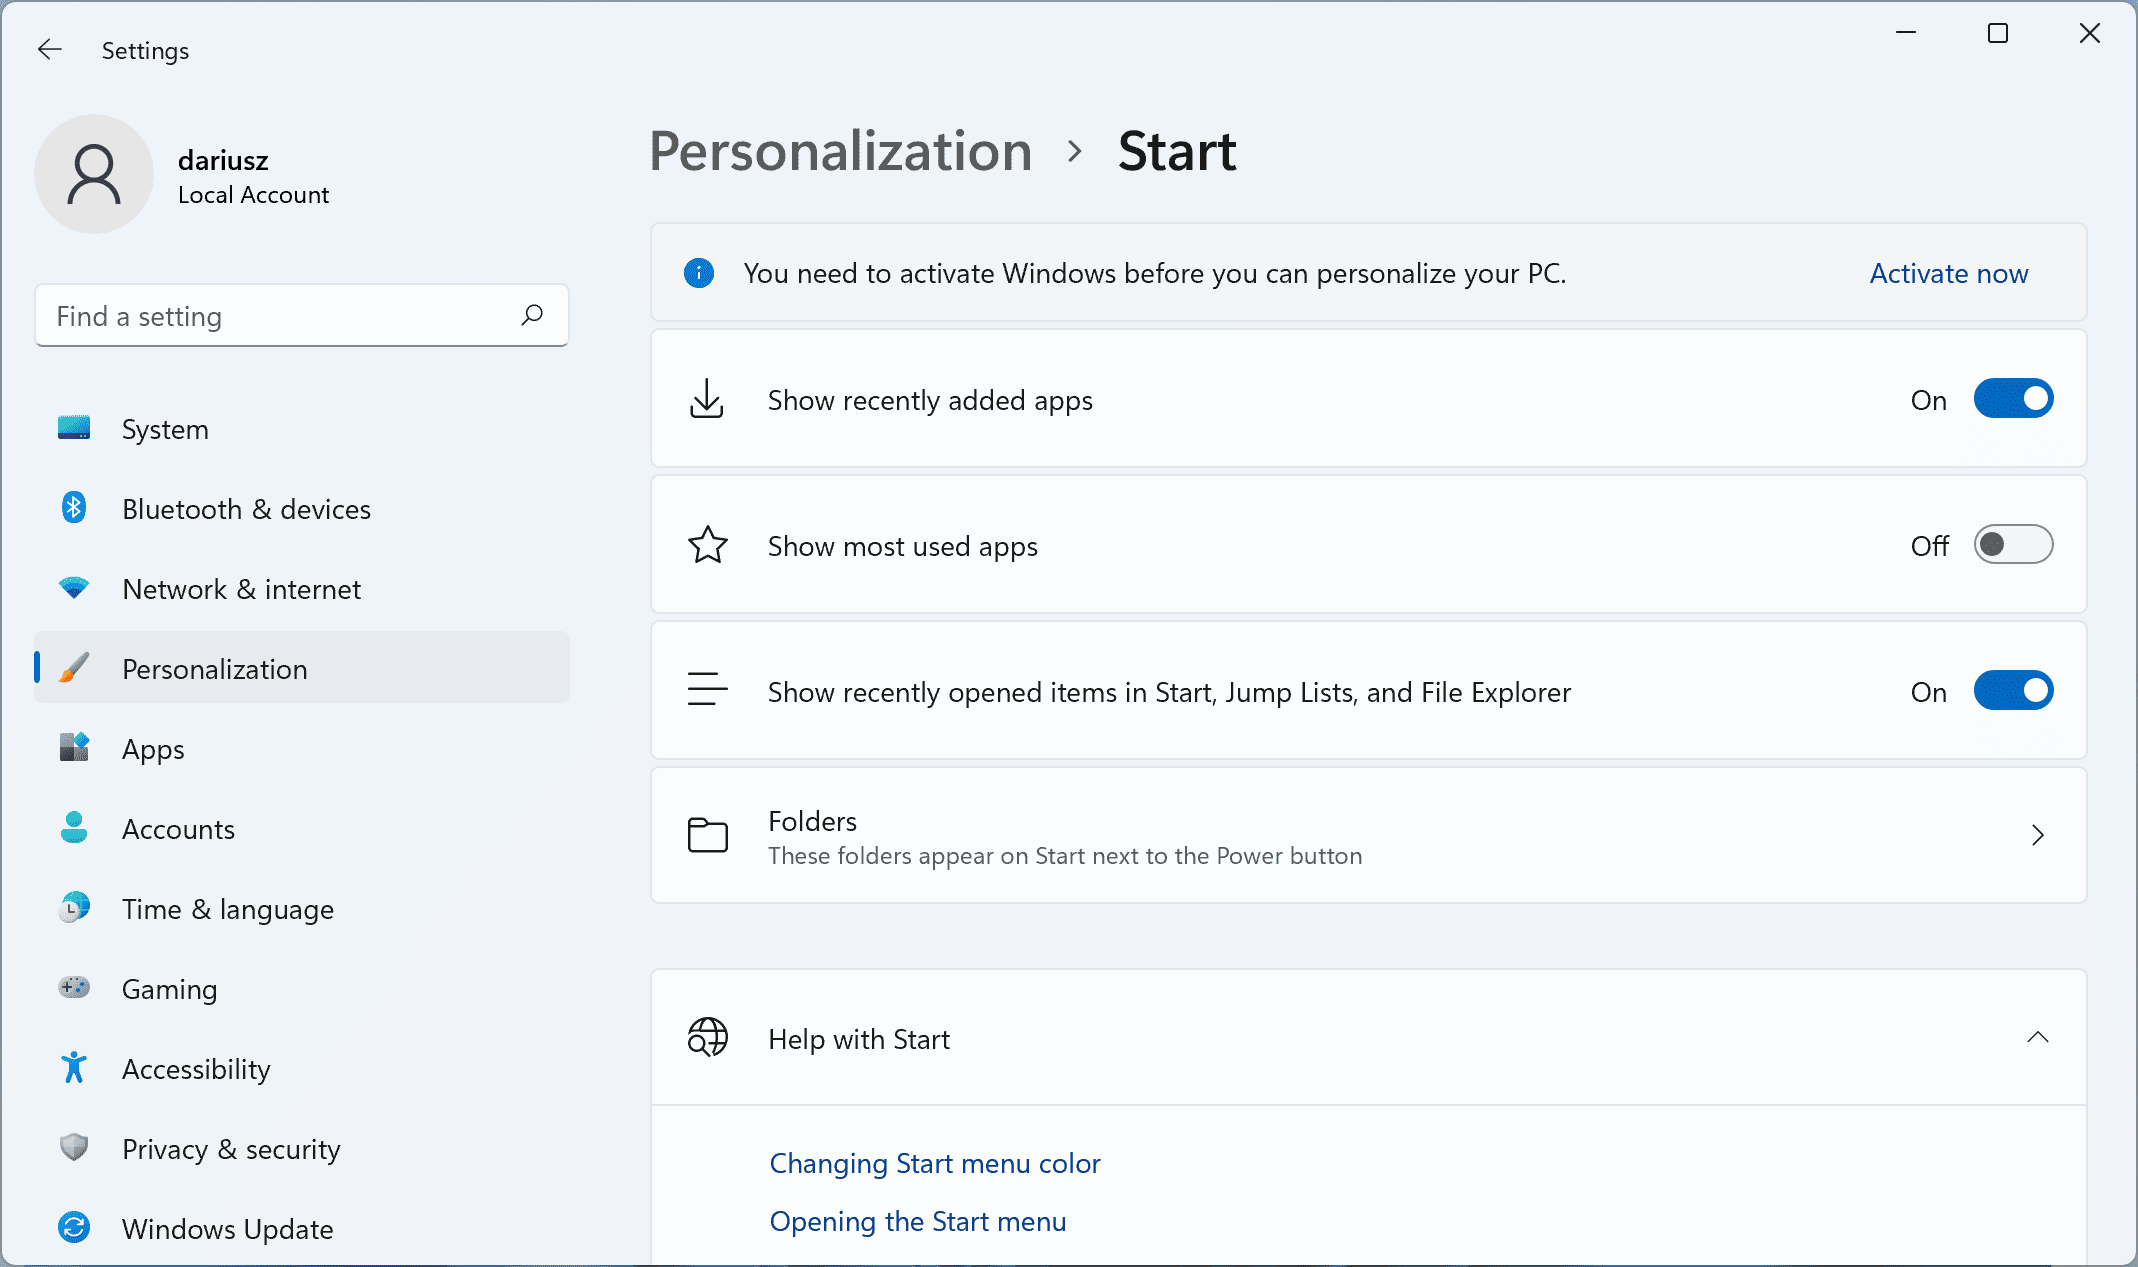
To restore them (or turn on what you need) go to menu Start > Personalization > select Start and head to Folders section.
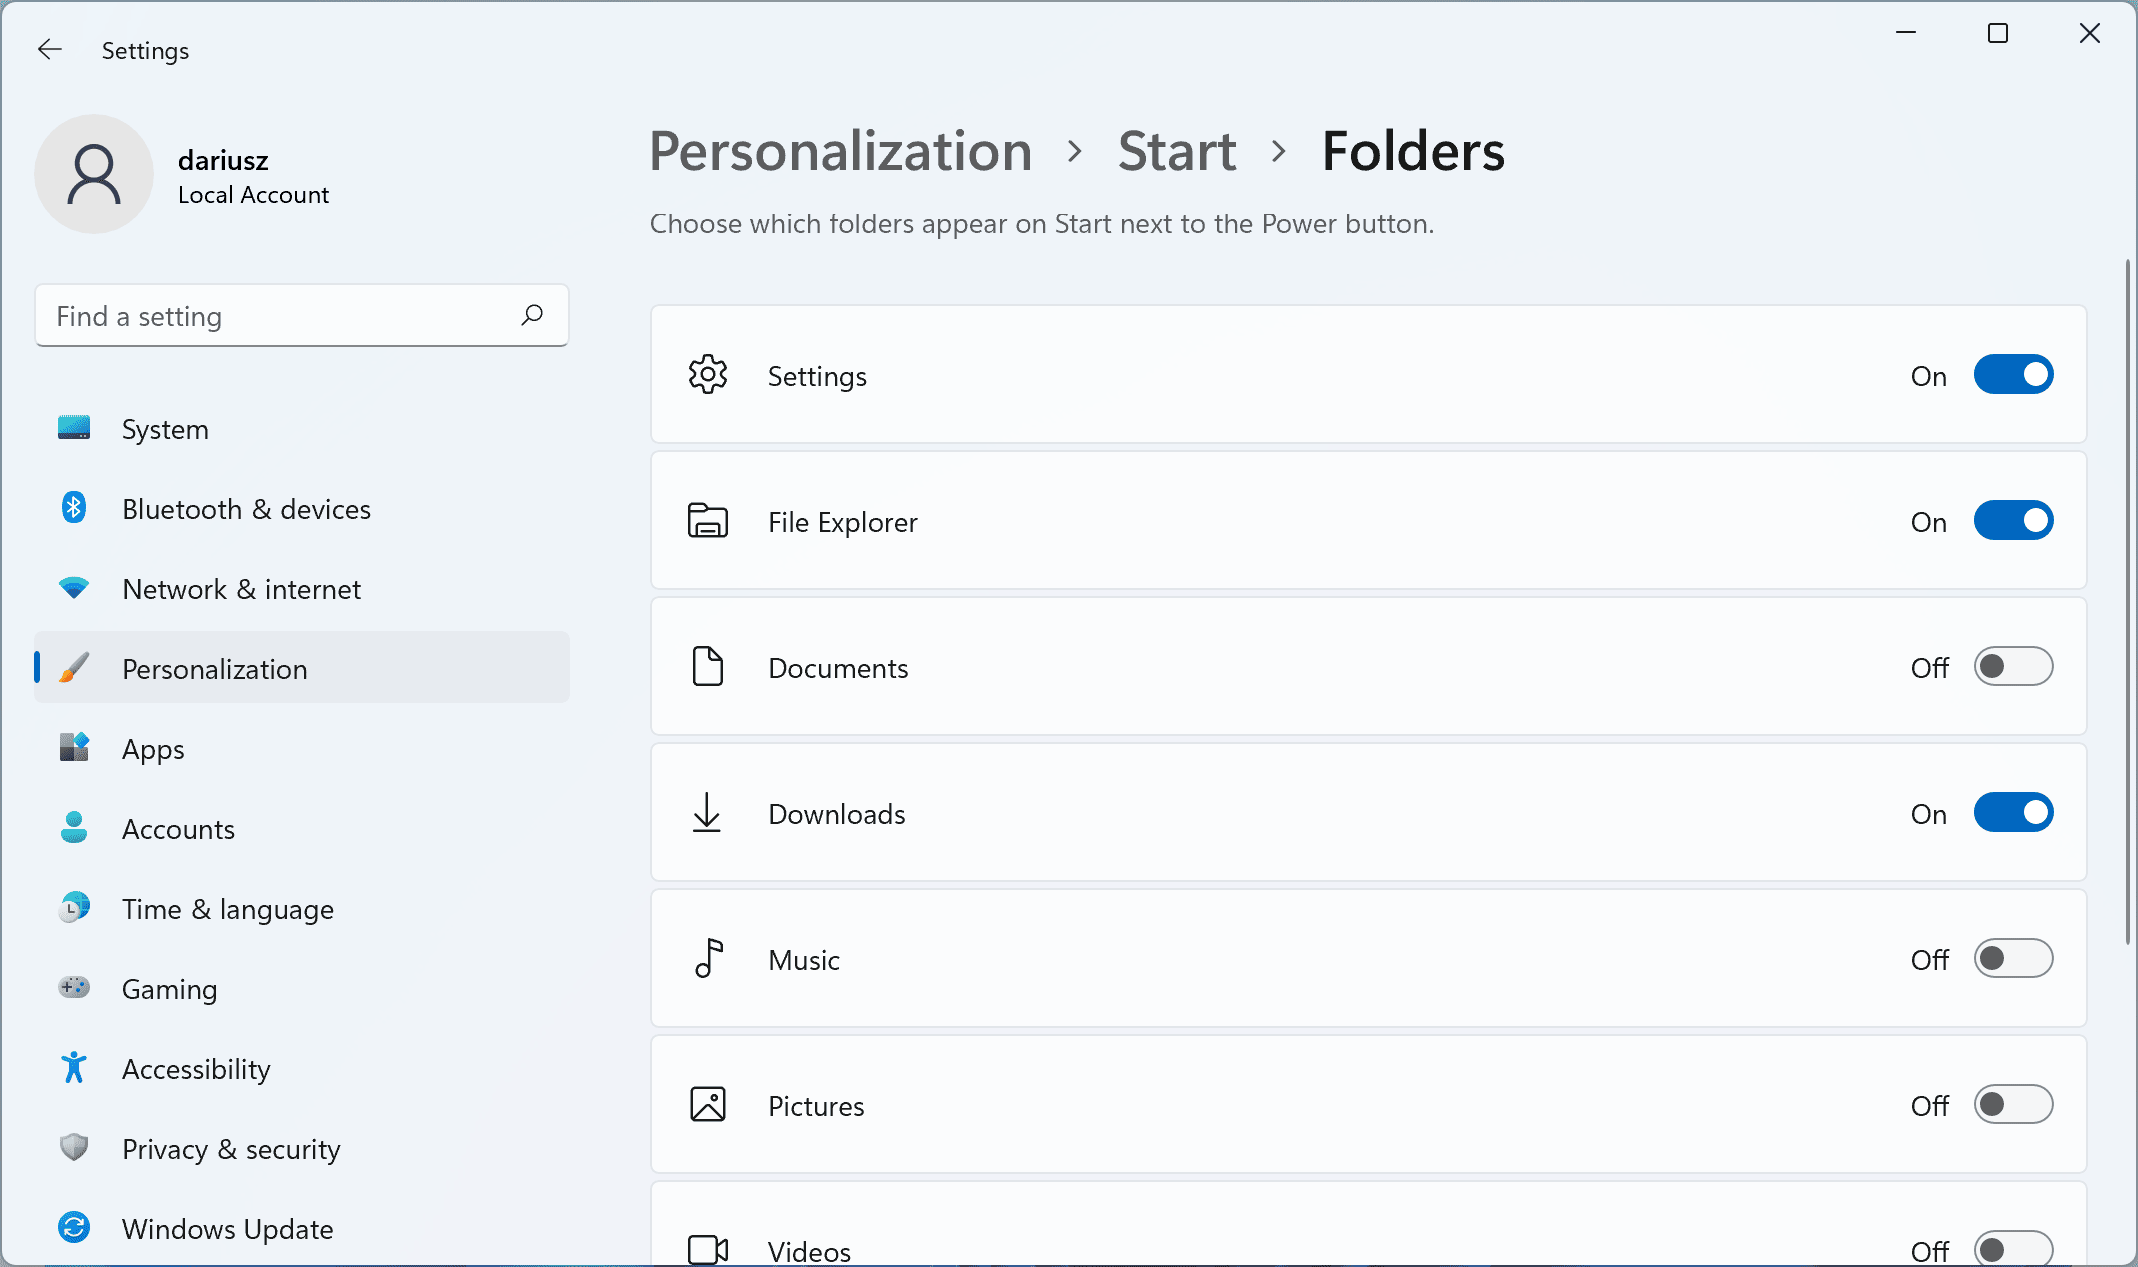
Tick whatever you think is useful for you. I got turned on Settings, File explorer, Downloads and Personal folder.
![]()
Whatever you turned on, it will appear as an icon in the menu Start are the bottom of it.
Restore handy icons on the desktop
As always (Windows 10 got that same issue), on the desktop there are only a few icons available by default. It’s Recycle Bin and links to Microsoft Edge.
If you want to restore, for example, shortcut to Computer, head to Settings > Personalization > Themes > and section Desktop icon settings.
![]()
In the new window, you will be able to turn on (tick) whatever you need. I personally always tick Computer and User’s Files.
Change desktop icons size
Depending on what resolution your computer screen is offering, some of the icons may look too big or too small.
The quickest way to change that will be to right click on the desktop. From new context menu select View, and from there change icons from default Medium to Large or Small.
Log in using Microsoft Account
If you haven’t done this before during setup, sign in to your Microsoft Account. This will add the ability for you to sync not only files with OneDrive but also some Windows 11 settings. Additionally, there are other benefits related to secure storage of passwords (later used in Microsoft Edge) or additional functions in Windows Defender (your only Antivirus software that you need in your system).
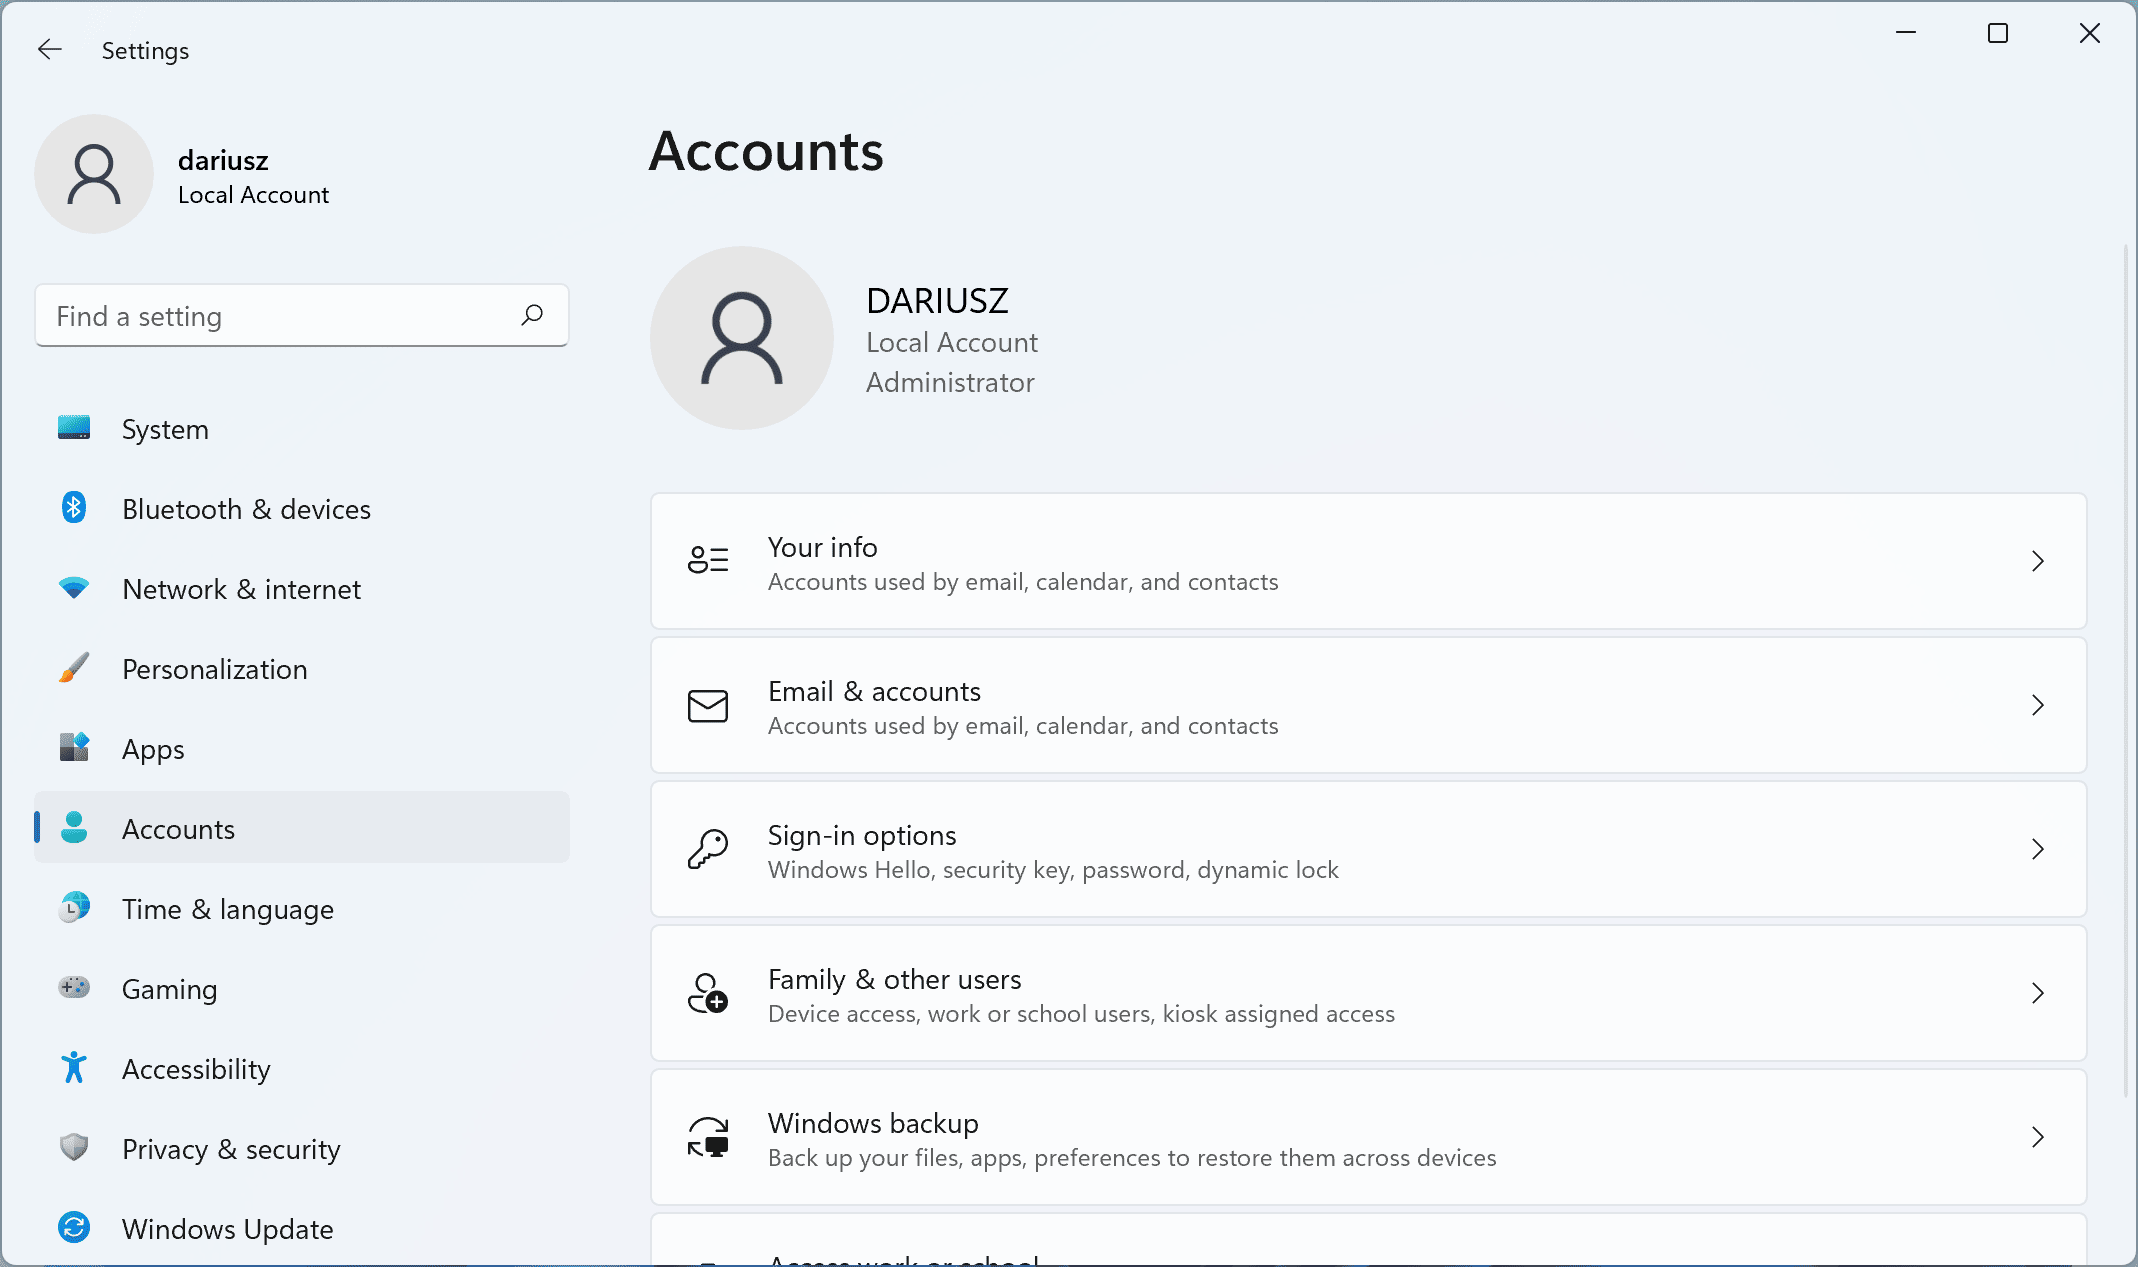
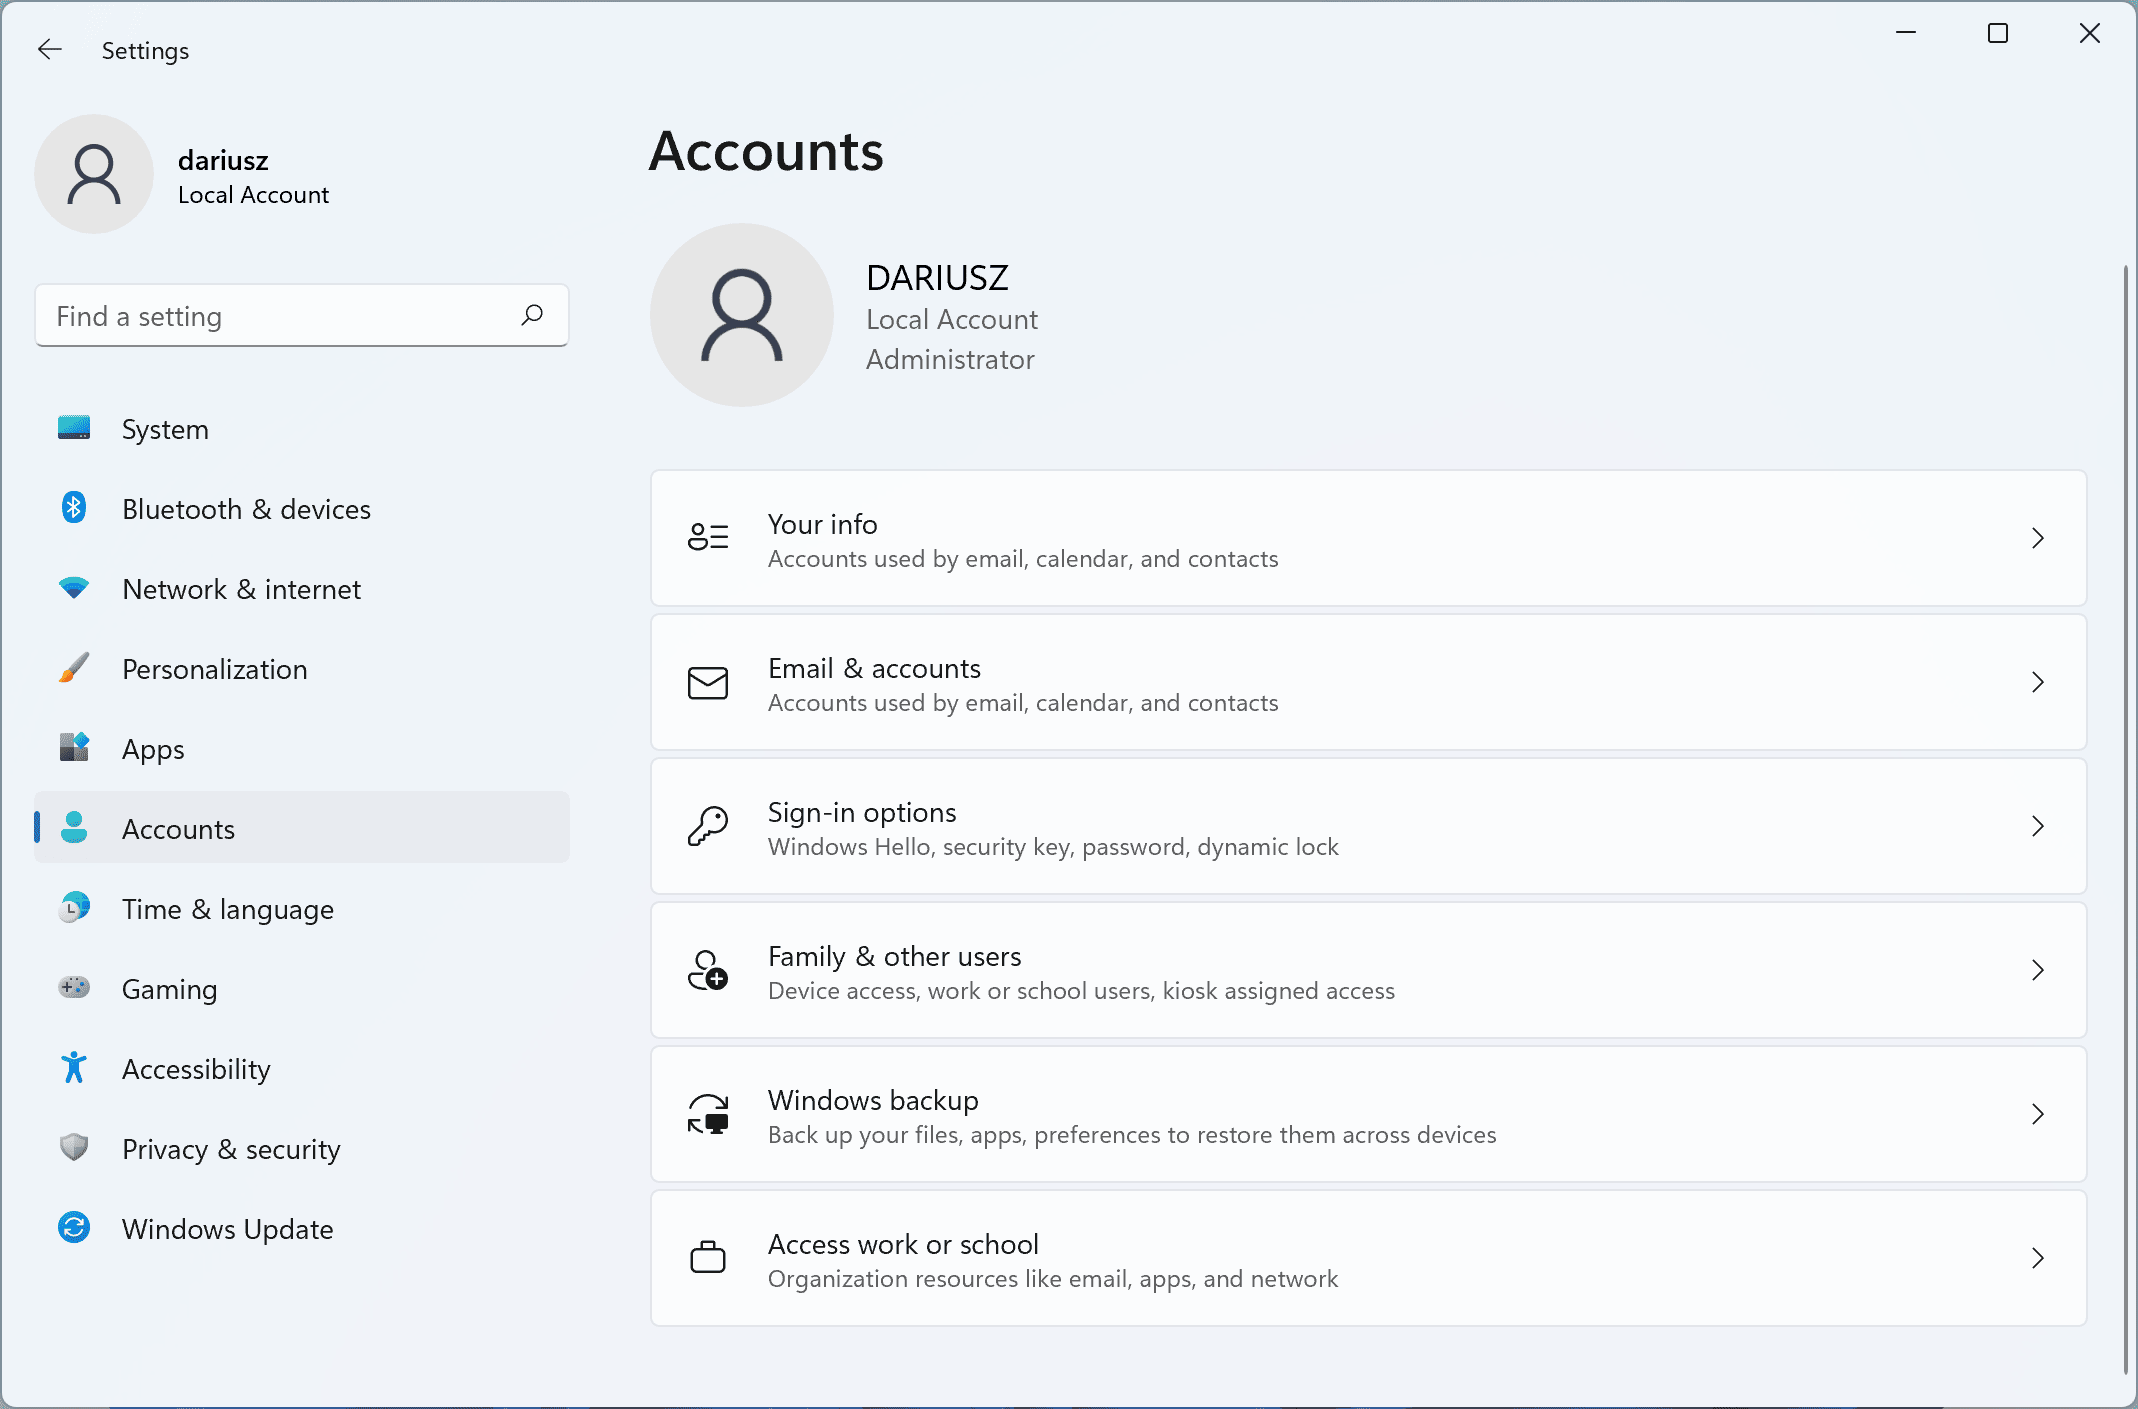
To do that, head to Start > Settings > Accounts.
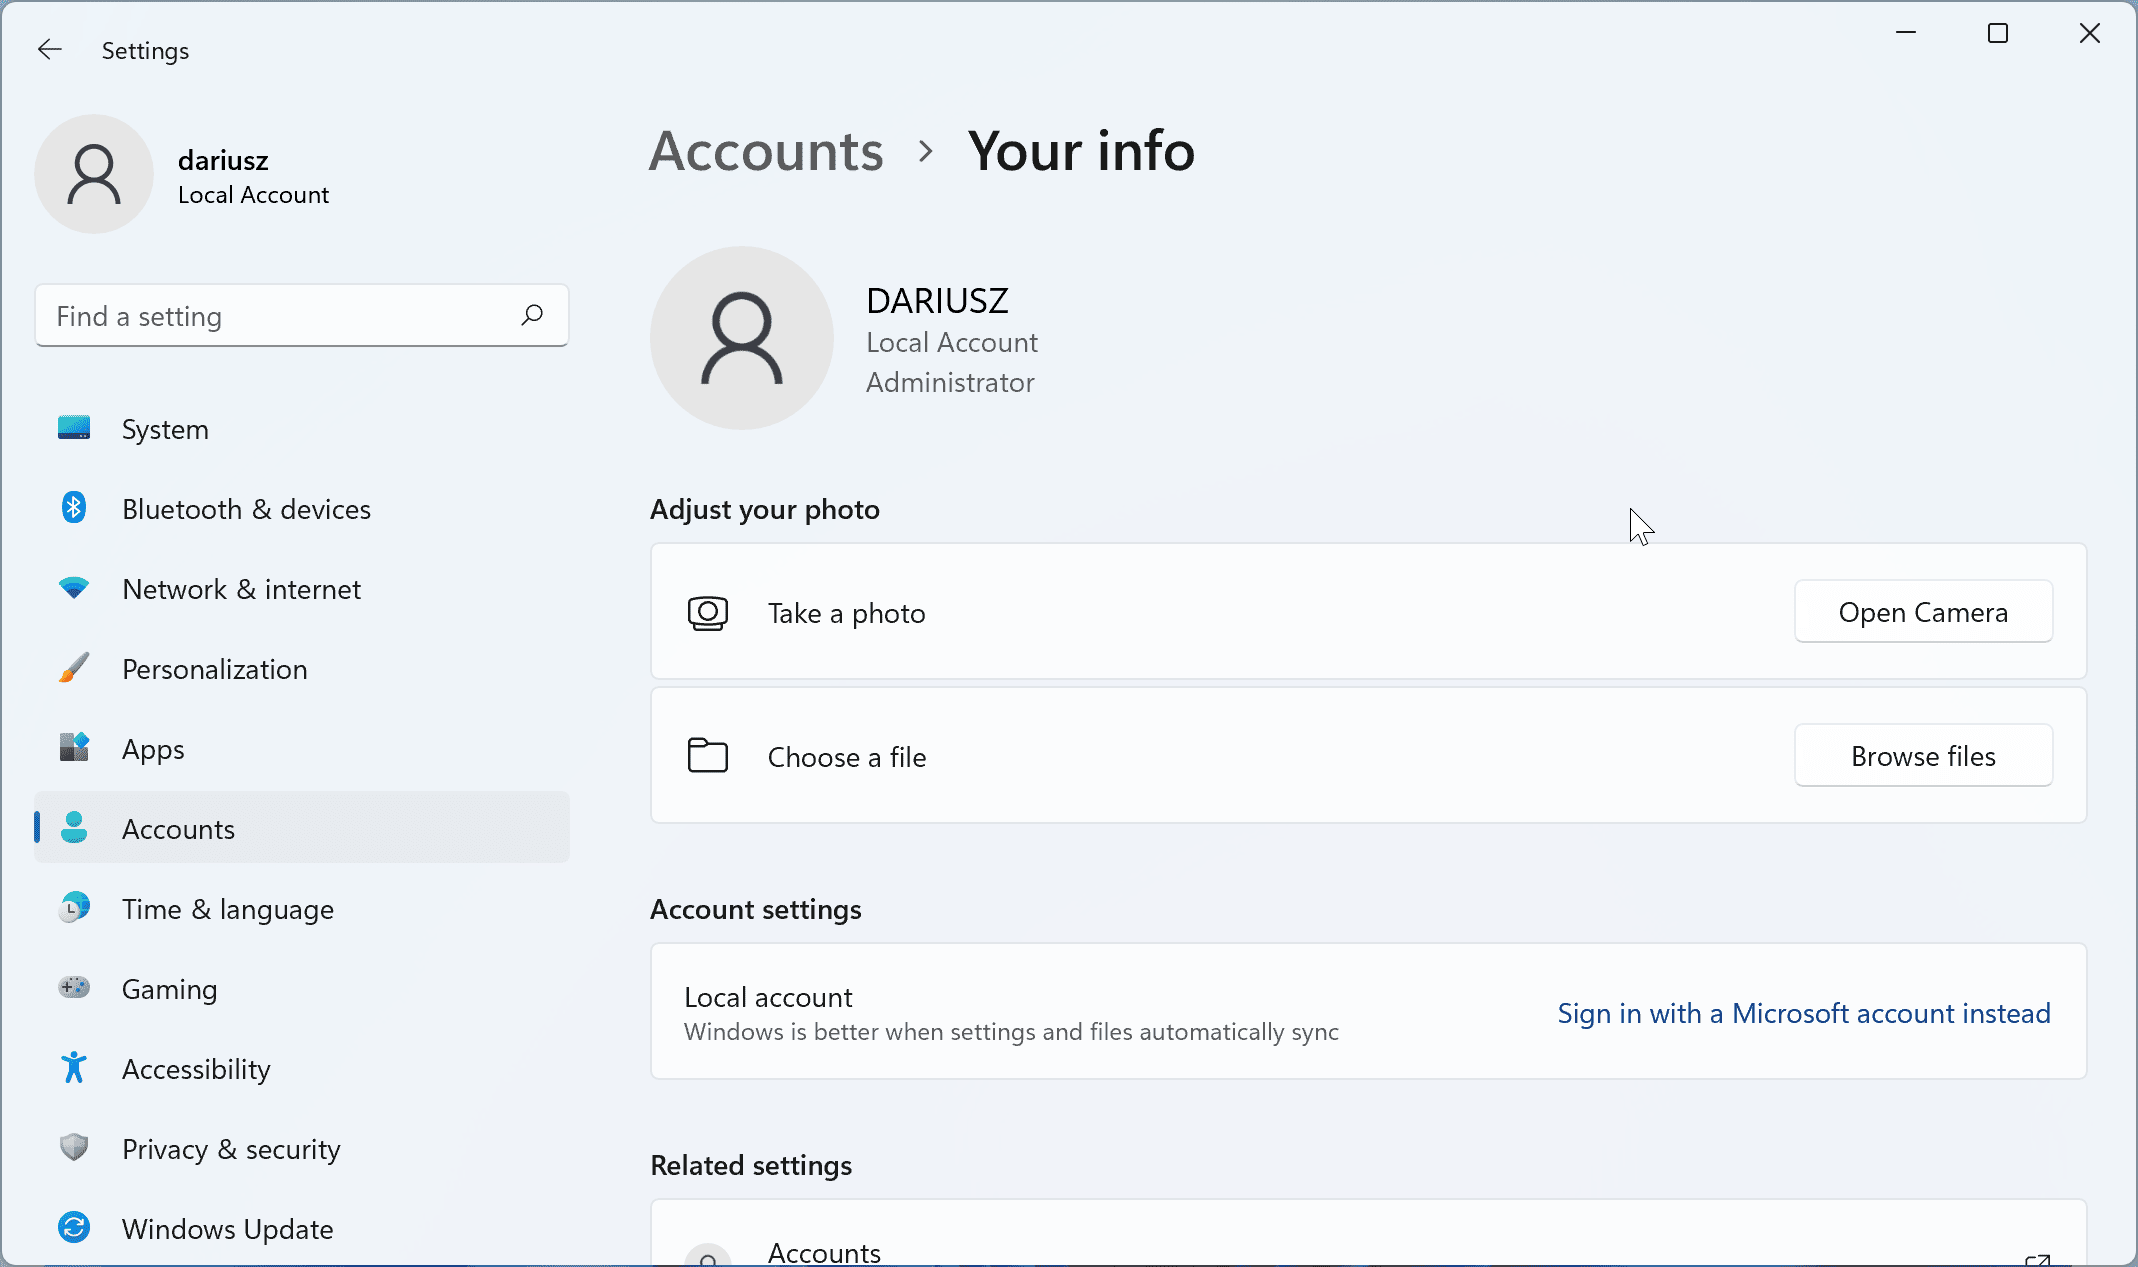
If you use your personal Microsoft Account click Your info and follow the link Sign in with a Microsoft account instead.
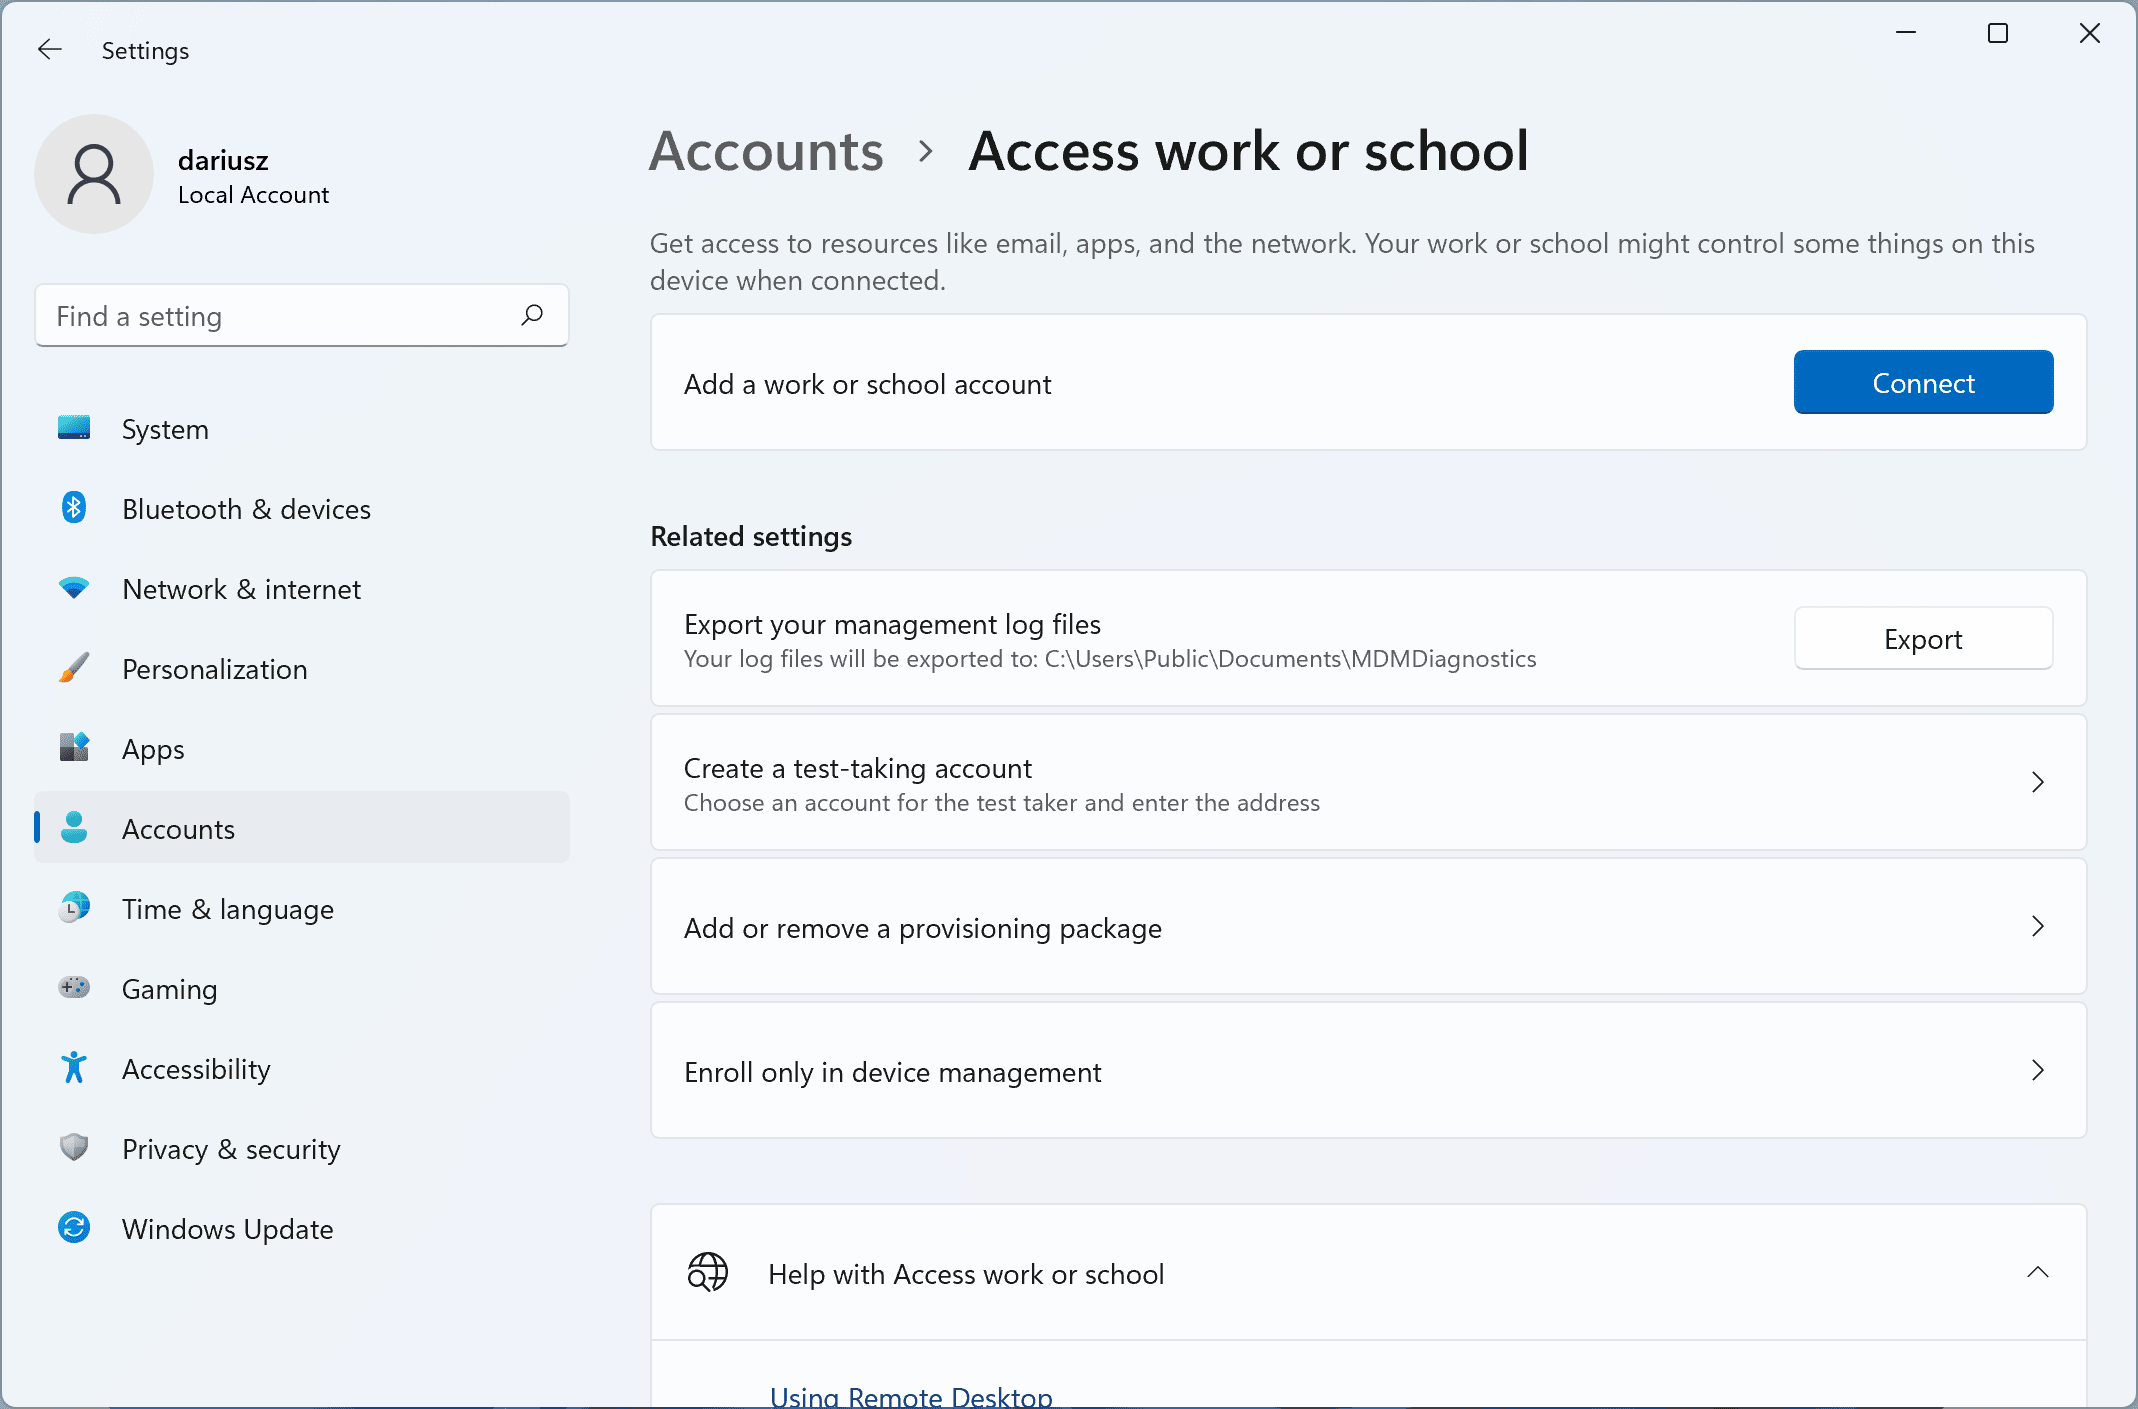
If your account is provided through your work or school (with other benefits), use Access work or school and from there click the blue Connect button.
Clean your hard drive from updates leftovers
If you installed Windows 11 from fresh and you did Windows Updates, or if you just updated from Windows 10, you will notice that your free space on your hard drive shrinks a bit. Run Disk Cleanup (as administrator) to free your space.
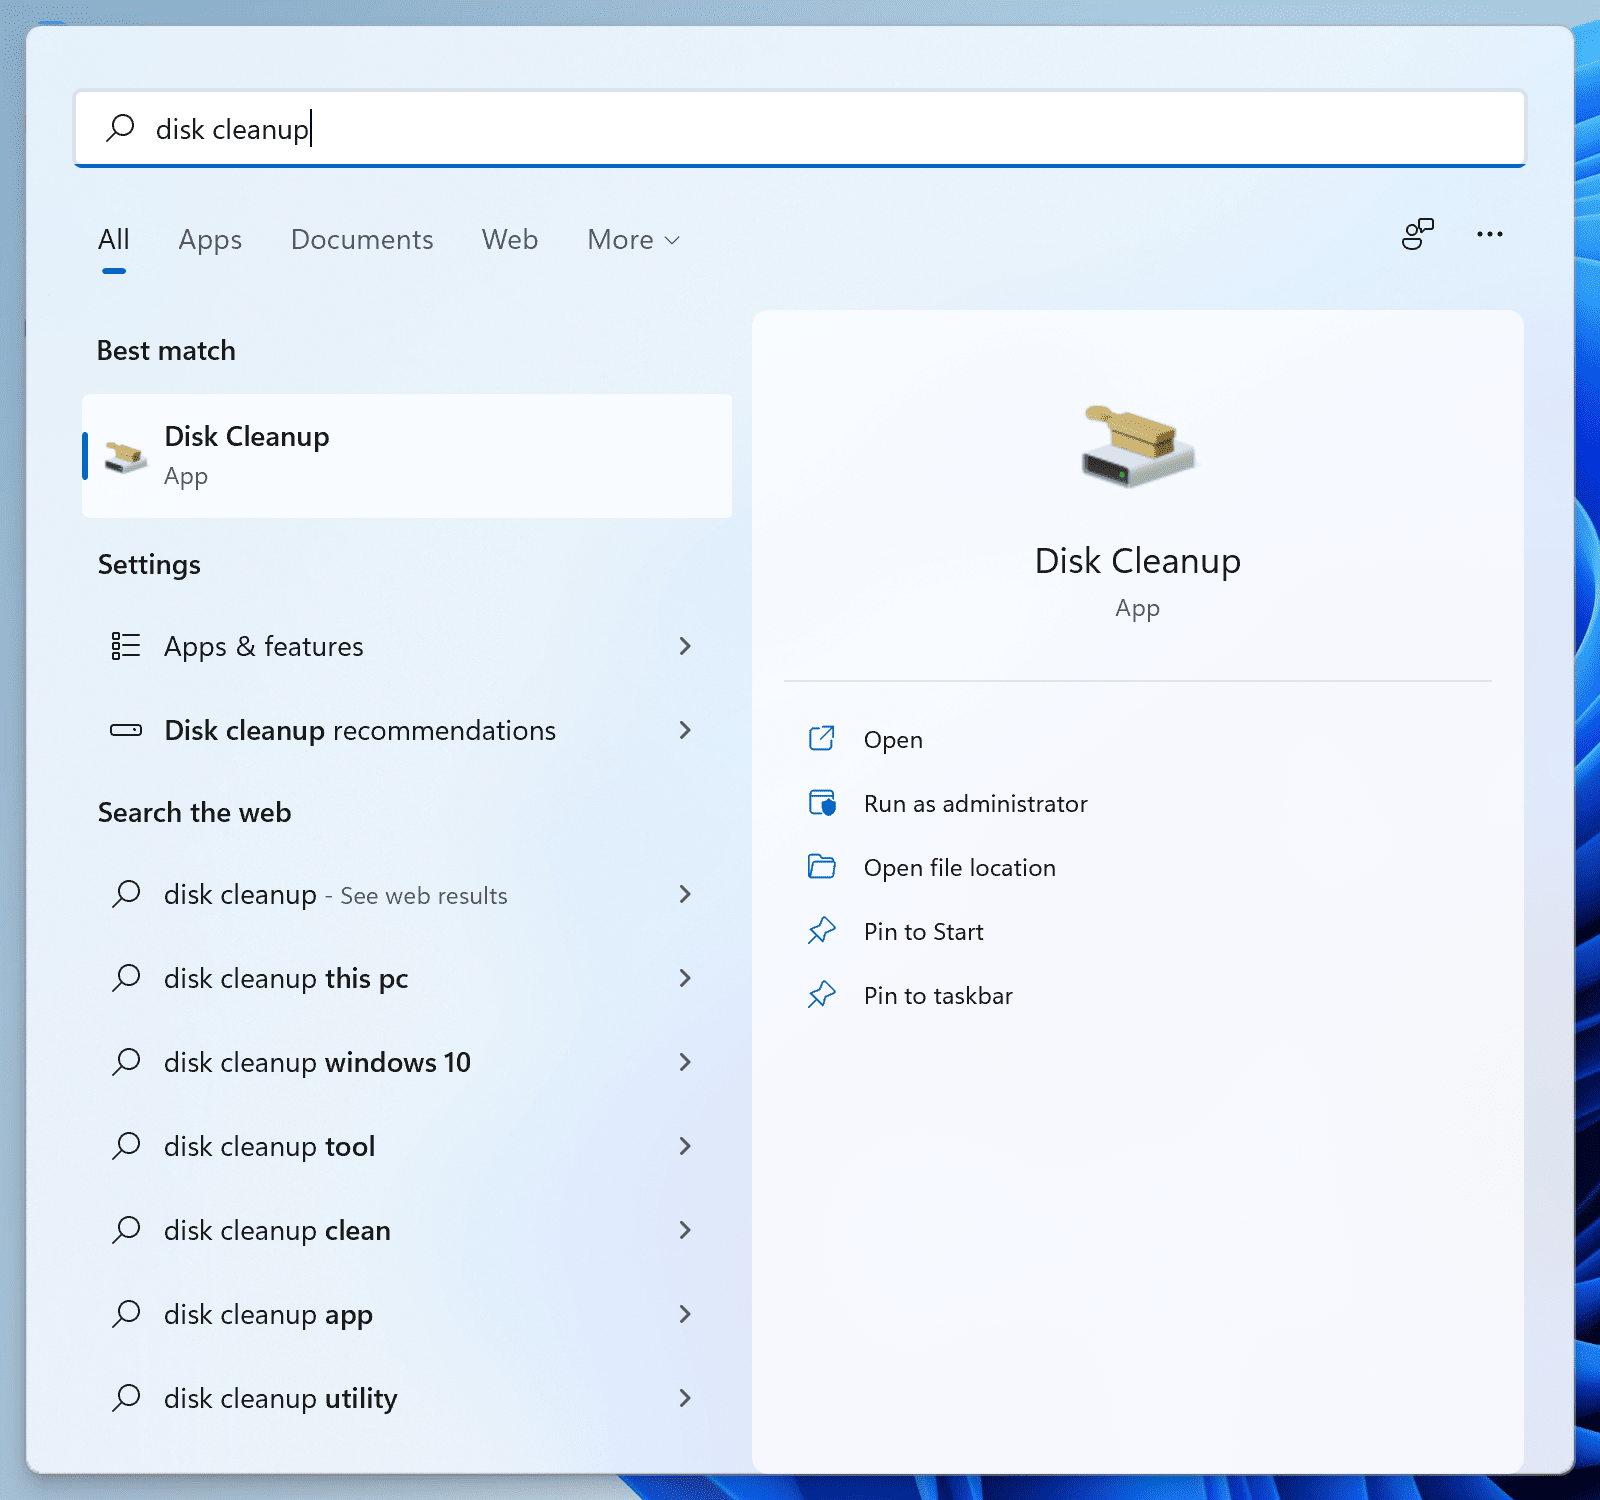
Click Start and in the top field Type here to search type Disk cleanup.
Do not rush on just click it from the list on the left. Select option Run as administrator from the main part of the window.
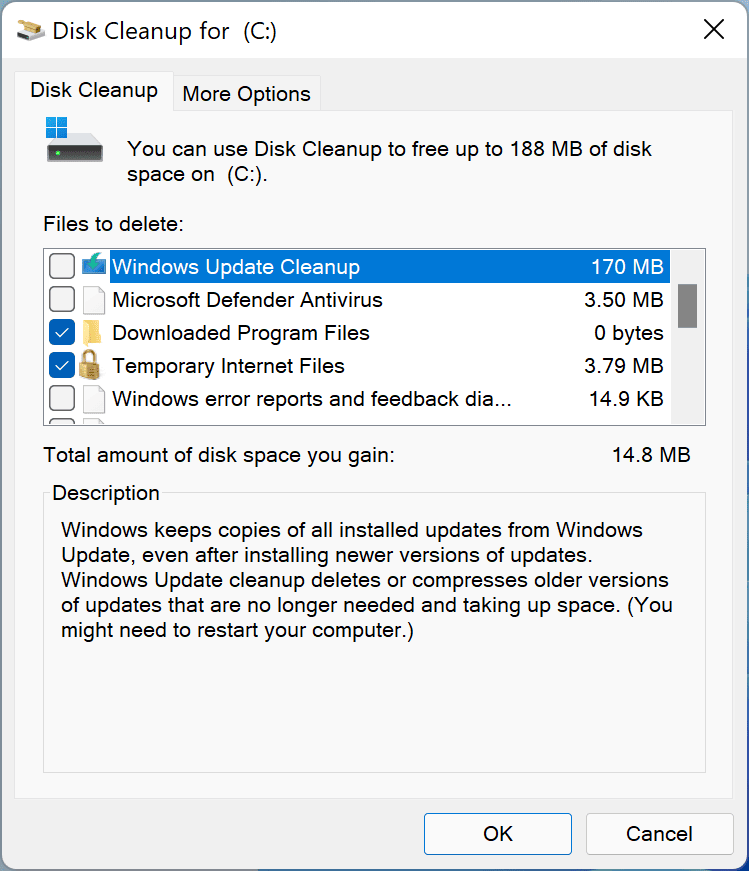
You can easily tick everything there. Under the list, you will see how much space you will be free. It may be hundreds of megabytes or even a couple of gigabytes.
Confirm everything by clicking the Ok button.
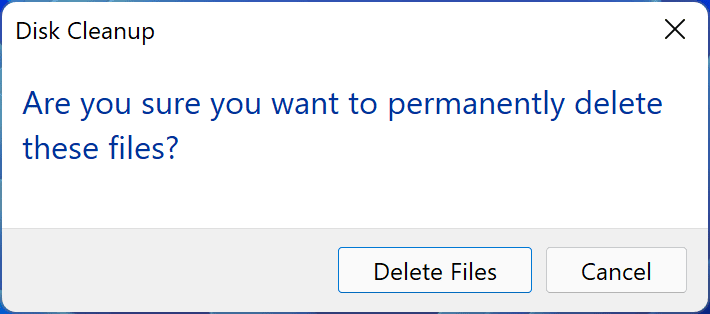
There will be some last confirmatory questions, that you know what you are doing, by clicking the Delete Files button.
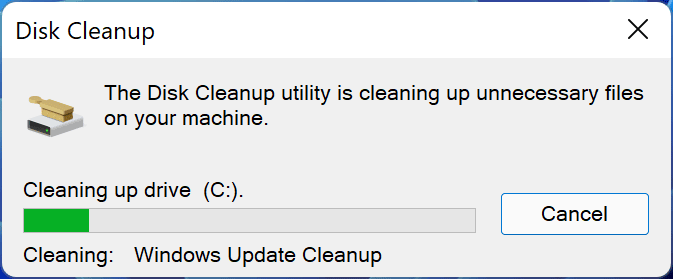
Then we just need to wait until when process finish and the window disappear.
If you updated from Windows 10 and not planning to go back, tick also options that allow you to revert to the previous version of the system (this will free a bit, like 20GiB or more!).
Turn on Storage Sense
An above step is a good approach to cleaning leftover files from our hard drive. Windows 10 and 11 have a handy function to remove some of them automatically. This option is called Storage Sense and is turned off by default.
To enable it, head to Settings > System > Storage and tick (turn on) option Storage Sense.
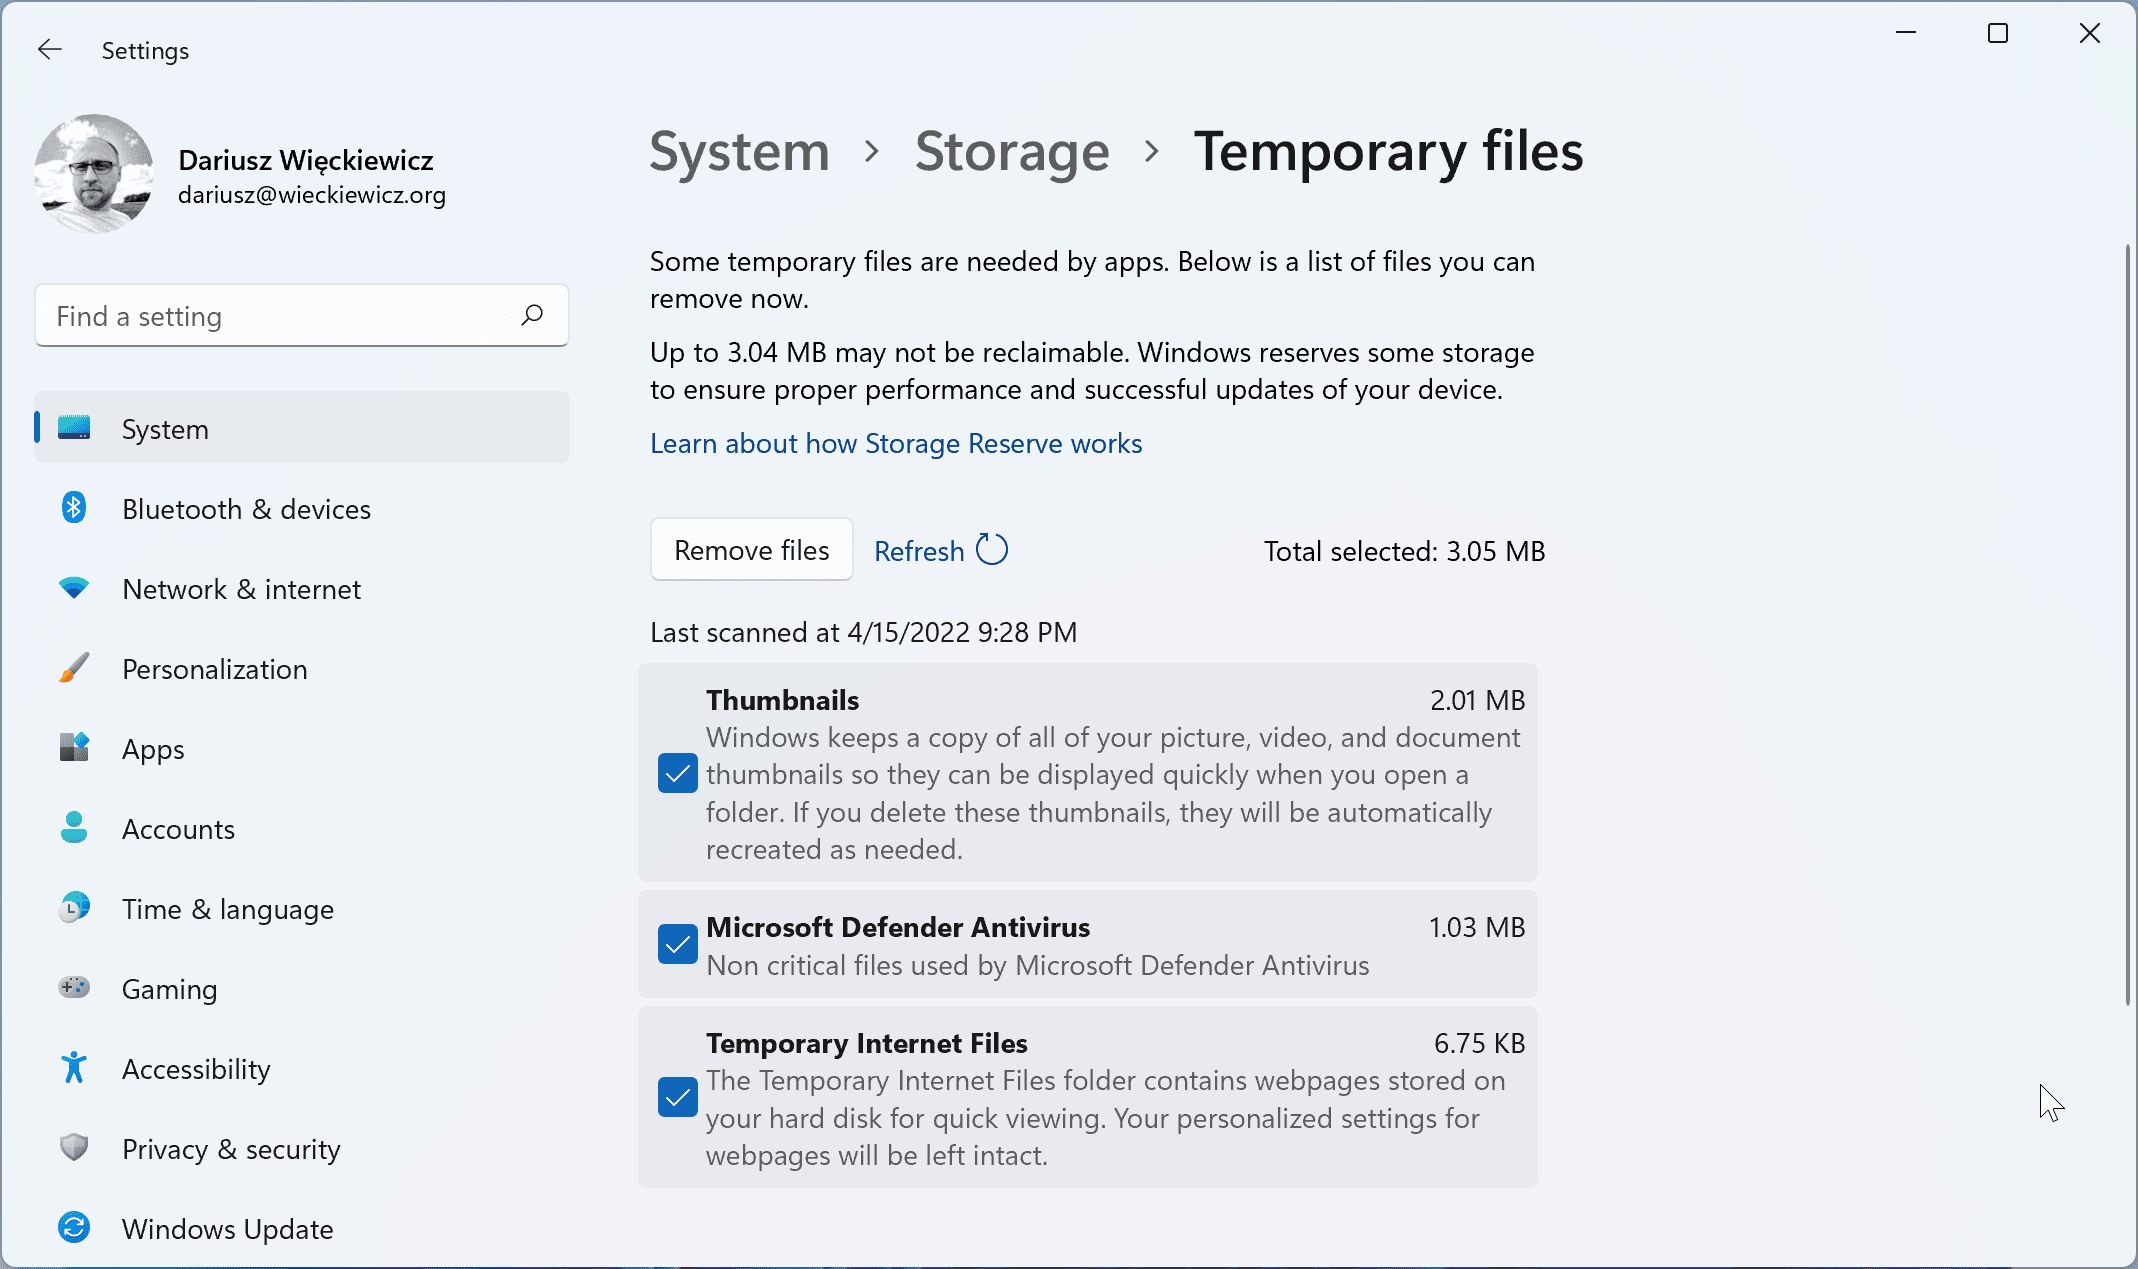
Going deeper into the Storage Sense menu we can see what can be removed right now. It’s very similar to the step mentioned above, if not “almost” that same.
Storage menu have also a handy section like Cleanup recommendations that will help us to free some of our space on our drive.
And last but not least…
Remove and re-create recovery points
If all in our system working as it should, there is a good way to have a recovery point, to which we can revert changes. Our system is doing them automatically for us each time when we install something (like apps or drivers for hardware), if this is turned on.
This option is not easy to find, since Control Panel has been buried (but not yet removed - see Win+R and type control) at some past update in Windows 10.
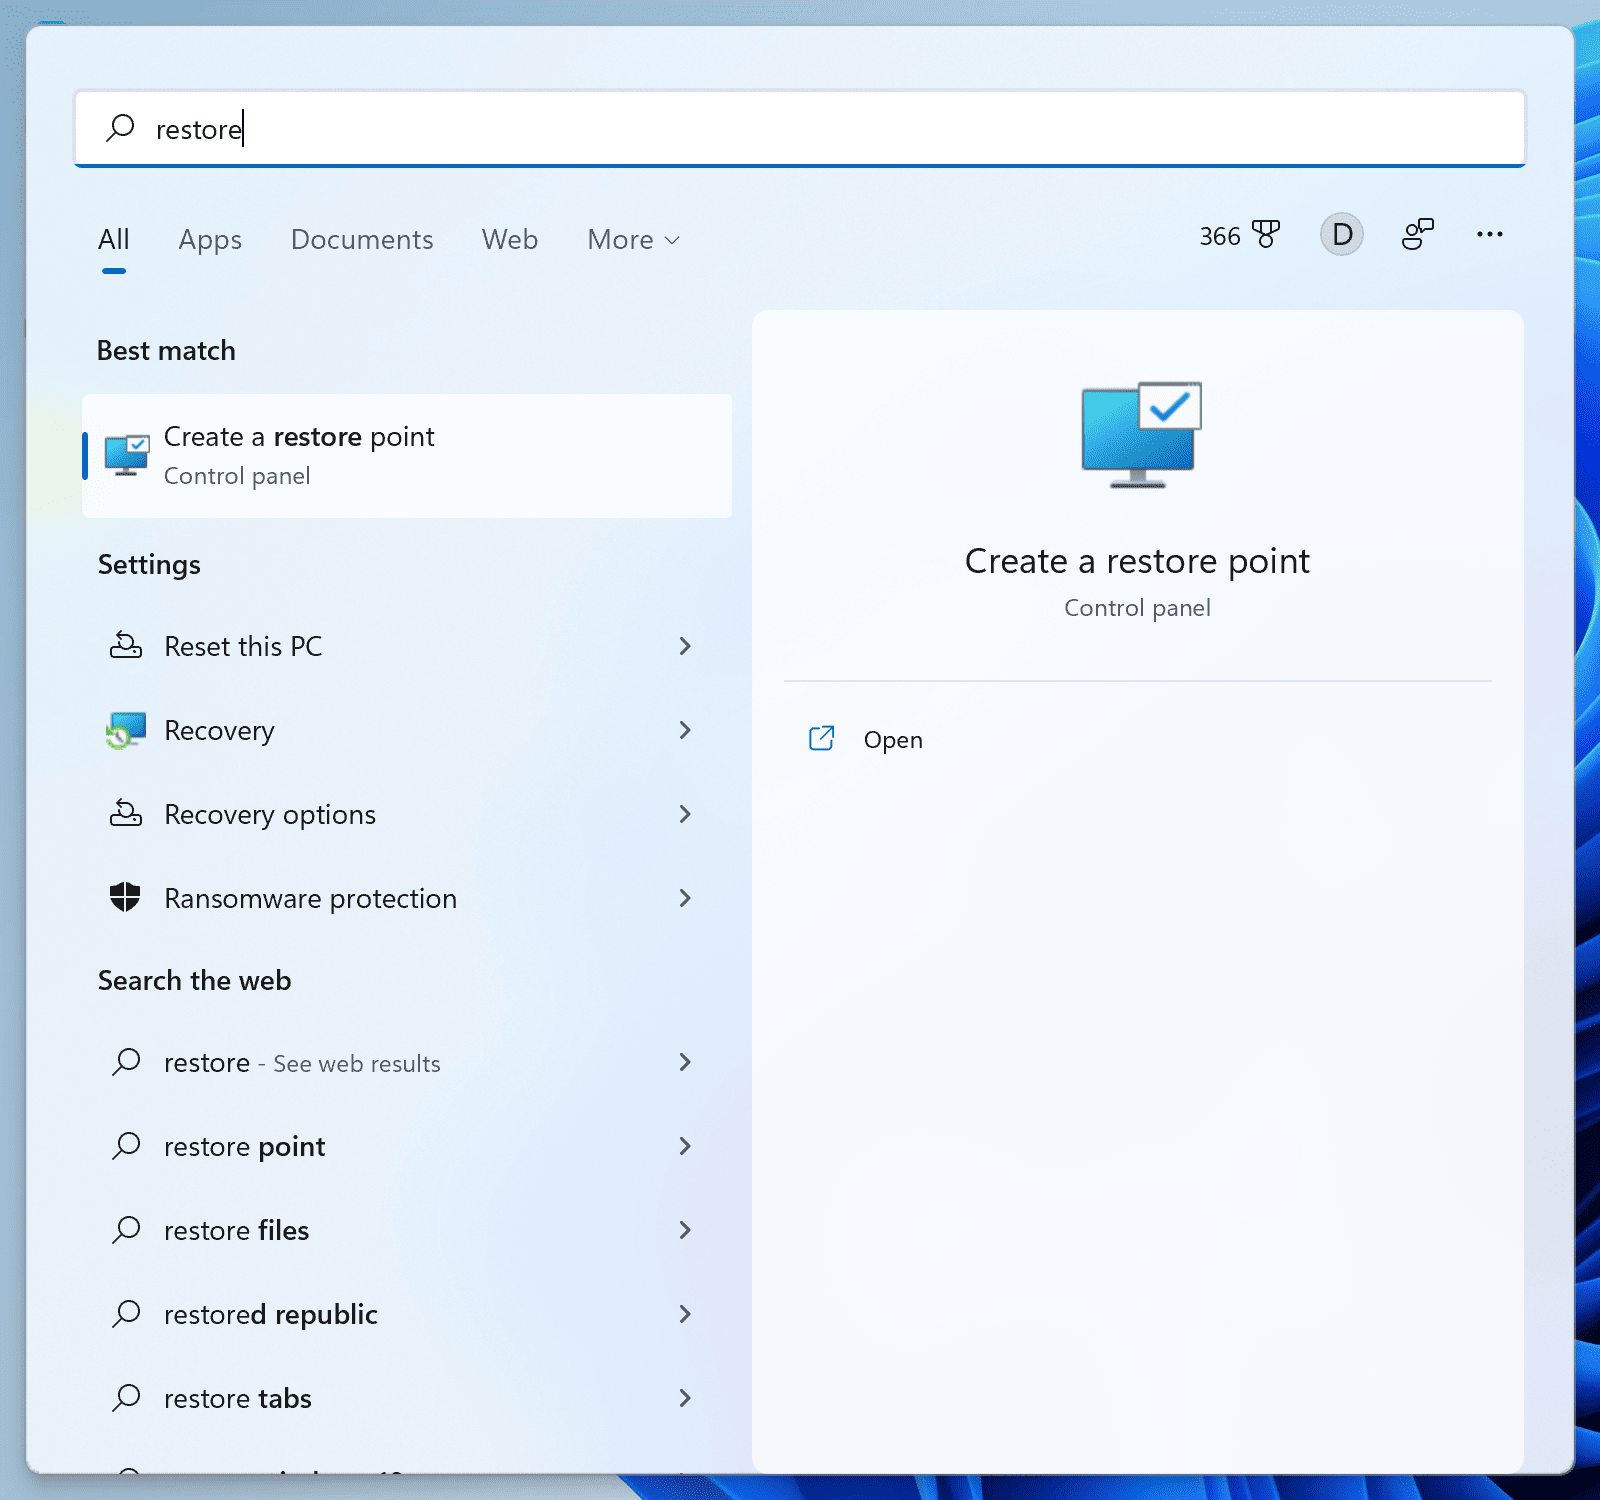
Let’s click Start and type the word restore.
From the results select Create a restore point.
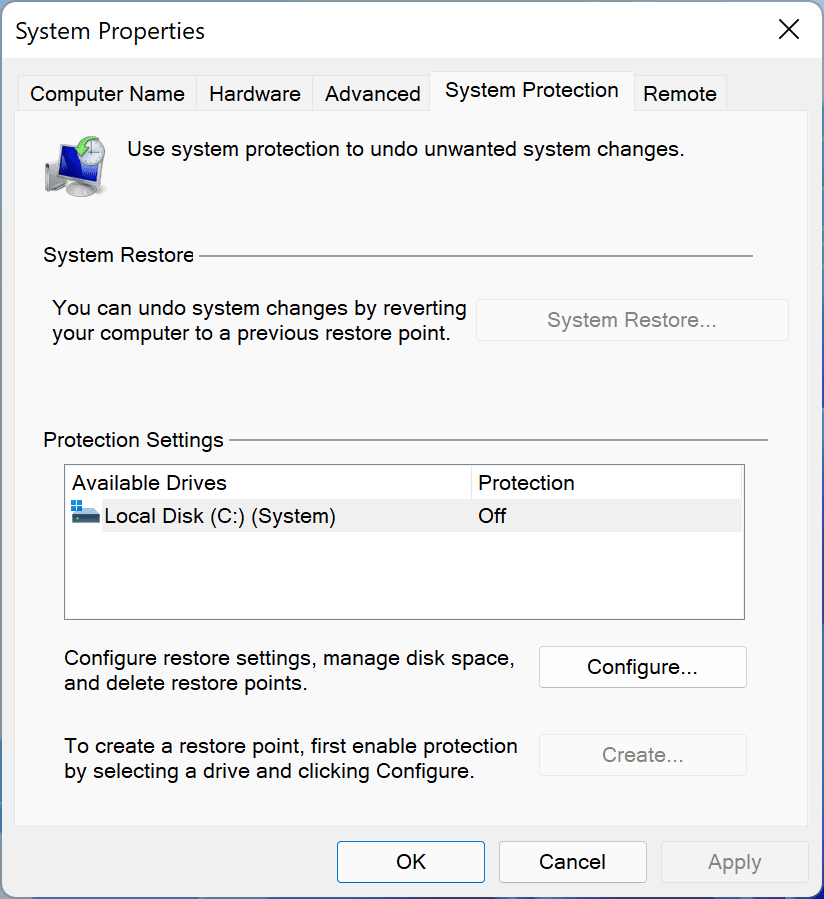
If your system restore is turned off (for system drive - (C:) by default), change this straight away by clicking the Configure button and changing the option there.
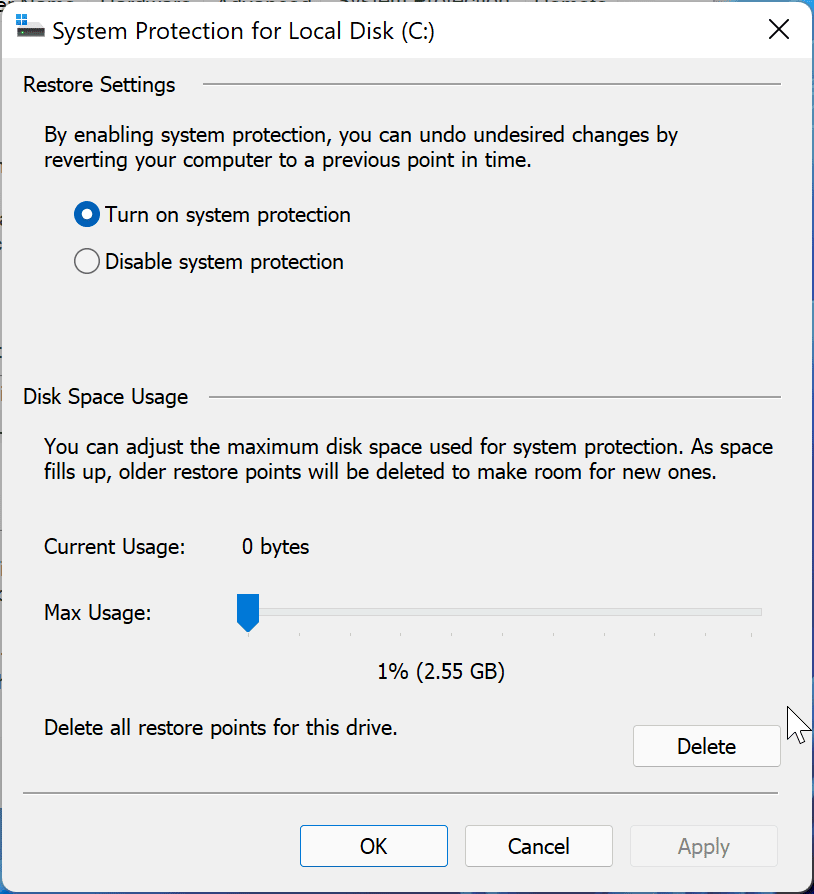
Depending on how big is our hard drive, let’s use a slider to set this to 1 or 2%.
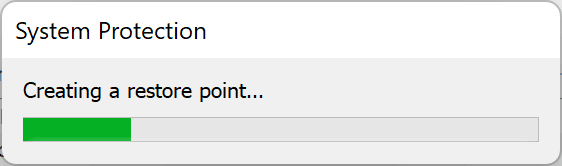
After Apply changes and going back to the previous window let’s click the Create button, put a name of this point (whatever we want) and click Create.
If we have our restore points turned on already, click on the Configure button and let Delete all what’s been set already.
Heading back, we will Create a new recovery point.
At this stage, we are ready to go and set and use our computer and Windows 11 as we intend. Hope from now on, your experience with a new system will be much more pleasant, unless you decided to install it on unsupported hardware. If you did so, expect the unexpected (don’t blame the system, not fully).
Windows 10 is planned to end its life on 14th October 2025. If your hardware is not supported, stick with it, it’s still a really good system. Till that time you are more likely to update your equipment and from there, your experience with Windows 11 will start more pleasantly.