Upgrading Windows 10 to Windows 11 without TPM 2.0 on unsupported hardware

Microsoft made Windows 11 available to all users worldwide on October 4, 2021. Not everyone was able to try it, especially those with older machines that do not meet requirements such as having a TPM 2.0 chip.
Well, you can install Windows 11 from scratch using an ISO image, but what about updates where we don’t want to lose our settings, programs, and games?
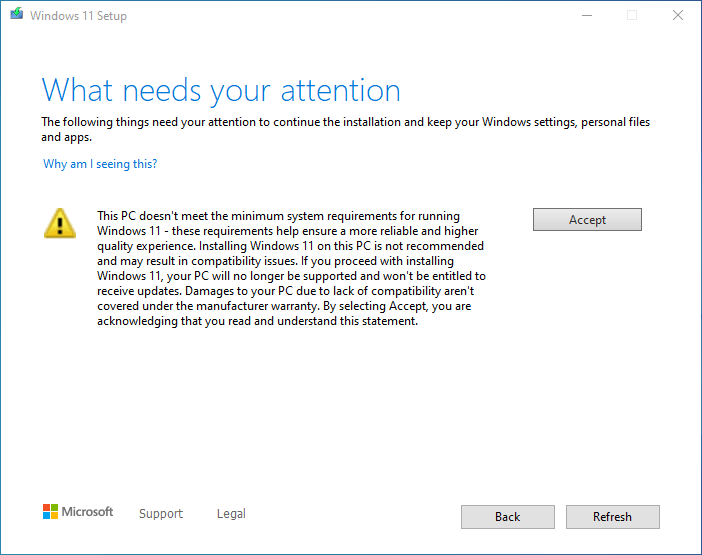
Running the Windows 11 installer (from the unpacked ISO image) will be of no use, as you will see the following message:
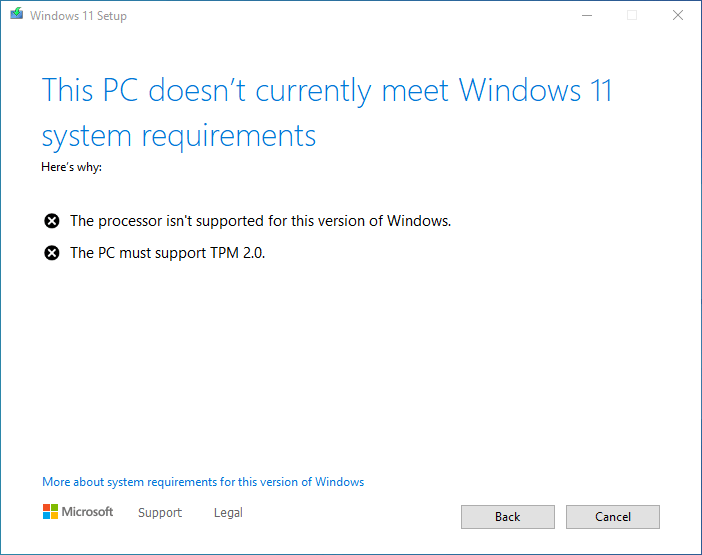
Of course, in my case, in addition to the lack of support for TPM 2.0, I received a message that my processor is also too old. Apart from the back button, the only other available option is Cancel.
However, before we get discouraged by Windows 11, there is a possibility to disable the TPM requirement via the Windows 11 installer.
It is different when it comes to the “too old” processor, but let’s see if meeting the most annoying requirement (TPM) will allow us to proceed.
Before we decide to continue, let’s make sure that our computer has the system installed on a fast SSD drive. Even the latest computers with Windows 10 and a 1TB hard drive can run much slower than those from almost 8 years ago with a drive changed to SSD (with at least DDR3 memory). Of course, UEFI is also required, as I mentioned here: Preparing for Windows 11 - UEFI.
For this test I will be using the Lenovo E530c with a 2nd generation Intel i5 processor.
But before you start having fun, read this: Microsoft was right. Don’t update your “old” computer to Windows 11
So let’s get started…
Of course, we need Windows 11 ISO image.
Once downloaded, we run Rufus to put the image to a thumb drive, or use a program like 7-Zip to unpack the ISO file.
Next, we need to download a script that will convince the Windows 11 installer to ignore TPM 2.0.
Script prepared by user AveYo posted on GitHub Gist here.
There is more than what we need on this page. However, in this example we will focus only on the Skip_TPM_Check_on_Dynamic_Update.cmd file.
Clicking the Raw button in the upper right corner will open the file contents in a new window. Copy the entire contents and paste them into Notepad. Save everything to the desktop under the name Skip_TPM_Check_on_Dynamic_Update.cmd.
And so we are ready to install.
First, run our file (once) Skip_TPM_Check_on_Dynamic_Update.cmd and then (when the new window disappears) start the installation process by clicking on the file setup.exe from the unpacked Windows 11 ISO image.
I wrote that we only run the file once, because when we run it for the first time we disable the TPM check, and after we run it again we restore the settings to what they were. This way we don’t mess anything up in our system.
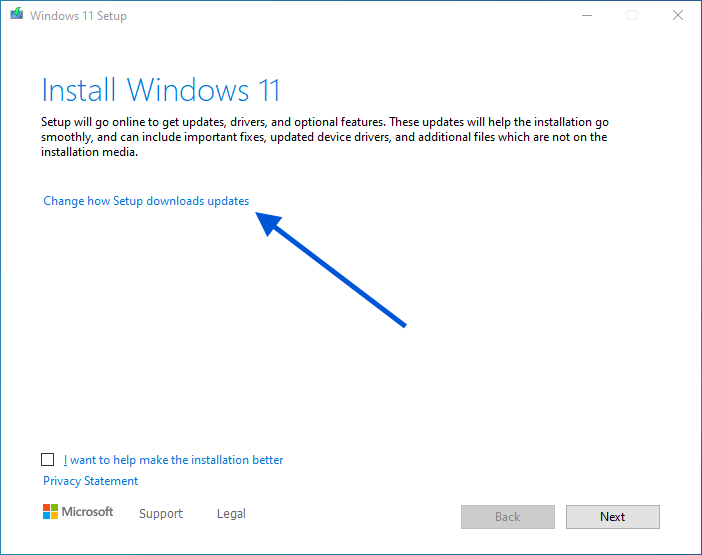
First, we will get a start window, where we DO NOT click Next yet, but go to the option to change how the system installs updates during installation.
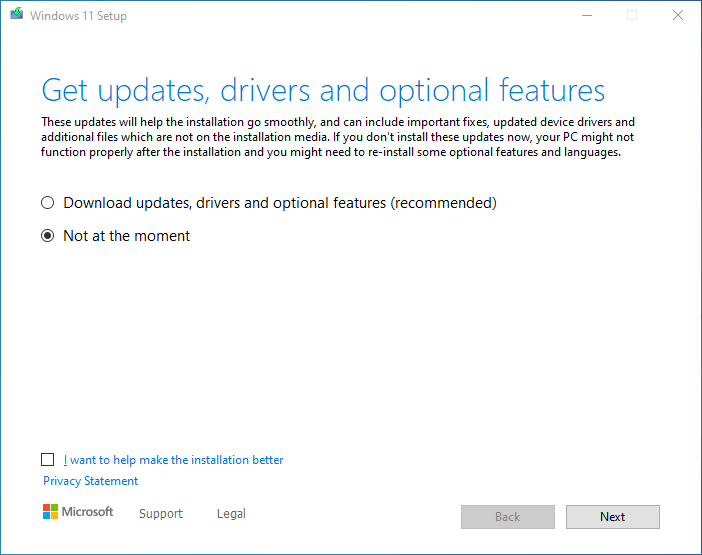
We select the second option here so that the installer does not install updates during installation.
Alternatively, we disconnect our computer from the Internet.
By clicking Next, the installer will check if our system meets the minimum requirements, returning (still) an error about missing TPM 2.0.
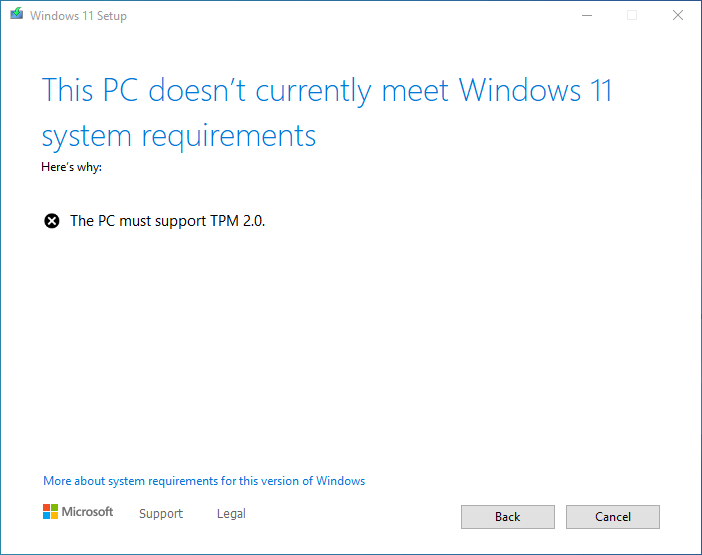
However, if we have run Skip_TPM_Check_on_Dynamic_Update.cmd once before starting the installation, click Back and Next again.
This time the installer will not report a problem with TPM 2.0 and will allow the installation to begin.
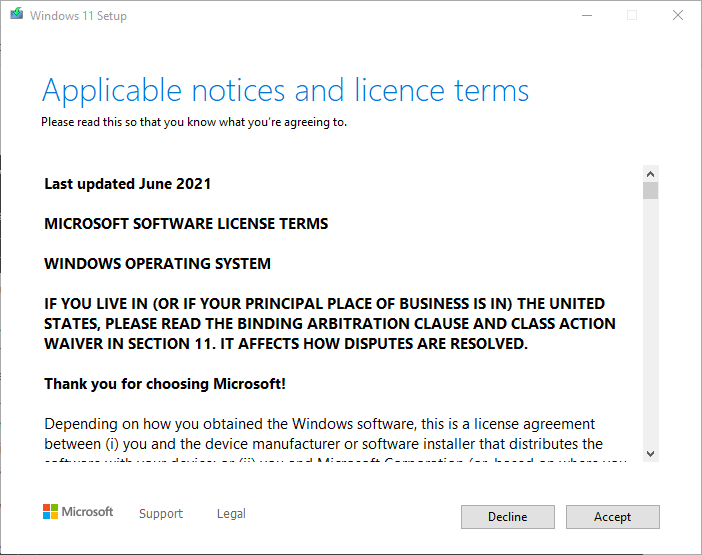
The installation will begin with accepting the license, after which we will receive information (so-called loyalty) that our computer still does not meet the minimum requirements for Windows 11.
To start the installation, you must accept (Accept) the loyalty agreement, which states, among other things, that our system will not receive future updates. This is not about updates that are made available by default in Windows Update from time to time, but about major system updates, as was the case with Windows 10, which received major updates twice a year.
However, nothing is lost, because with the help of the ISO file, when a “major” system update is released, we will be able to do the entire process analogously to what we are doing now.
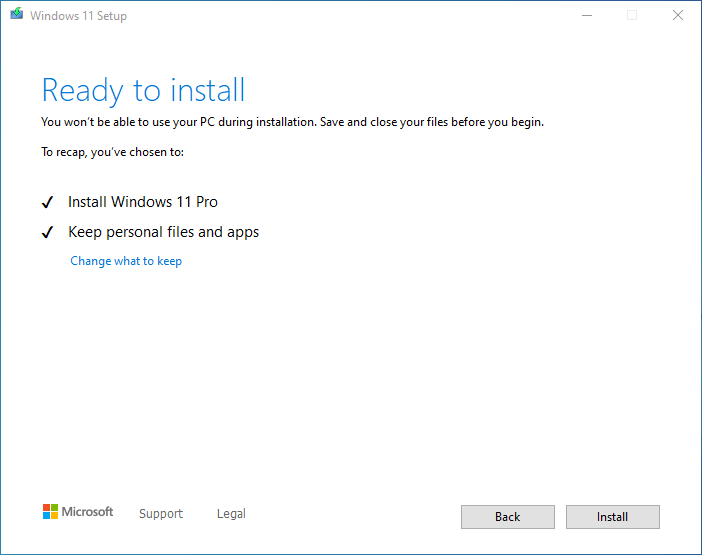
After accepting, we are ready to install.
The entire installation process will go smoothly. Depending on the speed of your computer, just wait a little while for it to finish. In my case, it took about 45 minutes.
And so we will update our Windows 10 system to Windows 11 on “officially” unsupported hardware.

Regards.


Comments & Reactions